


Installing a racking system in your van is one of the most practical upgrades you can make for a work vehicle. Whether you're a tradesperson, delivery driver, or outdoor enthusiast, proper van racking transforms a chaotic cargo space into an organized, efficient workspace. This comprehensive guide will walk you through everything you need to know about securely fixing racking to your van.
Understanding Van Racking Systems
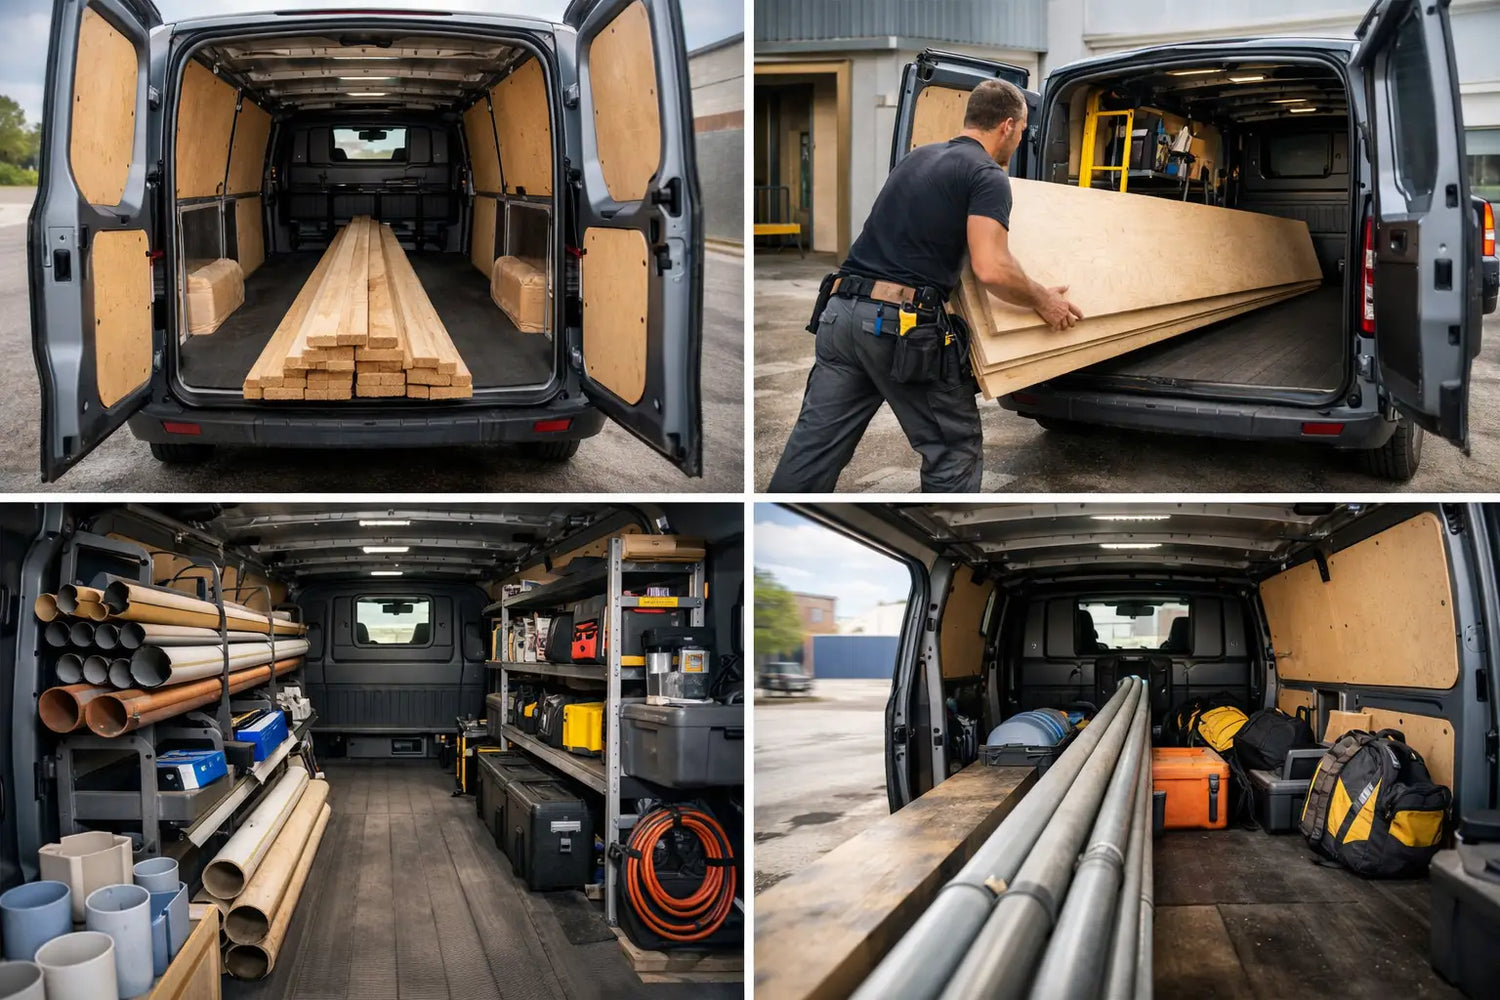
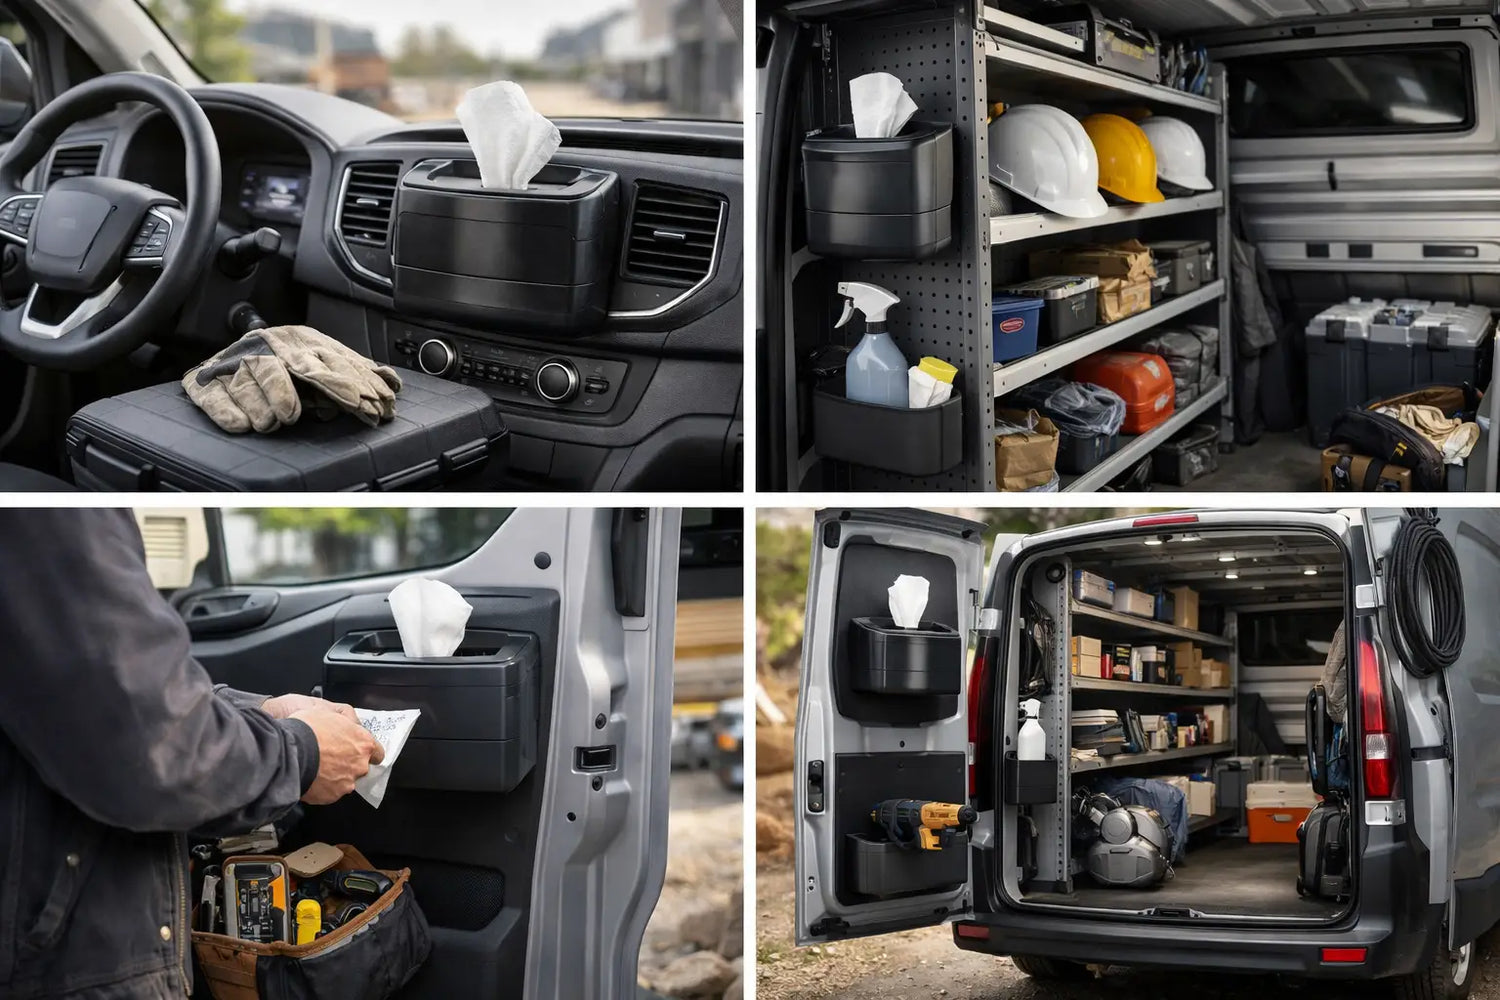
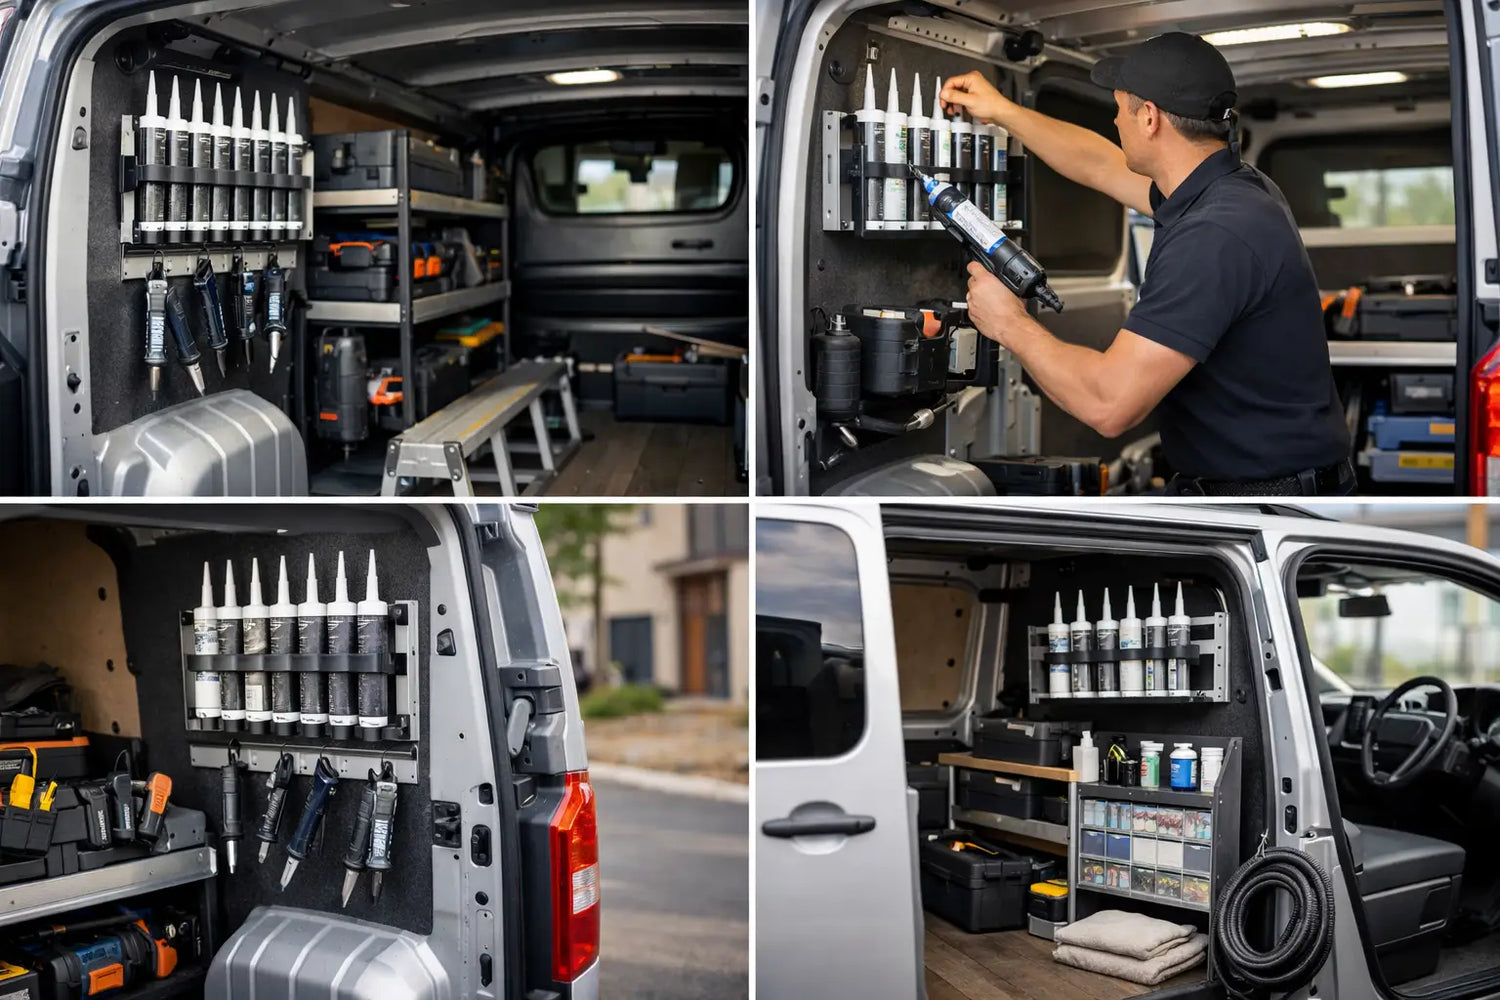
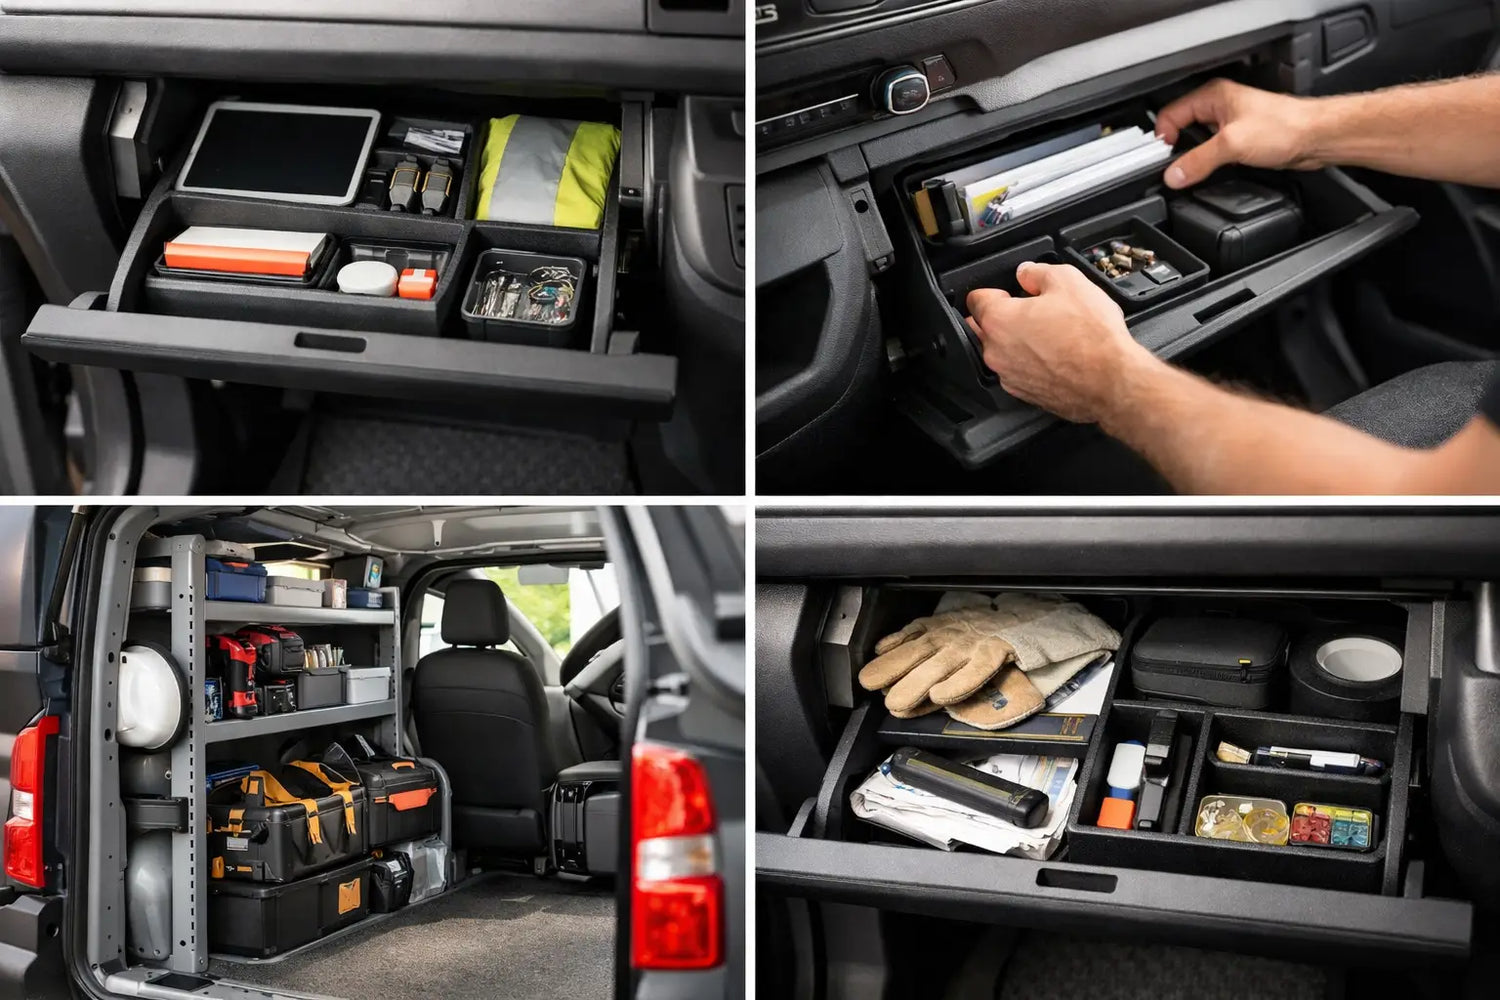
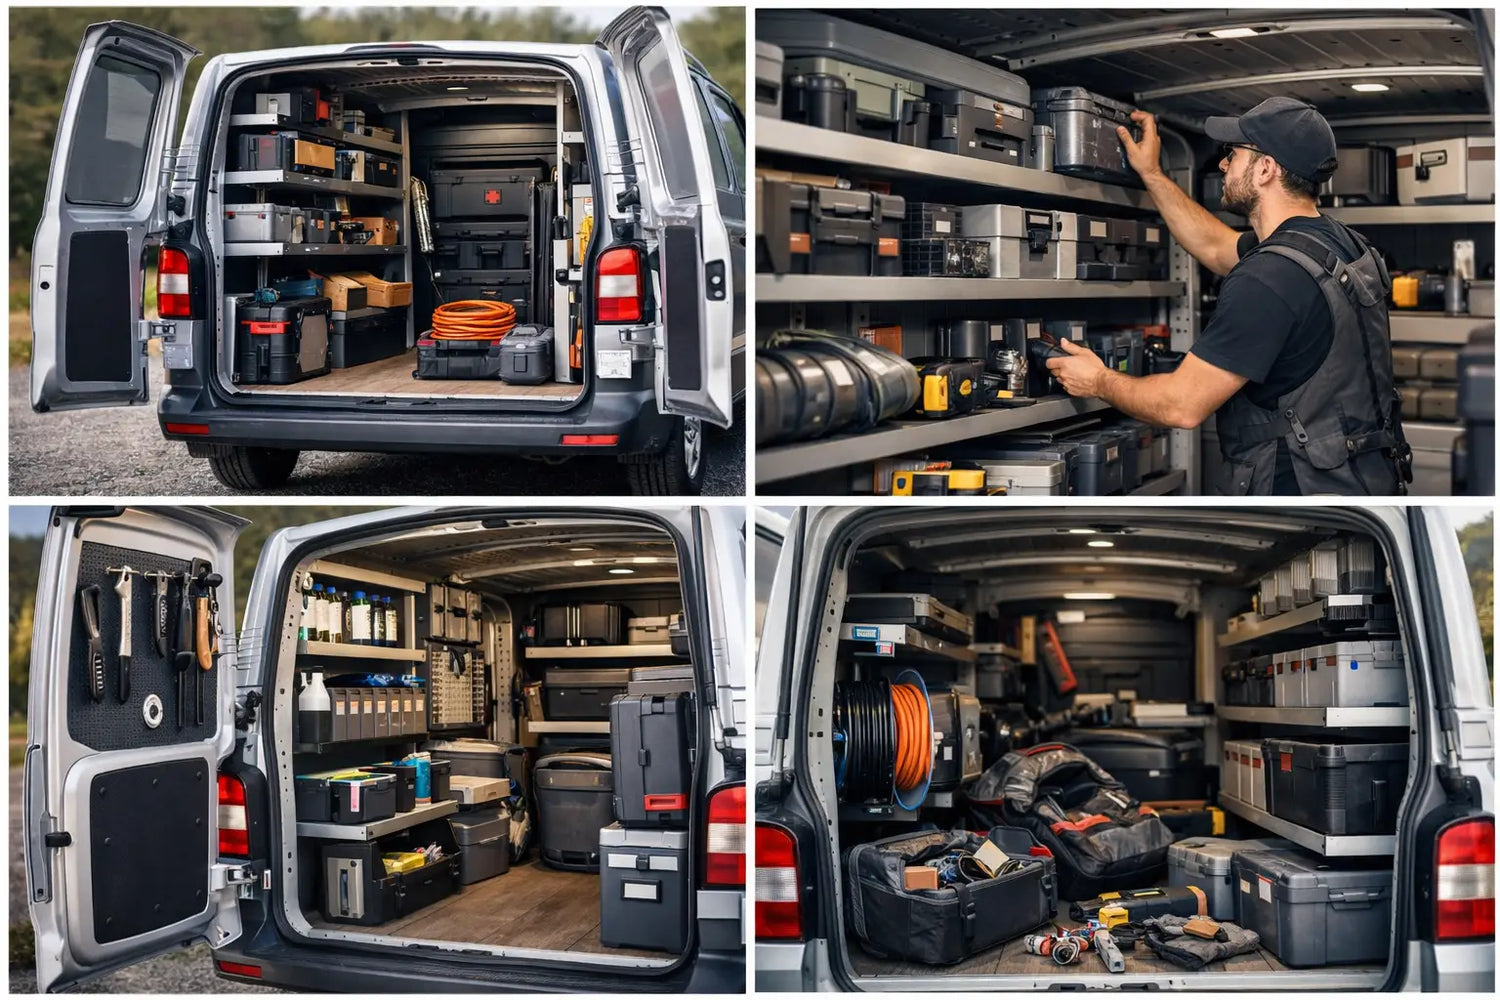
Before diving into installation, it's important to understand what van racking actually entails. Van racking refers to shelving units, storage systems, and organizational frameworks that are permanently or semi-permanently mounted inside the cargo area of a van. These systems typically consist of vertical uprights, horizontal shelves, and various accessories like tool holders, bins, and dividers.
The primary purpose of van racking is to maximize storage capacity while keeping tools and materials organized, accessible, and secure during transit. A well-designed racking system prevents items from shifting while driving, reduces loading and unloading time, and can significantly improve workplace efficiency.

Planning Your Racking Installation
The success of your van racking project begins long before you pick up a drill. Proper planning is essential. Start by carefully measuring your van's interior dimensions, including the length, width, and height of the cargo area. Pay special attention to wheel arches, door openings, and any existing fixtures that might interfere with your racking.
Consider your specific needs. What tools and materials do you regularly transport? How much weight will your racking need to support? Do you need easy access to certain items? Will you be accessing the racking from the side doors, rear doors, or both? These questions will help you design a system that truly works for your situation.
It's also crucial to check your van's payload capacity. The combined weight of your racking system and everything you load onto it must not exceed this limit. Overloading your van can affect handling, increase fuel consumption, void your insurance, and create serious safety hazards.
Types of Racking Systems
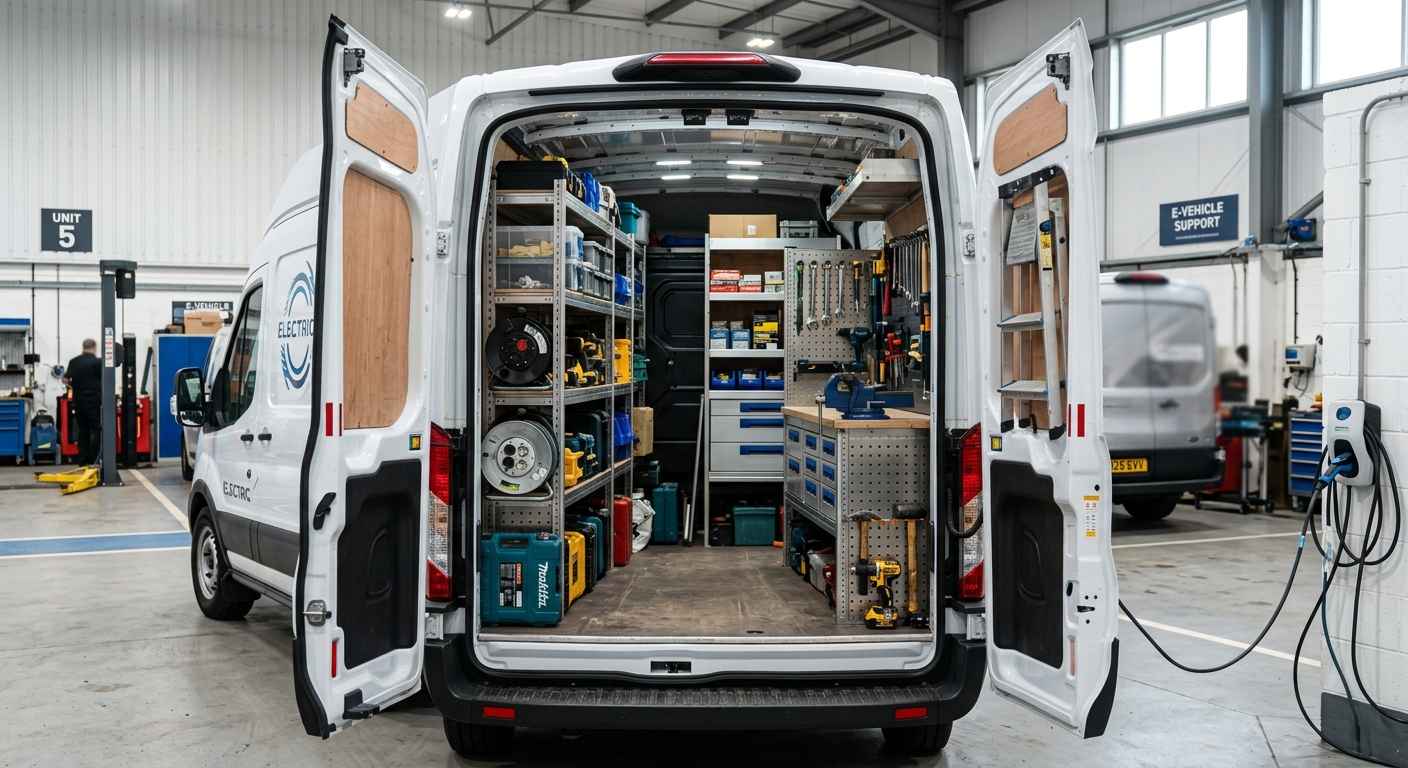
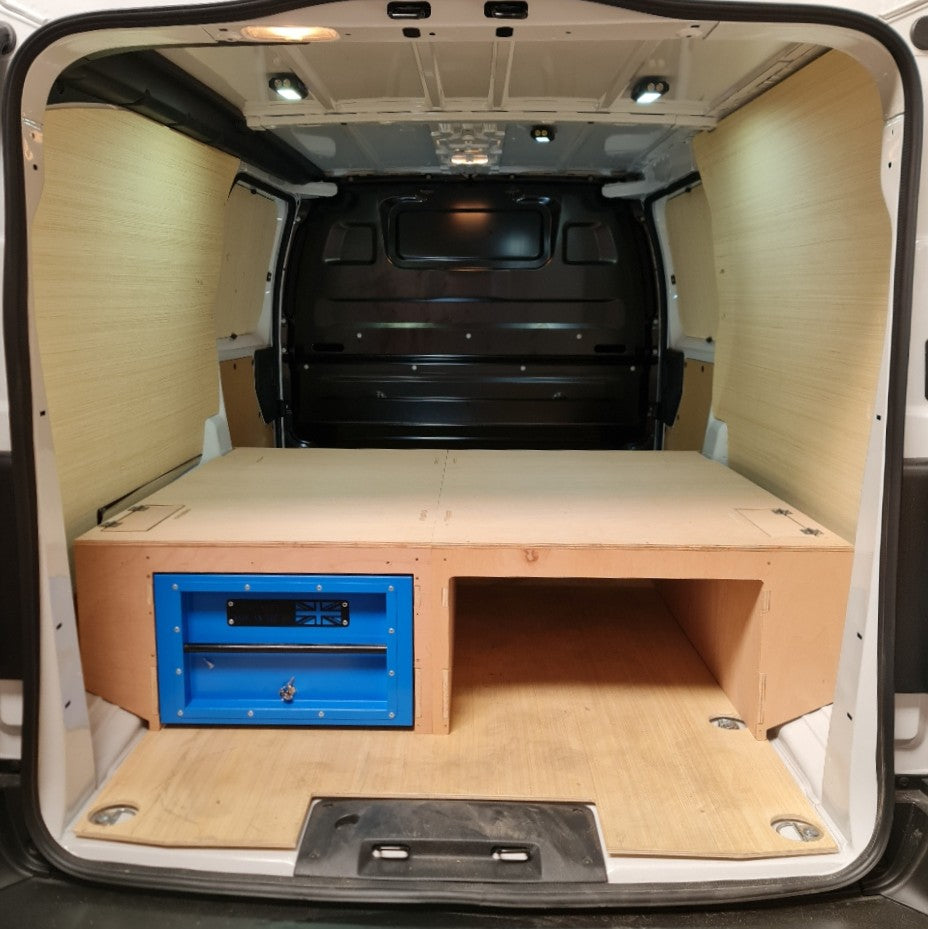
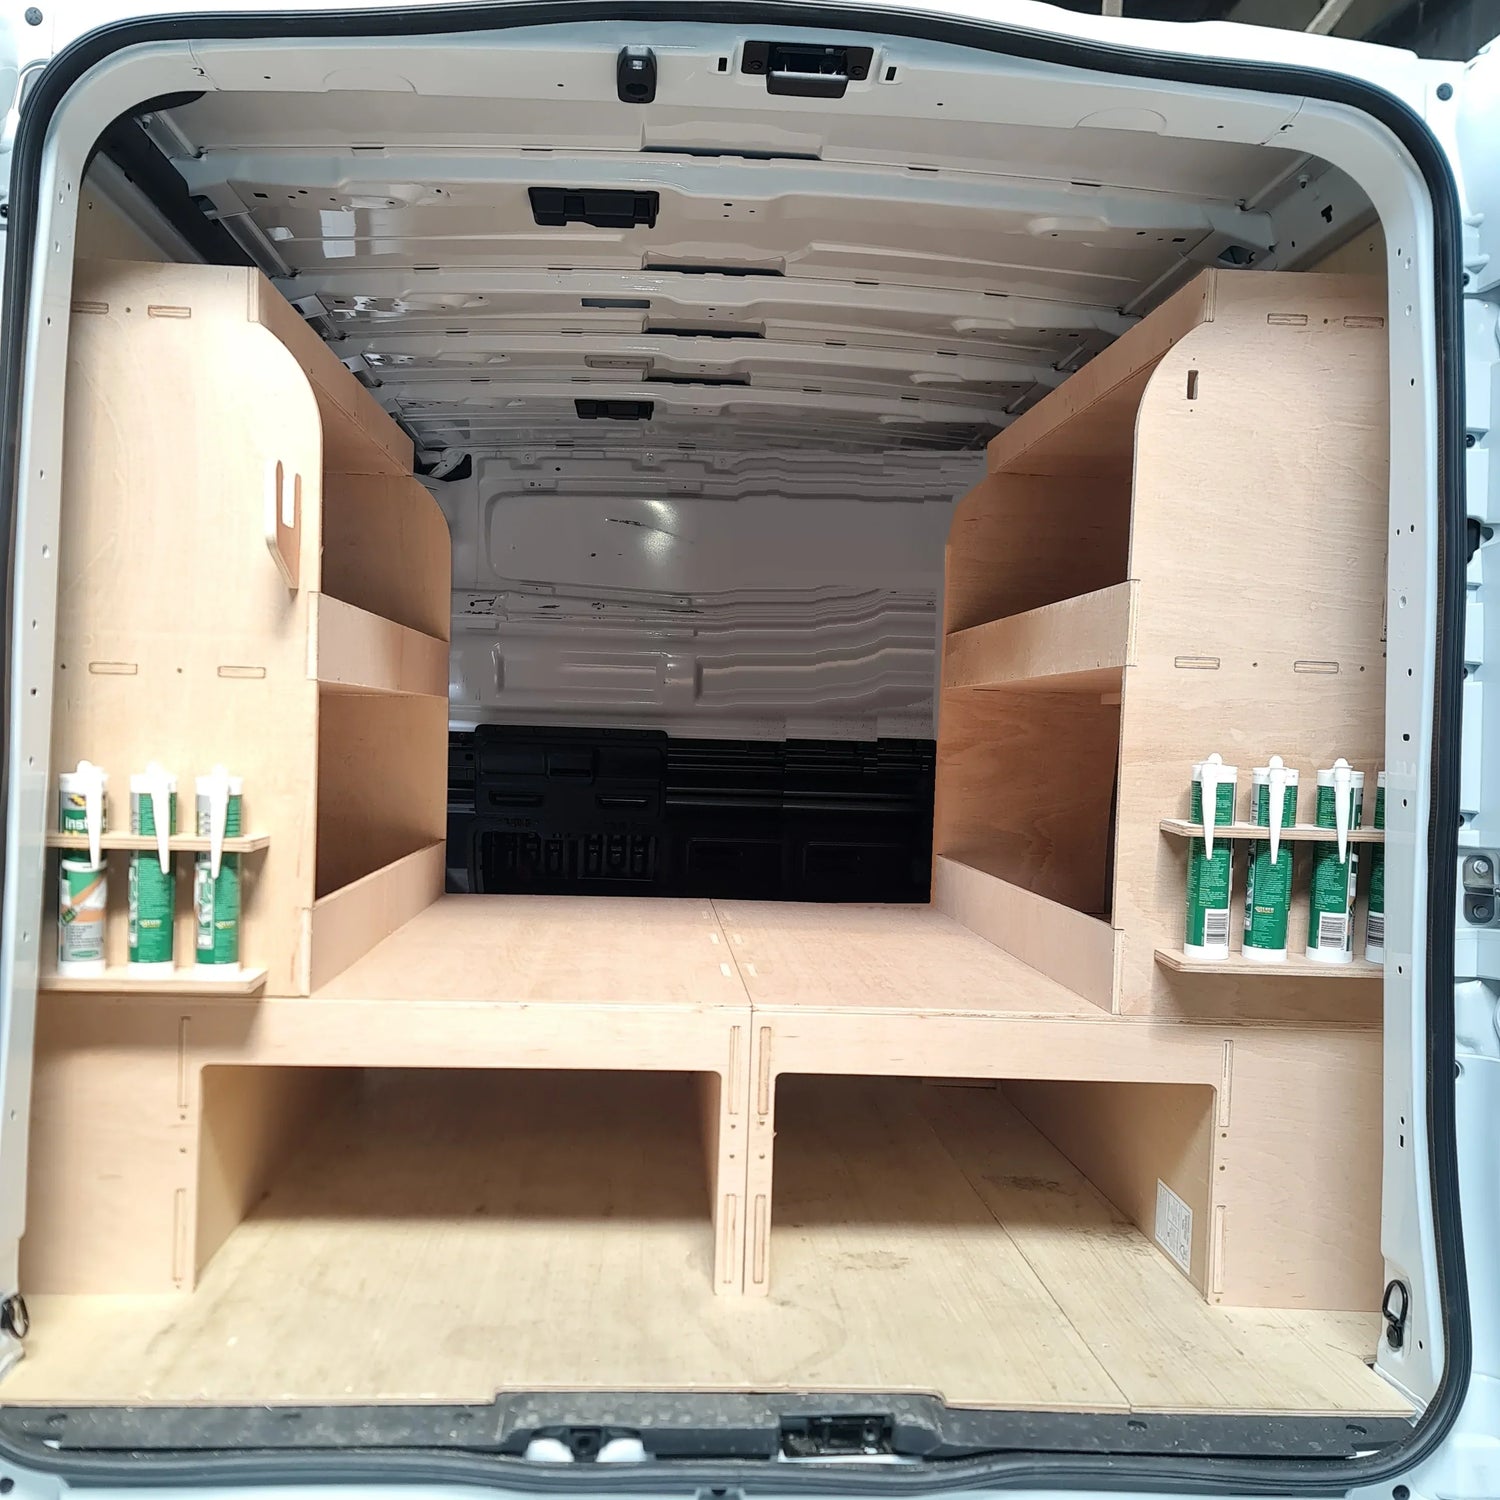
There are several types of van racking systems available, each with its own installation requirements. Modular systems are the most popular choice, featuring pre-fabricated components that can be configured to suit your needs. These systems typically bolt directly to the van's floor and walls.
Custom-built racking offers maximum flexibility but requires more skill to install. Some professionals prefer to build their own systems using aluminum extrusion or steel framework, tailoring every aspect to their specific requirements.
Freestanding units are another option, particularly for those who want a system they can remove easily. However, these must still be properly secured to prevent movement during transit.
Essential Tools and Materials
To properly install van racking, you'll need several tools and materials. At minimum, you should have a power drill with metal drill bits, a rivet gun if your system uses rivets, appropriate screws or bolts (typically M6 or M8 size), a tape measure, spirit level, pencil or marker, safety glasses, work gloves, and possibly a jigsaw for cutting shelving to size.
Many professional installations also use sikaflex or similar adhesive sealants to create a moisture barrier around mounting holes. You'll need appropriate fixings based on your van's construction—self-tapping screws for metal panels, and proper load-rated anchors if mounting to composite panels.
Safety Considerations
Safety must be your top priority when installing van racking. Improperly installed racking can become a dangerous projectile in an accident, potentially causing serious injury or death. Always use the correct number and grade of fixings specified by the racking manufacturer.
Consider the load distribution across your racking system. Heavy items should be stored low and toward the front of the van to maintain proper weight distribution and center of gravity. Secure all items properly, and ensure nothing can fall or shift during sudden braking or cornering.
When drilling into your van, be extremely careful to avoid hidden wiring, fuel lines, or brake lines. Study your van's manual or consult a professional if you're uncertain about what lies behind panels. Always wear appropriate safety equipment including eye protection when drilling metal.
Step-by-Step Installation Process
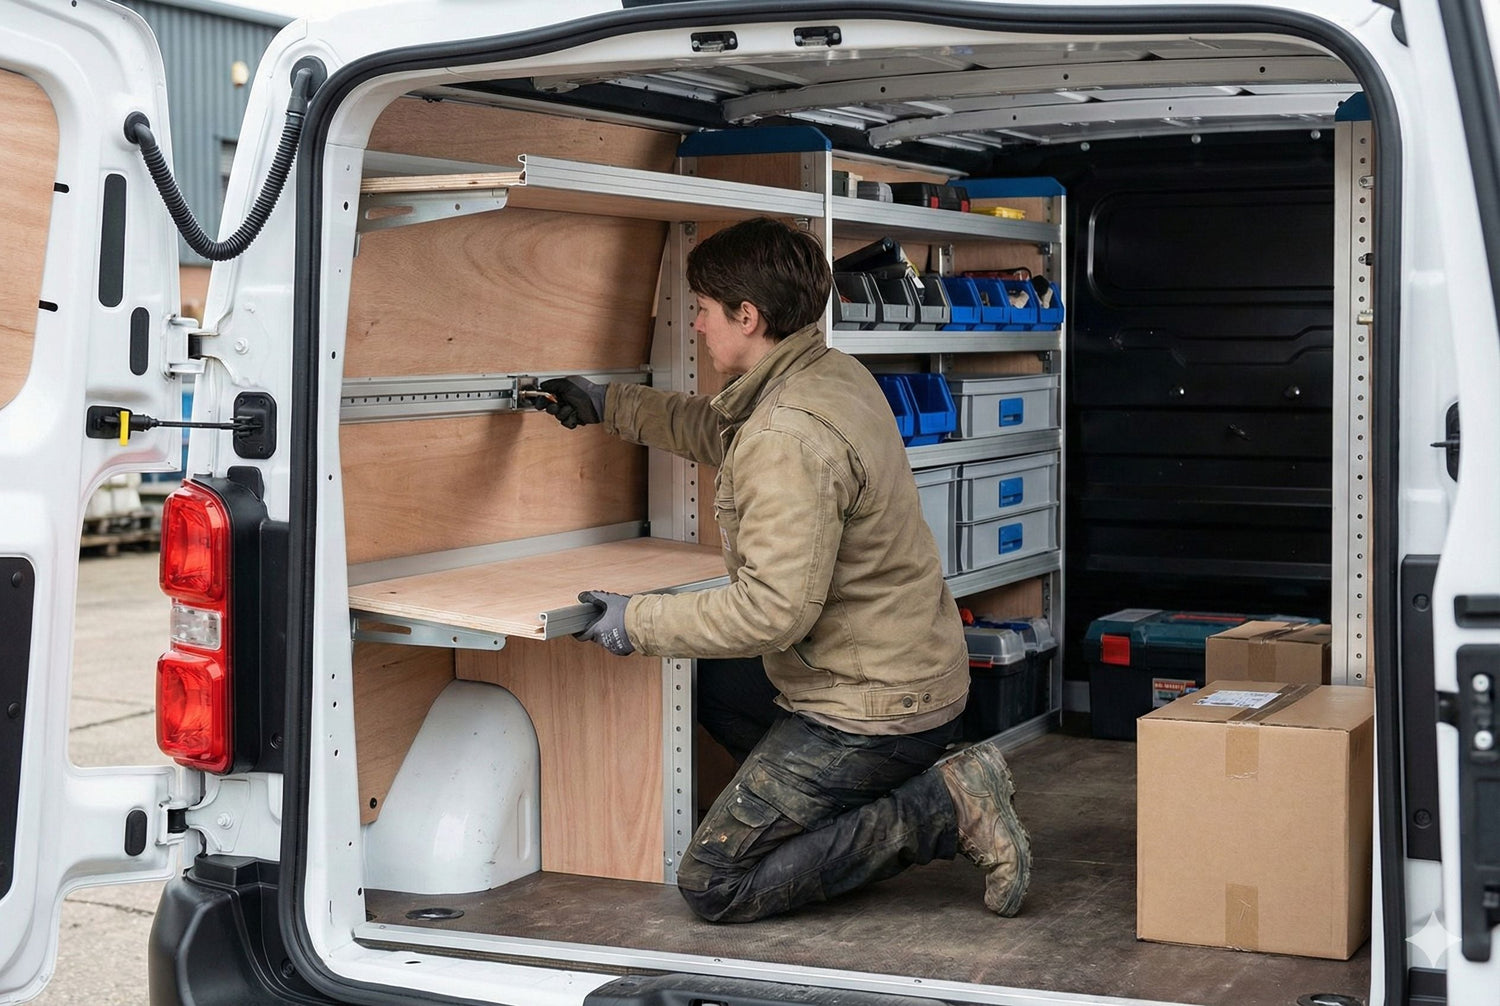
Begin by thoroughly cleaning the cargo area of your van. Remove any debris, loose panels, or protective coverings where the racking will be installed. If your van has a ply lining, this can actually make installation easier by providing a solid mounting surface.
Next, lay out your racking components in the van to confirm fit and positioning. This dry run helps you identify any issues before drilling permanent holes. Use a spirit level to ensure vertical uprights are truly vertical and horizontal shelves are level. Mark all fixing points clearly with a pencil or marker.
When you're satisfied with the positioning, begin drilling pilot holes. Start with the floor mountings, as these provide the foundation for the entire system. Use an appropriately sized drill bit for your fixings—typically 5mm for M6 bolts or 6.5mm for M8 bolts. Drill carefully and steadily, ensuring you don't drill through any structural components unnecessarily.
After drilling each hole, apply a small amount of sealant around it to prevent moisture ingress and corrosion. This step is often overlooked but is crucial for the longevity of your installation and the condition of your van.
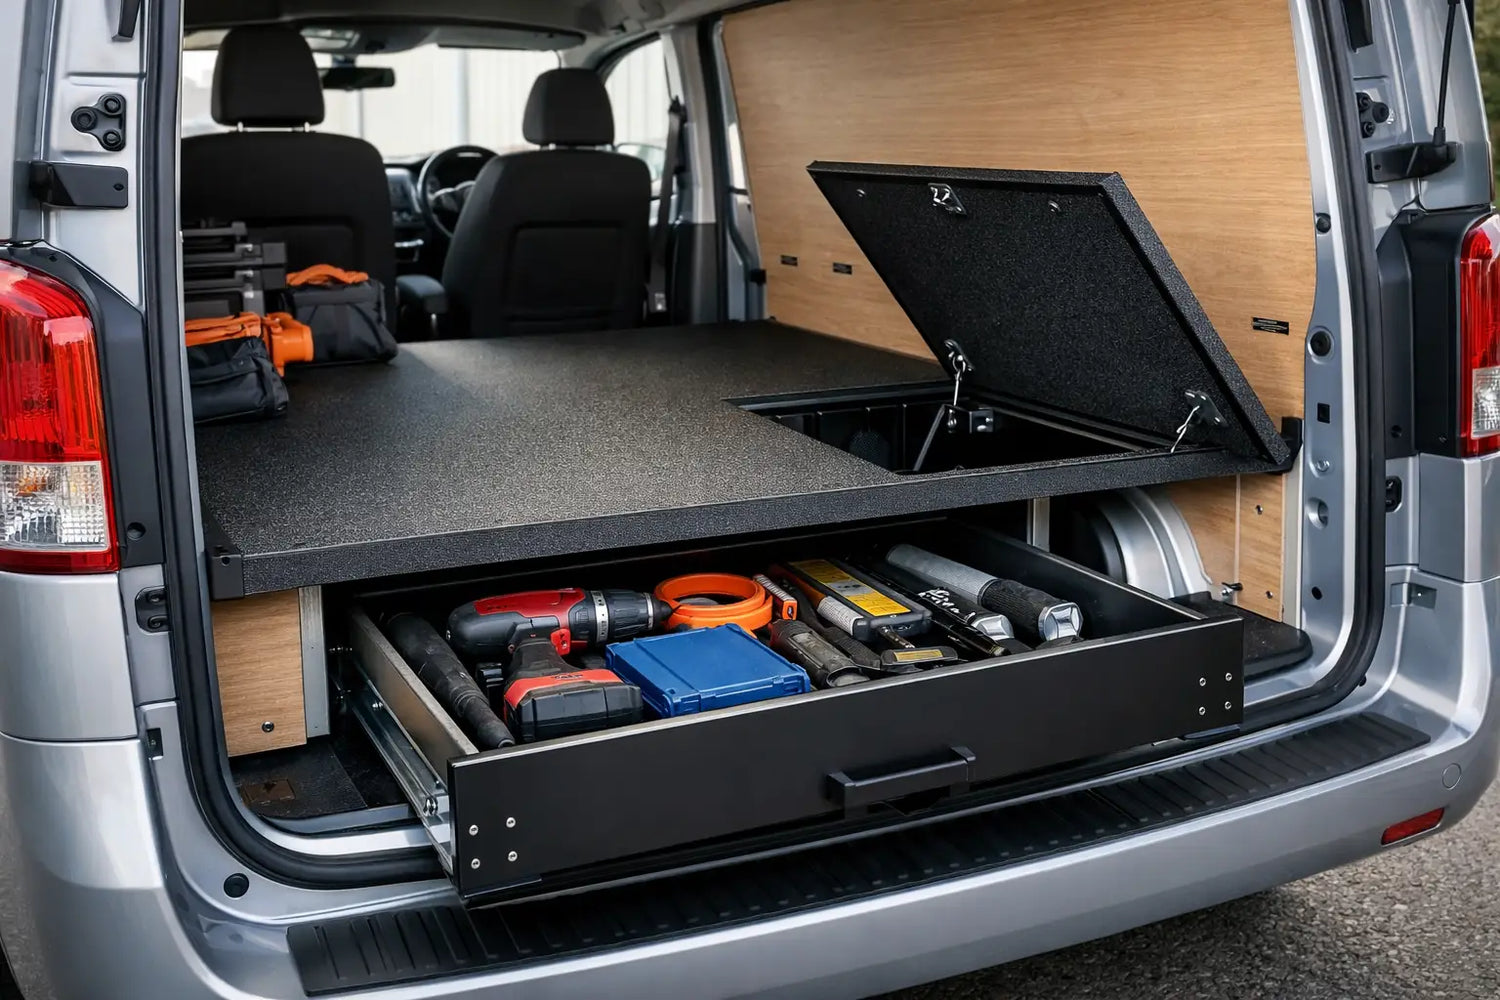
Install the vertical uprights first, using high-quality bolts or rivets to secure them to the floor. Many systems also fix to the side walls for additional stability. Tighten all fixings progressively and evenly to avoid warping the uprights. Once the uprights are secure, install the horizontal shelves according to the manufacturer's instructions.
Most modular systems use a channel or slot system that allows shelves to be adjusted. Ensure all shelves are properly locked into position and test their weight capacity before loading them fully.

Common Mistakes to Avoid
Many DIY installers make preventable mistakes that compromise the safety and functionality of their van racking. One of the most common errors is using fixings that are too short or of insufficient strength. Always use the recommended fasteners, as generic screws from your local hardware store may not provide adequate holding power.
Another frequent mistake is failing to level the racking properly. Even slight angles can cause items to slide or fall, and can put uneven stress on the mounting points. Take your time with a good spirit level during installation.
Overloading shelves is dangerous and surprisingly common. Each shelf has a maximum weight rating—exceeding this can cause the shelf to collapse or pull away from its supports. Distribute weight evenly across your racking system and keep heavier items on lower shelves.
Some installers also make the error of drilling through structural members or weakening the van's body unnecessarily. When possible, use existing mounting points or the van's floor channels. If you must drill new holes, keep them to the minimum size necessary and always seal them properly.
Securing Racking in Different Van Types
Different vans require slightly different approaches. Panel vans with metal sides are the most straightforward, as you can bolt or rivet directly through the panels. However, some modern vans have honeycomb composite panels that require special fixings designed to grip these materials.
Vans with windows require more careful planning, as you'll have less wall space for mounting. You may need to rely more heavily on floor mountings and freestanding elements.
Refrigerated vans or those with special insulation need particular care to avoid damaging thermal properties. You may need longer fixings to penetrate through insulation to reach solid mounting points.
Final Checks and Maintenance
Once installation is complete, perform thorough checks before loading your racking. Test each shelf by applying weight gradually, checking for any flexing, movement, or concerning sounds. Verify that all fixings are tight and nothing has been missed.
Take the van for a test drive over various road surfaces, including speed bumps and rough roads. Listen for any rattling or movement. After this initial test, recheck all fixings as they may have settled during the first drive.
Regular maintenance is essential for long-term safety. Periodically inspect all fixings for tightness, check for signs of corrosion around mounting points, and ensure shelves haven't been bent or damaged by overloading. Tighten any loose bolts immediately and address any corrosion with appropriate treatment and sealing.
Conclusion
Installing van racking is a rewarding project that significantly improves your vehicle's functionality. While it requires careful planning, proper tools, and attention to detail, the result is a professional, safe, and efficient cargo area that will serve you for years. Remember that safety should never be compromised—when in doubt, consult a professional installer or the racking manufacturer's technical support. With proper installation and maintenance, your van racking system will be a valuable investment in your productivity and organization.