


Key Takeaways
-
Van false floors create hidden storage beneath your van's main floor, maximizing space efficiency
-
Typical height: 70-100mm provides optimal storage without sacrificing headroom
-
Materials needed: 18mm plywood, 18x70mm battens, self-tapping screws, and adhesive
-
Installation time: 1-2 days for DIY installation
-
Weight capacity: Can support over 1 ton of weight on top when properly constructed
-
Best for: Organizing small tools, camping gear, and maximizing van storage space
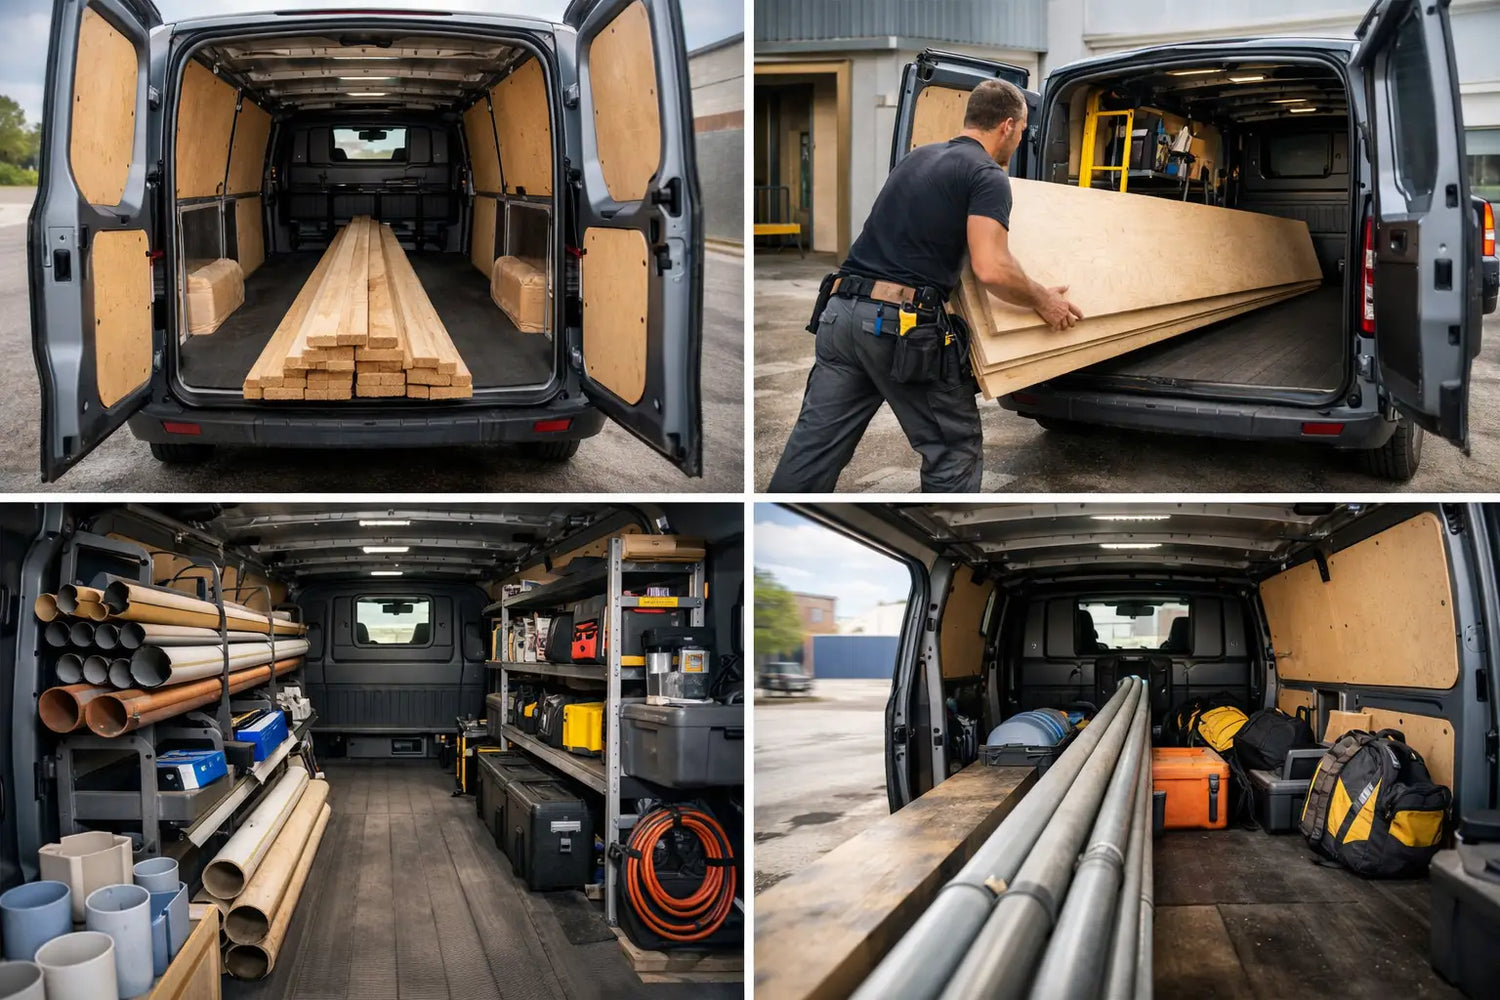
Whether you're converting a campervan for weekend adventures or outfitting a work van for daily trade use, maximizing every inch of storage space is crucial. A van false floor is one of the smartest storage solutions you can implement, transforming unused space into organized, accessible storage that keeps your van tidy and efficient.
What is a Van False Floor?
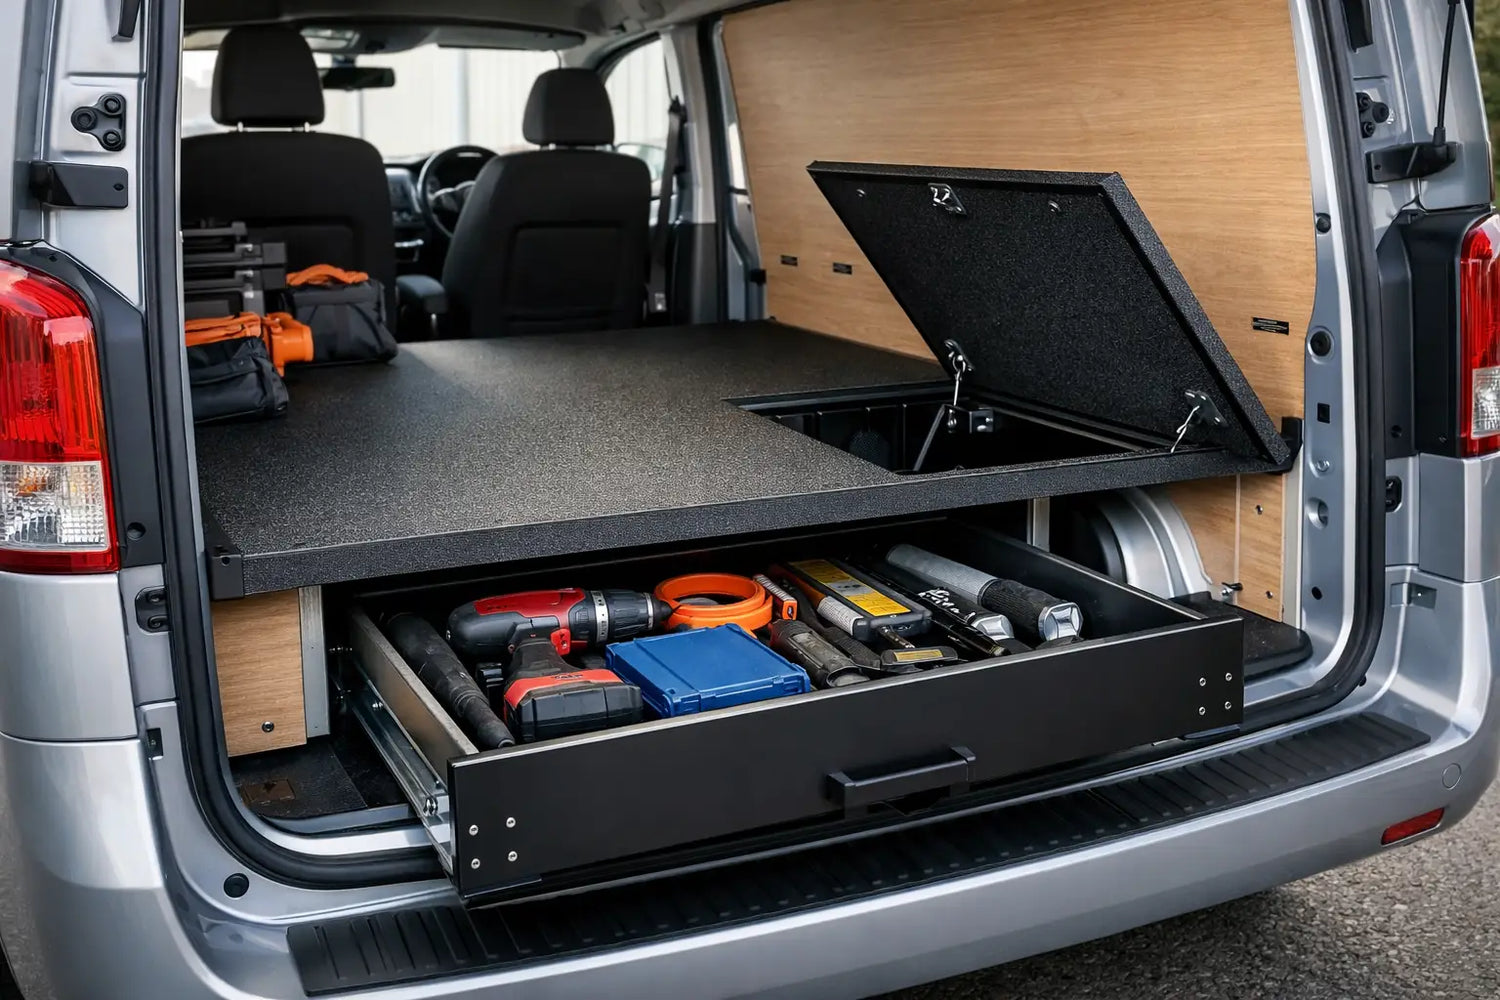
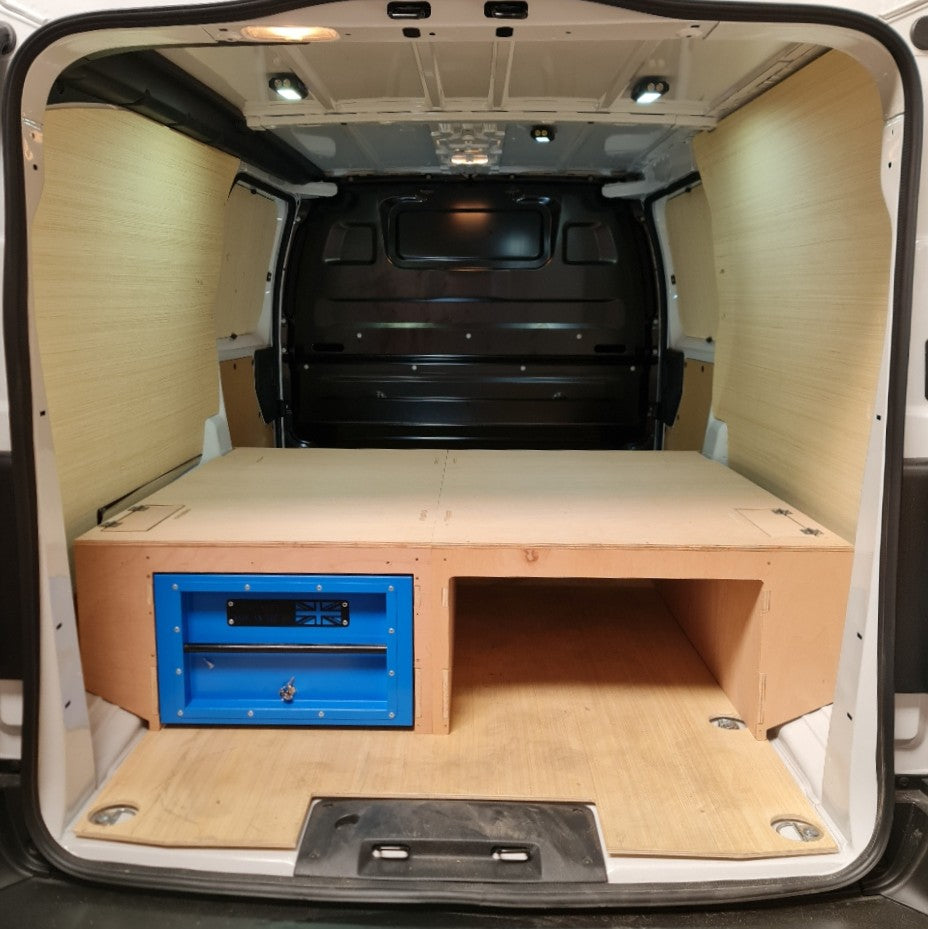
A van false floor, also known as a raised floor or storage deck, is an elevated secondary floor installed above your van's original floor. This specialized storage solution involves creating an elevated storage space over the existing floor of your vehicle. This additional storage attaches to the rear racks of your van, creating an extra layer of space.
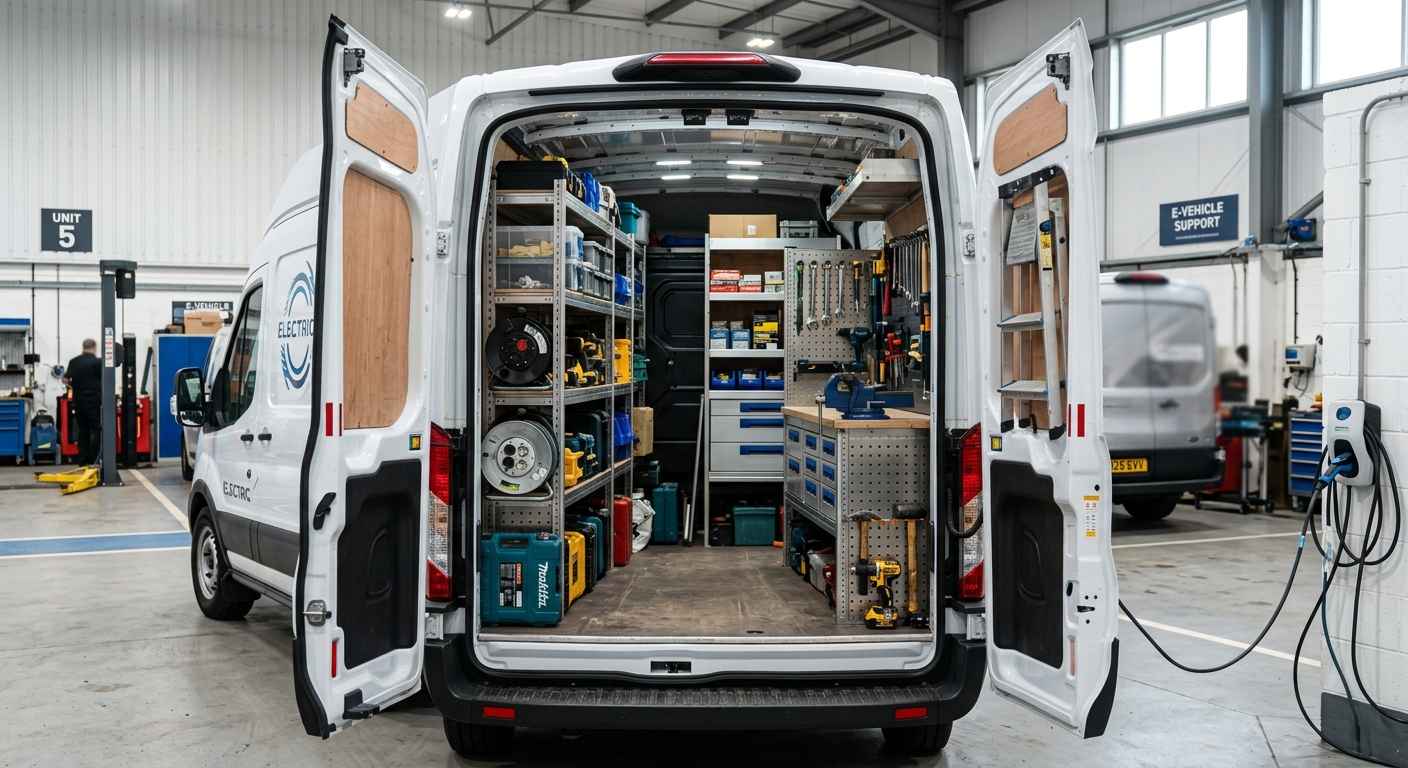
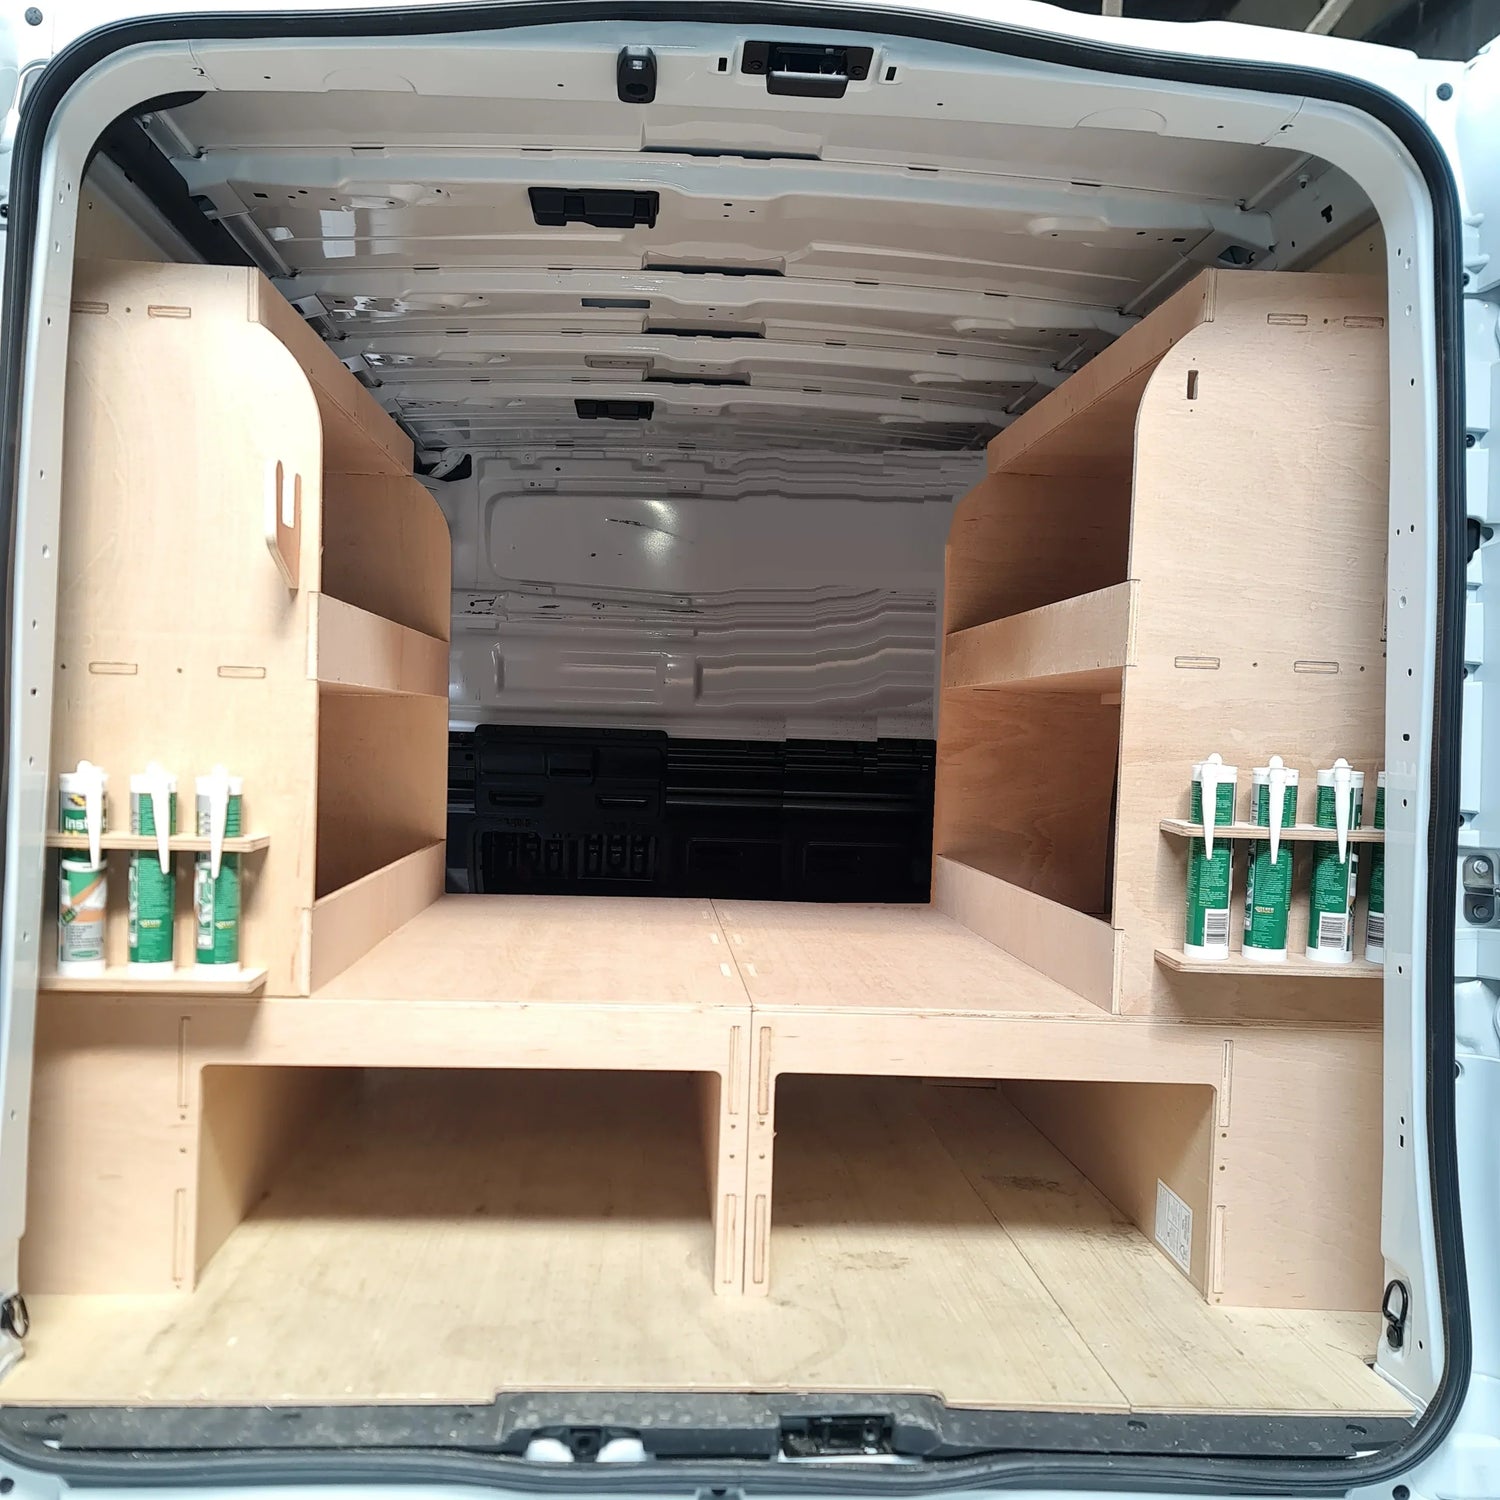
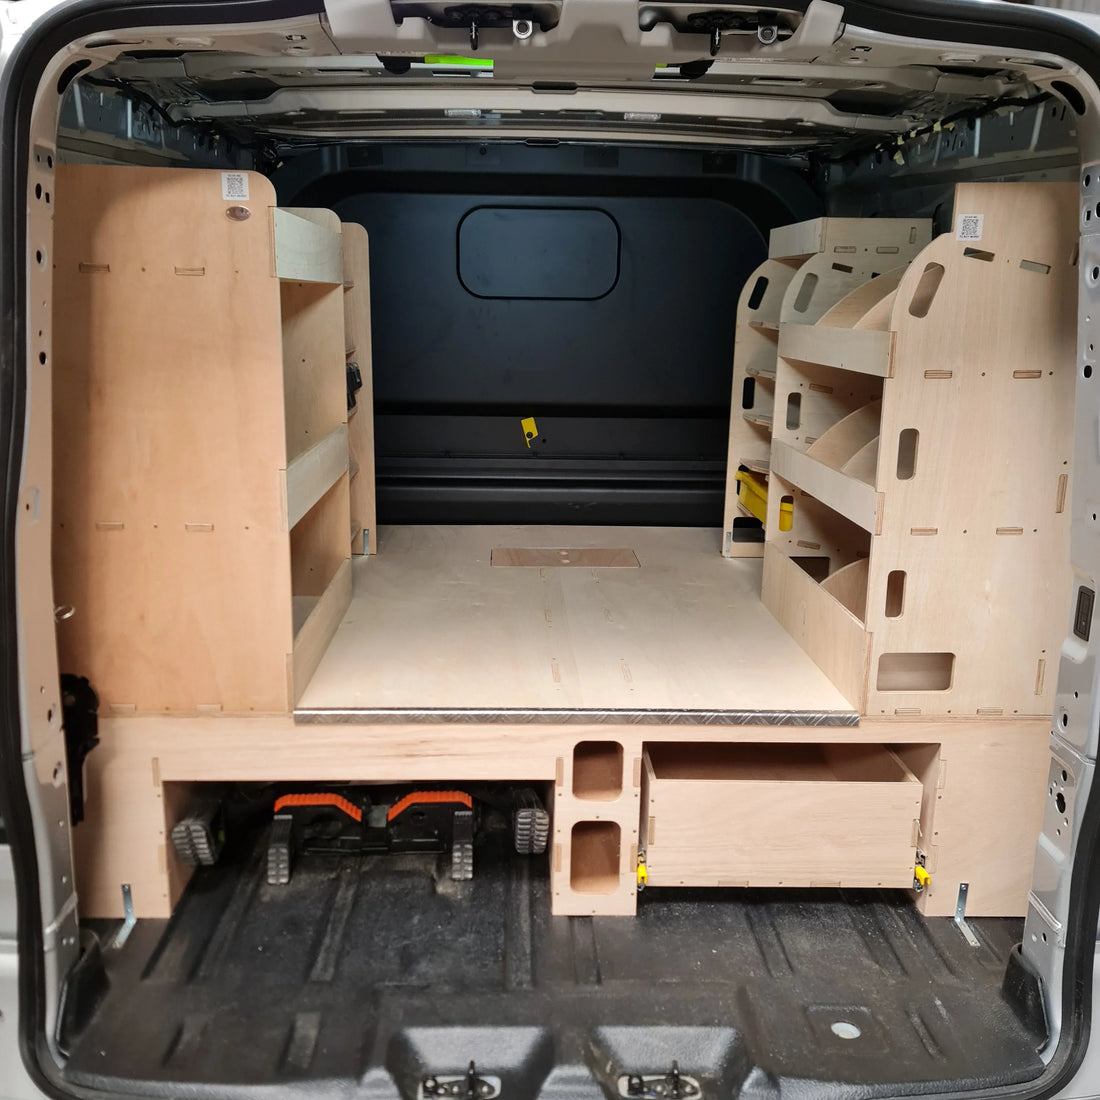
The genius of a false floor lies in its dual functionality. While providing a sturdy platform on top for your daily activities or larger items, it conceals organized storage compartments underneath. This hidden storage area typically features pull-out drawers, compartments, or open spaces perfect for storing tools, camping equipment, spare parts, and other essentials.
Key Components of a False Floor System
-
Support Structure: Wooden battens or metal frames that create the framework
-
Floor Platform: Usually 18mm plywood that forms the new floor surface
-
Storage Solutions: Drawers, compartments, or open bays underneath
-
Access Points: Rear or side-opening drawers for easy retrieval
-
Finishing: Vinyl flooring, carpet, or rubber matting on top
Benefits of Installing a Van False Floor
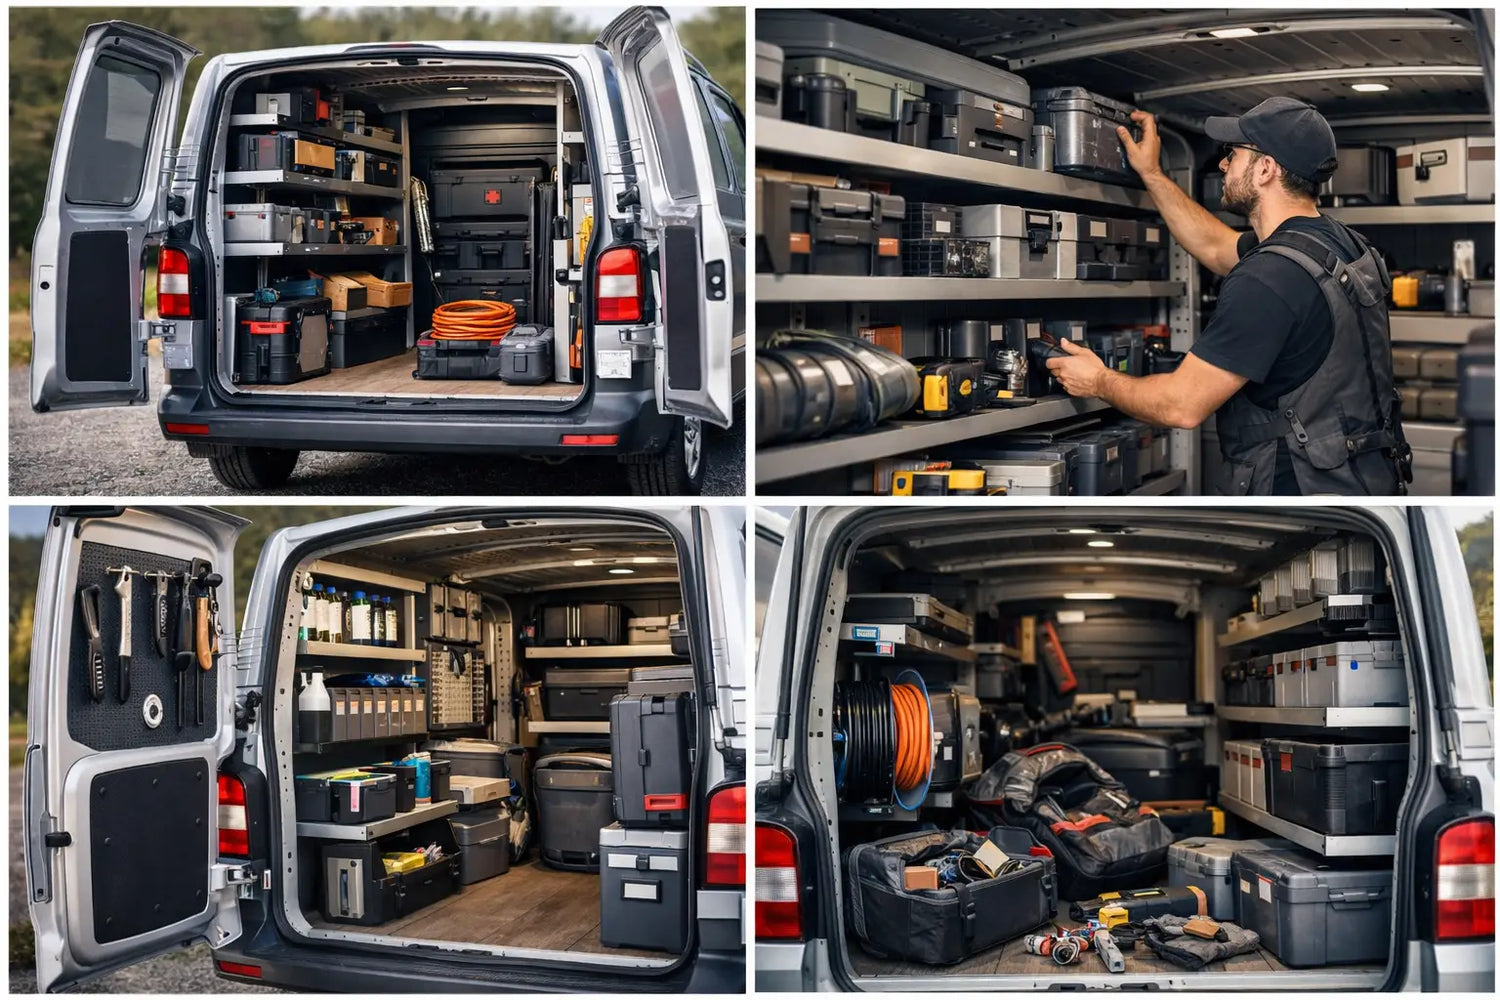
Maximized Storage Capacity
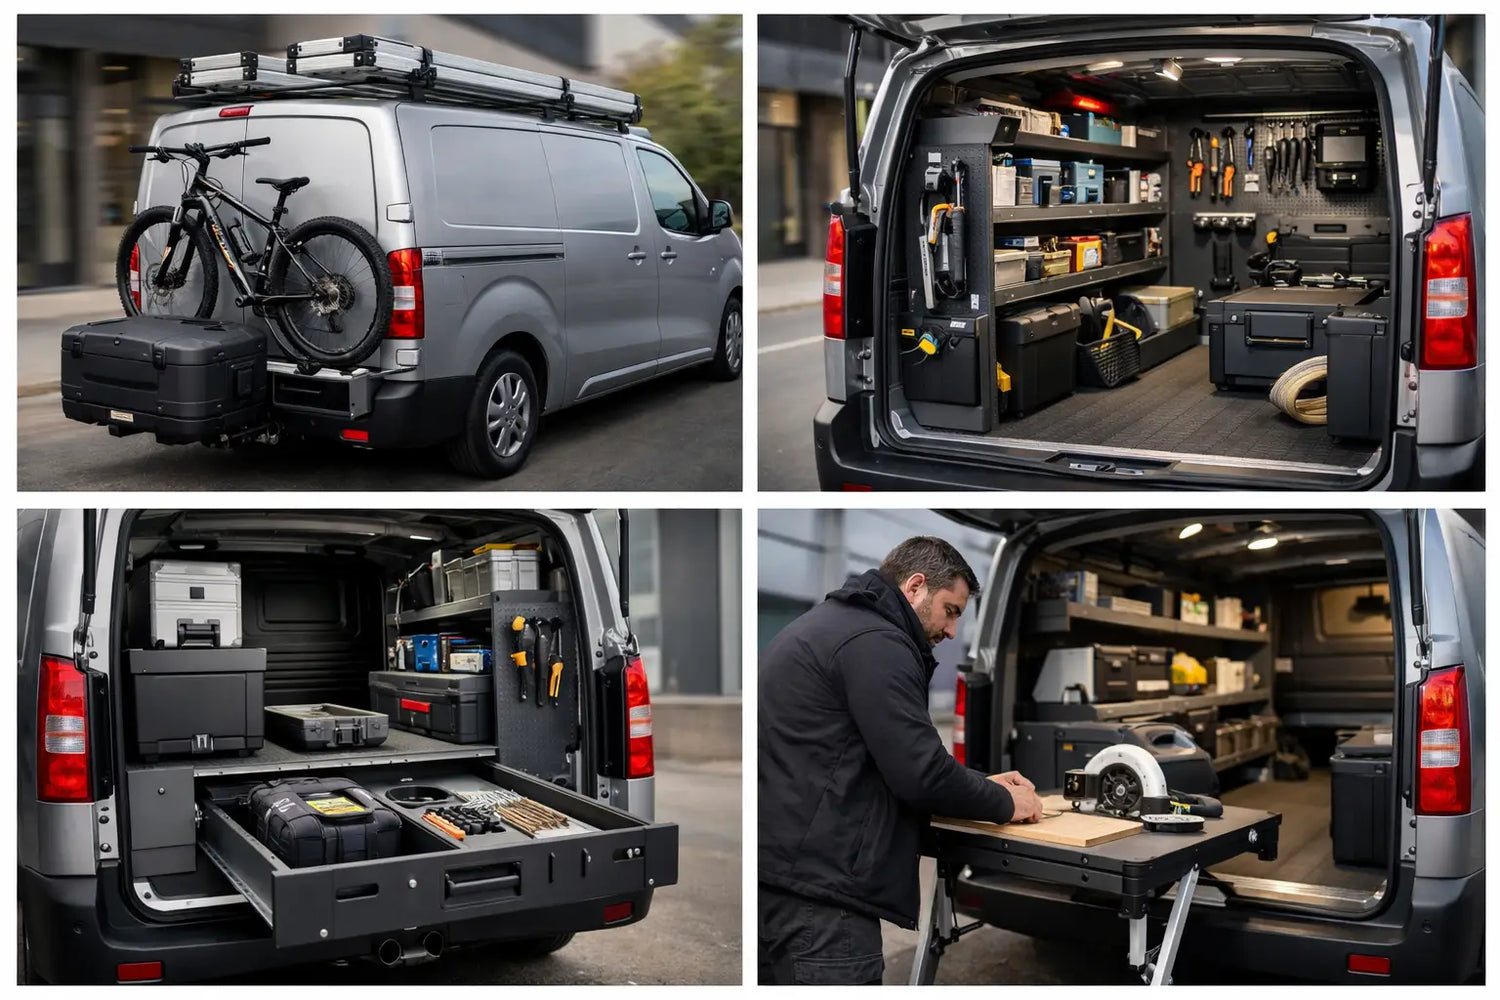
Installing a raised floor inside your van immediately optimises your available space. It allows you to transport more equipment, tools and goods while maintaining a clear and organised cargo area. By utilizing the often-wasted space between wheel arches and creating a flat surface above, you effectively double your storage potential in certain areas.
Enhanced Organization
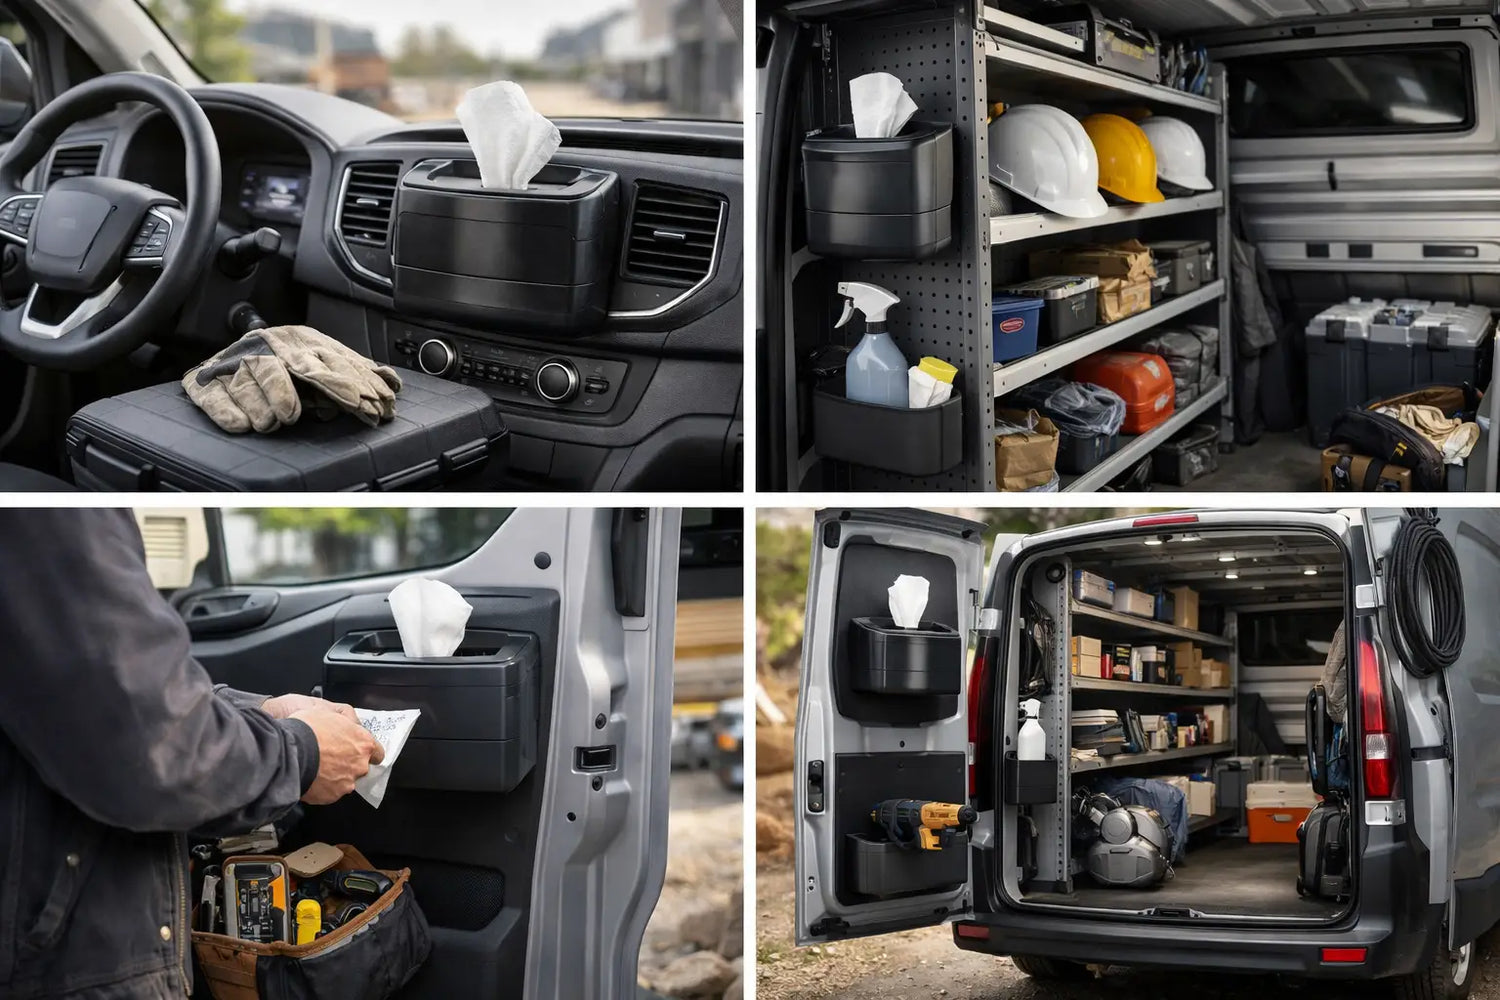
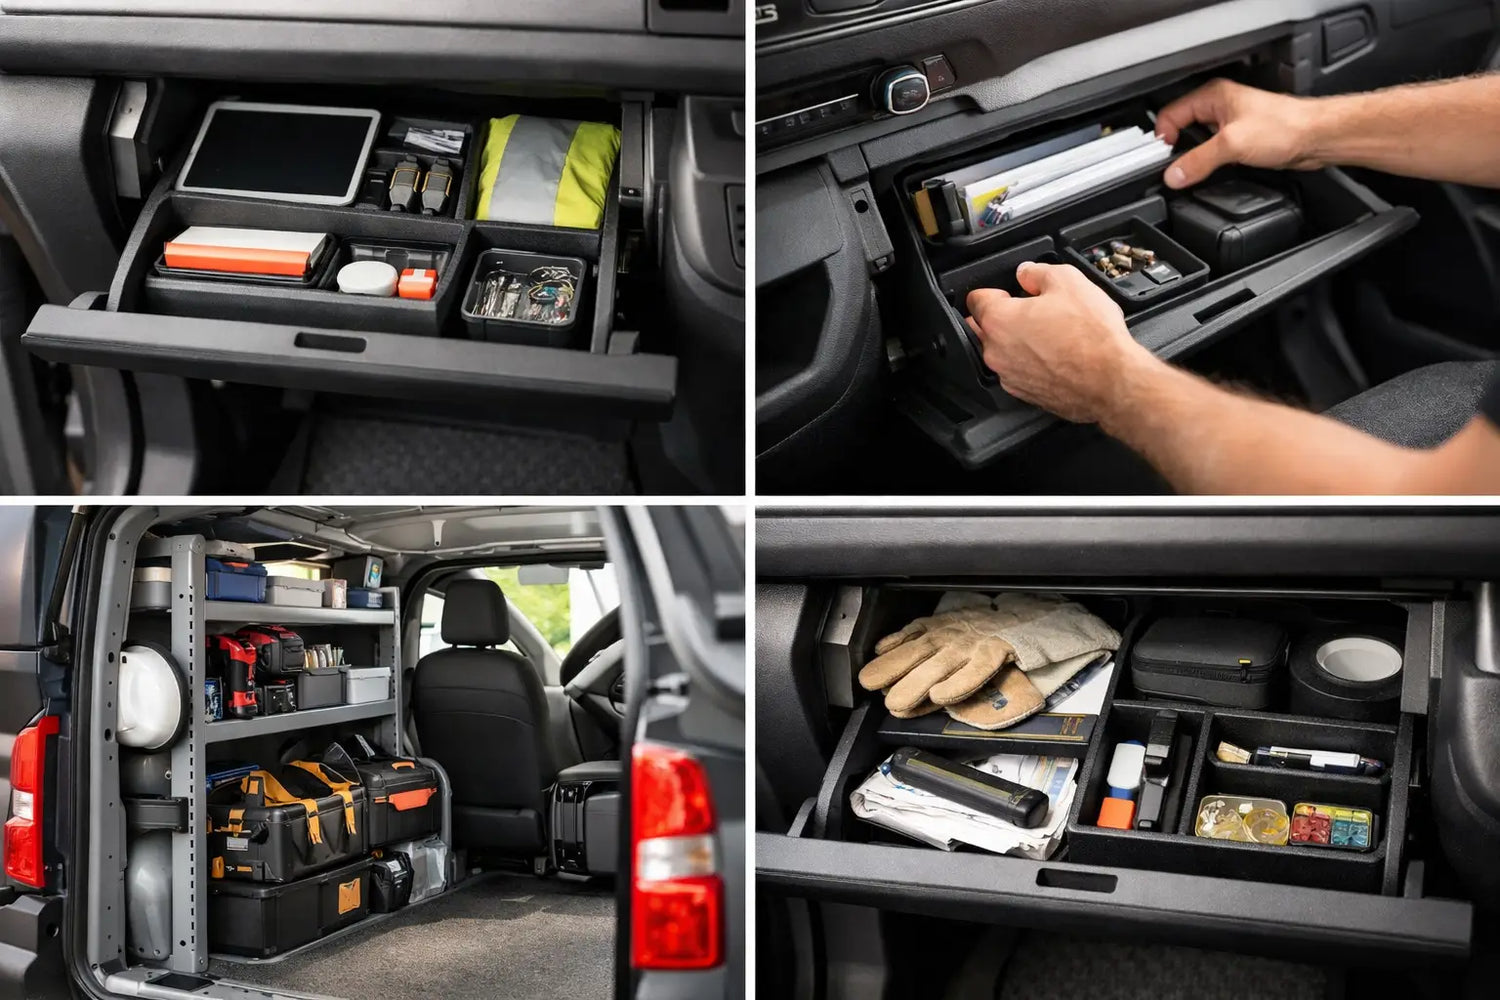
These small bits and pieces are better kept organised or they will simply get lost in a large garage space. A false floor system allows you to categorize and separate different types of equipment, making it easier to find what you need when you need it.
Improved Security
Our false floor system integrates seamlessly with the interior of your van, maintaining an inconspicuous appearance. This makes it less obvious to passersby that there may be valuable items inside, reducing the risk of break-ins. Valuable tools and equipment stored beneath the false floor are hidden from view, deterring opportunistic theft.
Better Weight Distribution
When you're transporting heavy items, a false floor can help to distribute the weight evenly across the van, reducing the risk of overloading the left and right hand rear racks. This improved weight distribution can enhance vehicle handling and reduce wear on specific components.
Professional Appearance
A well-installed false floor creates a clean, professional look in your van. Whether you're arriving at a client's location or setting up camp, the organized appearance reflects positively on your work or lifestyle.
Planning Your Van False Floor
Assess Your Storage Needs
Before diving into construction, take inventory of what you need to store:
-
Small tools and hardware
-
Camping equipment like chairs and tables
-
Spare parts and supplies
-
Emergency equipment
-
Seasonal items (tire chains, etc.)
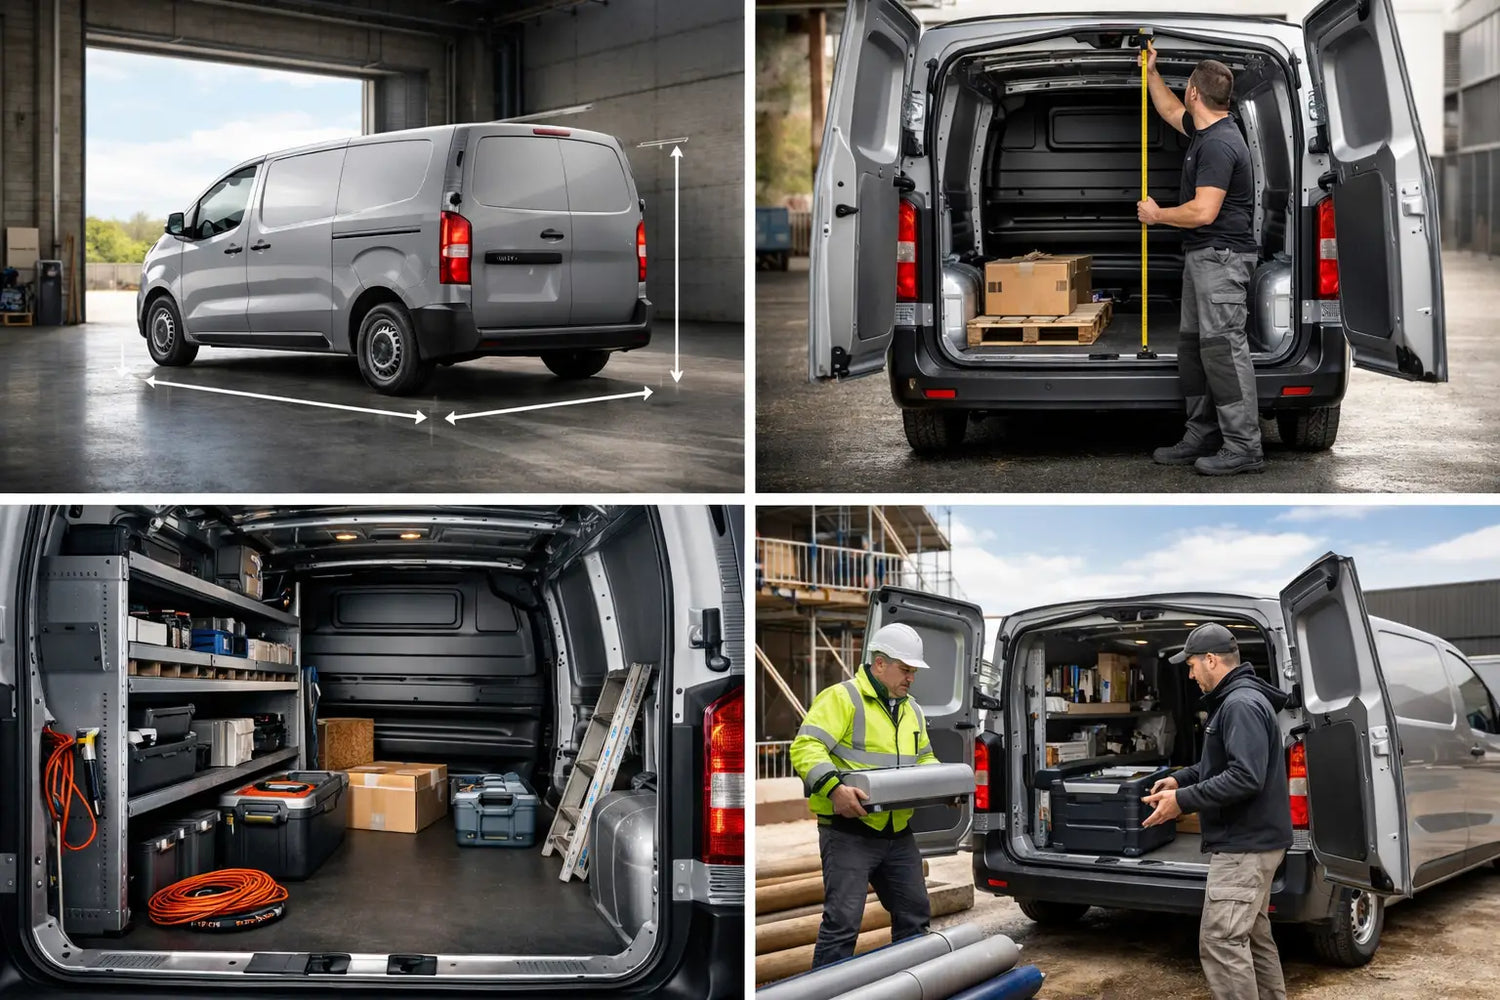
Determine the Optimal Height
For reference there is 70 mm under our false floor. This was predominantly dictated by the height of the pull out picnic benches. Consider these factors when choosing your false floor height:
-
Headroom: Don't sacrifice too much vertical space
-
Item dimensions: Ensure drawers can accommodate your tallest stored items
-
Wheel arch clearance: The floor typically sits just above wheel arch height
-
Door clearance: Account for reduced clearance when entering/exiting
Design Your Layout
Create a layout that takes into account what sort of objects you want to store in the false floor, how big an area it will cover and the shape of the drawers you want to install. Consider:
-
Access points: Rear access, side door access, or both
-
Drawer configuration: Large drawers vs. multiple smaller compartments
-
Special features: Pull-out benches, tables, or specialized tool storage
-
Fixed points: Work around existing features like tie-down points
Van False Floor Installation Options
When it comes to installing a van false floor, you have several approaches ranging from complete DIY to full-service professional installation:
Pure DIY Approach
- Most budget-friendly option (typically £200-500 for materials)
- You measure, cut, and install everything yourself using hardware store materials
- Requires basic woodworking skills and appropriate tools
- Greatest time investment but lowest cost
Modular DIY Kits
- Pre-cut components with detailed instructions
- Available from companies like VanShelves
- Bridges the gap between full DIY and professional services
- Reduces the chance of measurement errors and wasted materials
Semi-Professional Options
- Purchase custom-designed plans from van conversion specialists
- Receive precise measurements for your specific vehicle model
- Execute a professional-grade installation while handling the labor yourself
- Good balance of professional design with DIY cost savings
Mobile Van Outfitters
- Complete the installation at your location
- Typically finished within a day
- Eliminates need for specialized tools and workshop space
- Convenient but more expensive than DIY approaches
Full-Service Conversion Companies
- Offer end-to-end service from design consultation to complete installation
- Use premium materials with professional finishing touches
- Premium price point (£700-1500)
- Highest quality outcome with minimal time investment from you
Each approach offers different balances of cost, convenience, and customization, allowing you to choose based on your budget, skills, and desired outcome.
Materials and Tools Needed
Essential Materials
For the Frame:
-
18x70mm battens (adjust thickness based on desired floor height)
-
Polyurethane adhesive (Tiger Seal, Sikaflex, or similar)
-
Pocket hole screws for batten connections
For the Floor:
-
18mm plywood (marine grade recommended for durability)
-
20mm self-tapping screws
-
Wood glue for drawer construction
For Drawers (if building):
-
18x45mm battens to create the front and sizes of the sliding box
-
5-9mm plywood for drawer bases and fronts
-
Heavy-duty drawer runners (optional)
Finishing Materials:
-
Vinyl flooring, laminate, or rubber matting
-
Foil tape for sealing
-
Edge trim or carpet binding
Required Tools
-
Measuring: Tape measure, straight edge, pencil
-
Cutting: Jigsaw, circular saw
-
Drilling: Drill and impact driver
-
Bits: 2-3mm pilot drill bits, countersink bits
-
Fastening: Screwdriver bits
-
Safety: Safety glasses, dust mask, work gloves
Step-by-Step Installation Guide
Step 1: Preparation and Planning
-
Clean the van floor thoroughly, removing any existing flooring if necessary
-
Take accurate measurements of your van's floor area
-
Create templates using cardboard for curved areas around wheel arches
-
Plan batten placement considering:
-
The battens should be spaced at regular intervals
-
Where plywood sheets will join
-
Support points for heavy items or furniture
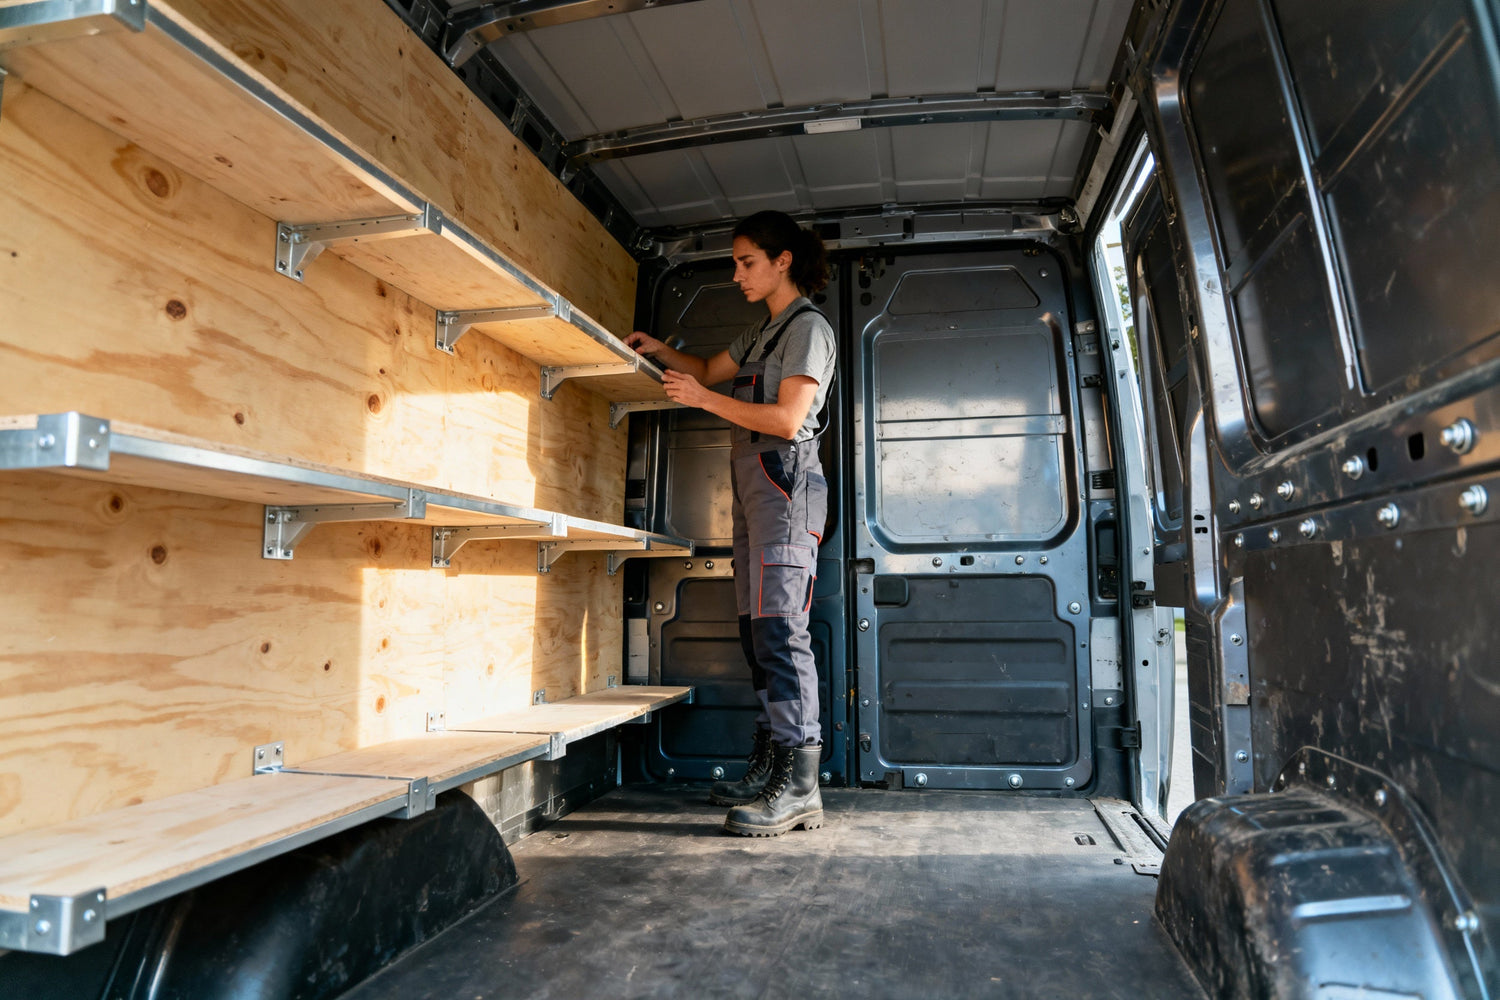
Step 2: Installing Support Battens
-
Mark batten positions on the van floor
-
Apply adhesive: Apply a generous continuous zigzag bead of Sikaflex (or similar adhesive) to the wooden battens
-
Position battens and apply firm pressure
-
Allow to cure overnight for best results
-
Check alignment ensuring all battens are level
Pro Tip: A good quality adhesive with some weights on top while it goes off is more than adequate. Plus each screw put through the metal of your van is a potential rust point.
Step 3: Creating the False Floor Platform
-
Transfer measurements to plywood sheets
-
Cut plywood to size using templates
-
Test fit all pieces before final installation
-
Mark screw locations where battens are positioned underneath
-
Drill pilot holes at regular 200mm intervals
-
Secure plywood with countersunk screws
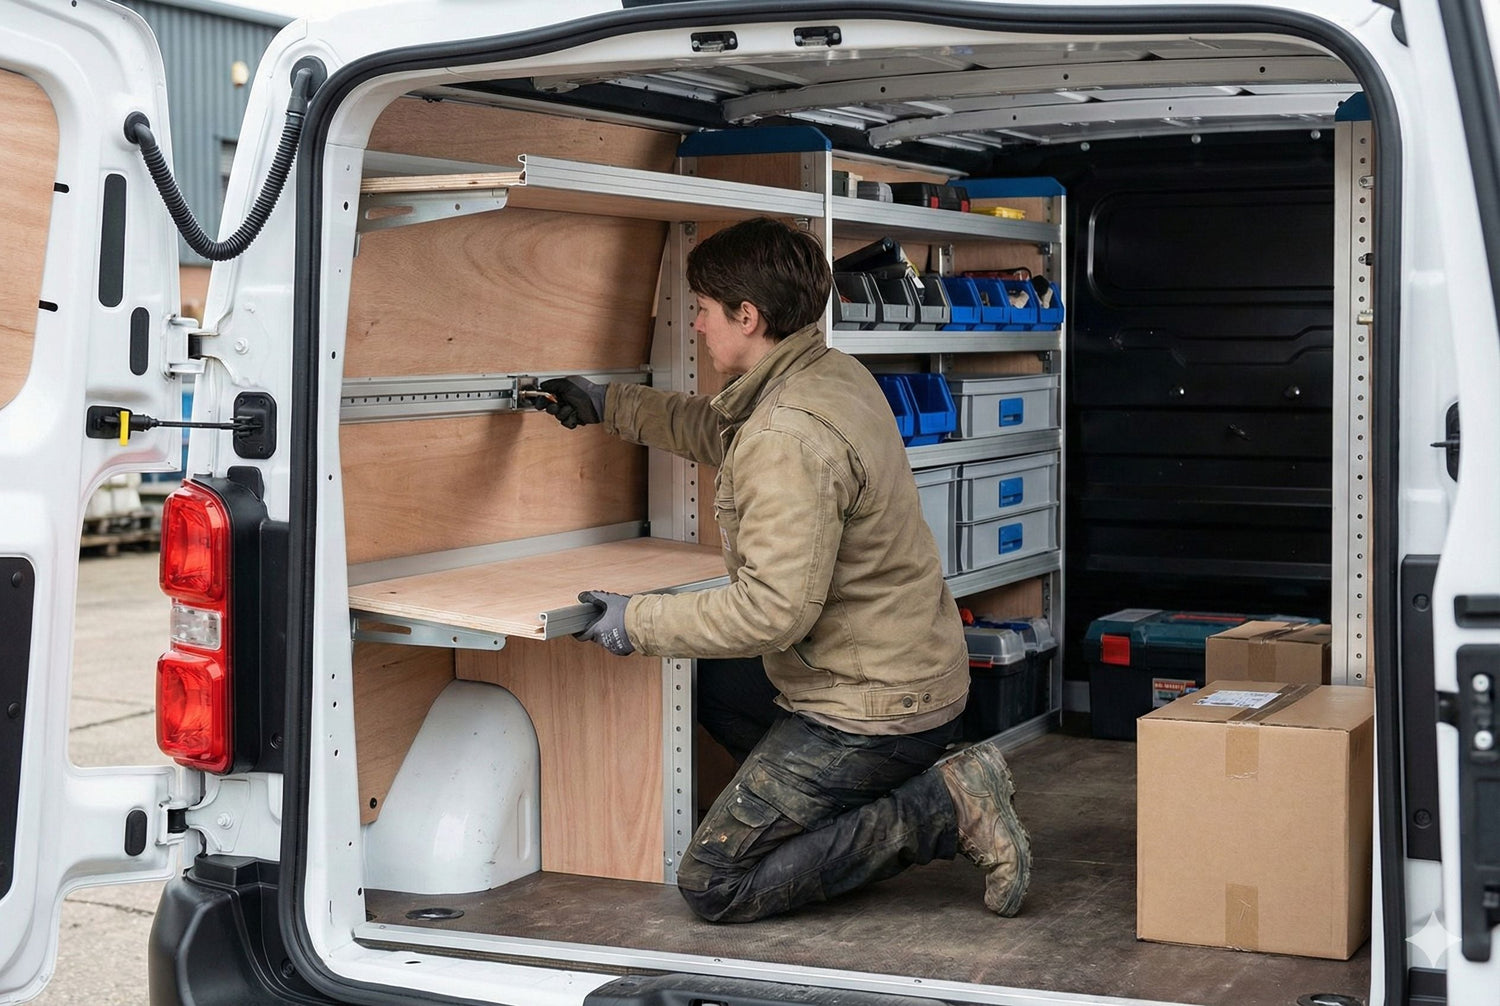
Step 4: Building Storage Drawers
For simple sliding drawers:
-
Measure spaces between battens
-
Construct drawer boxes:
-
We recommend simple boxes that slide on the ply surface opposed to using drawer runners. The main benefit of this is keeping costs down.
-
Use 18x60mm batten for back panel (acts as a stop)
-
Join with wood glue and self-tapping screws
-
Attach drawer bases using 5-9mm plywood
-
Add drawer fronts cut from 9mm plywood
-
Test sliding action and adjust if needed
Step 5: Finishing Touches
-
Sand any rough edges on plywood and drawers
-
Apply your chosen flooring:
-
For vinyl: Use appropriate adhesive and work in sections
-
For rubber matting: Can often be loose-laid
-
For carpet: Stretch and secure at edges
-
Install edge trim at door openings to protect exposed edges
-
Add drawer pulls or handles for easy access
Common Mistakes to Avoid
1. Inadequate Support Structure
1/2 is a minimum and only if you have lots of framing below it. 3/4 would ensure it stays nice and flat. Don't skimp on support battens – insufficient framing leads to a bouncy, unstable floor.
2. Forgetting About Insulation
An important note: if you decide to install a false floor don't skip insulating the area underneath it. It might be tempting to do it, but the lack of insulation in that area will affect the temperature in the whole van.
3. Poor Measurements
Accuracy is crucial. Accuracy is key in this step as you want your floor to span the entire width of the van so nothing can fall into the area below the floor and get lost.
4. Ignoring Weight Limits
Before installing underfloor storage, it's important to consider payload capacity. Storage units add weight to your payload and exceeding the legal limits could result in a penalty.
5. Blocking Access to Important Components
Always consider:
-
Spare tire access
-
Fuel pump access panels
-
Factory tie-down points
-
Electrical connections
6. Using Inadequate Materials
We recommend using 9mm ply or thicker. Anything less than that will not be rigid enough to support any weight and may sag which will affect the usability of the drawers.
Van False floor at Vanshelf
For those looking to implement a professional-grade false floor system without the trial and error of DIY, VanShelves specializes in custom van storage solutions designed specifically for UK van models.
With years of experience creating robust, practical false floor systems, their team offers pre-designed kits that eliminate guesswork while maintaining flexibility for customization.
We showcase numerous real-world installations across various van makes and models, providing valuable inspiration even if you ultimately choose the DIY route.
VanShelves' approach focuses on maximizing usable space without compromising vehicle functionality, with particular attention to weight distribution and practical access—critical factors that DIY builders sometimes overlook.
Whether you're considering professional installation or seeking design ideas for your own project, their gallery of completed builds offers practical insights into what's possible with a well-executed false floor system.
Visit VanShelves if you want us to help you build and custom a van false floor that will match all your needs.
Maintenance and Care
To ensure your false floor system lasts:
-
Regular Cleaning: Vacuum or sweep regularly to prevent debris buildup
-
Check Fasteners: Periodically check screws haven't loosened
-
Lubricate Drawers: If using runners, lubricate periodically
-
Inspect for Damage: Check for water ingress or wood damage
-
Reorganize Periodically: Adjust storage layout as needs change
Cost Considerations
A DIY van false floor typically costs between £200-£500 depending on:
-
Van size
-
Material quality (marine ply vs. standard)
-
Number of drawers/compartments
-
Finishing materials chosen
Professional installation can range from £700-£1500, making DIY an attractive option for those with basic woodworking skills.
Frequently Asked Questions
How much headroom will I lose with a false floor?
Typically 70-100mm (about 3-4 inches). A false floor doesn't have to take much headroom and you can place it in strategic areas – think of the garage, under a platform bed, or the area in front of the sliding door.
Can I install a false floor in any van?
Yes, false floors can be adapted to virtually any van model. We've developed a comprehensive library of designs to ensure that one of our false floors will fit snugly in most Japanese and European van models.
How much weight can a false floor support?
When properly constructed with 18mm plywood and adequate support, Our false floor units can hold 1 tone of weight on top.
Should I use drawer runners or sliding drawers?
For DIY builds, sliding drawers without runners are simpler and more cost-effective. They work well for most applications and are easier to maintain.
Can I remove a false floor later?
Yes, if you use primarily adhesive for battens and screws only for the plywood, the system can be removed with minimal damage to the original van floor.
What's the best flooring material to use on top?
Vinyl flooring is popular for its durability, water resistance, and easy cleaning. Rubber matting works well in work vans, while carpet creates a cozy feel in campervans.
Do I need to insulate under a false floor?
Yes, especially in campervans. The lack of insulation in this area will affect the temperature throughout the entire van.
Conclusion
Building a van false floor is one of the most effective ways to maximize your van's storage potential while maintaining a clean, organized workspace or living area. With proper planning, quality materials, and attention to detail, you can create a storage system that transforms how you use your van.
Whether you're a tradesperson needing organized tool storage or a van life enthusiast seeking hidden storage for adventure gear, a false floor offers the perfect solution. The initial investment of time and materials pays dividends in improved efficiency, security, and professional appearance.
Ready to transform your van? Start planning your false floor project today and join thousands who've discovered the benefits of this clever storage solution.