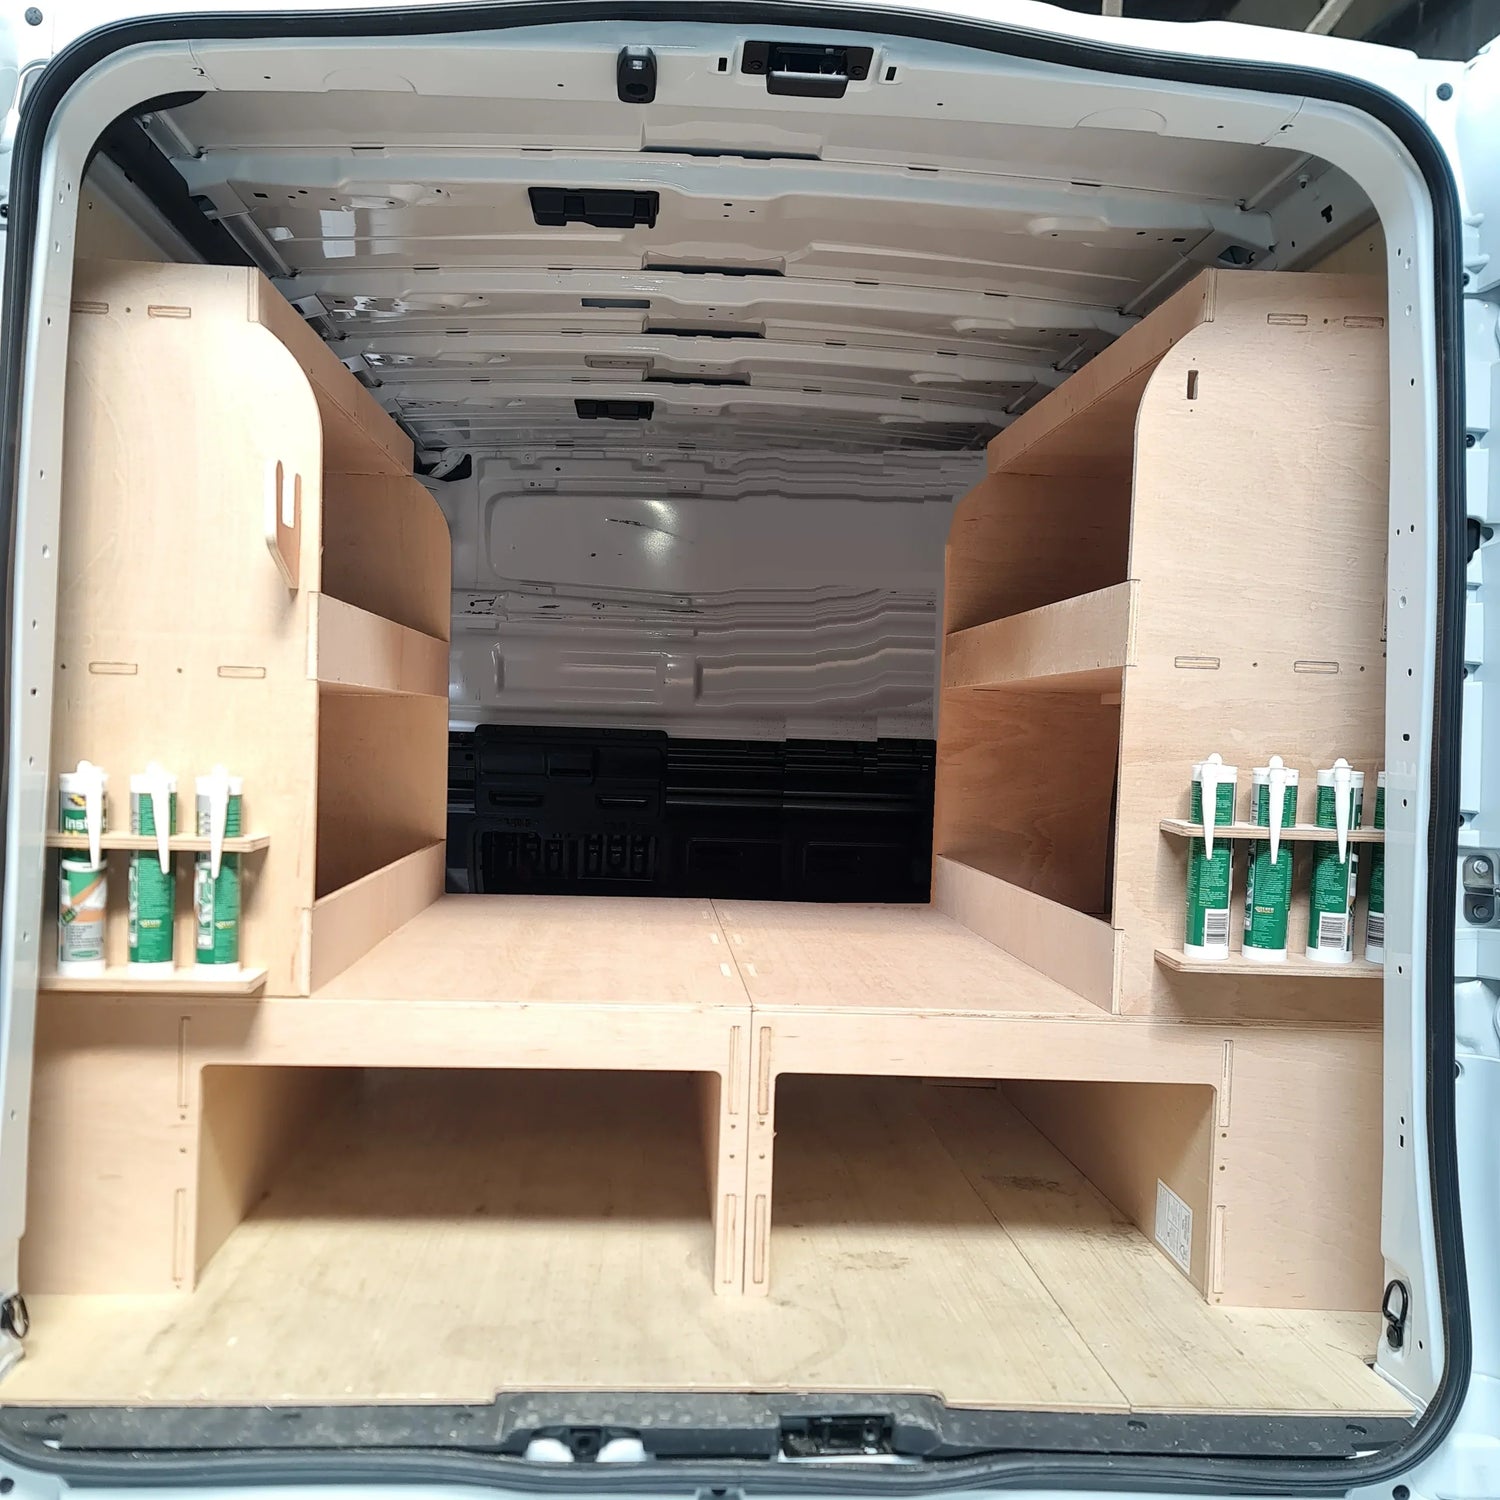











A damaged van floor is more than an untidy load area. It can snag toolboxes, make cleaning harder, expose the vehicle body to moisture and leave racking without a dependable base. A well-planned van flooring replacement restores the working surface of your vehicle and gives you a stronger starting point for organising tools, materials and daily equipment.
For a tradesperson, the right floor is not about making the van look new. It is about protecting the vehicle, reducing wasted time and keeping the workspace practical through a full working week.
When does a van floor need replacing?
A few scratches and marks are normal in a hard-working van. Replacement becomes worth considering when the board is soft, warped, split, badly stained or lifting at the edges. These are signs that moisture may have reached the timber, fixings are no longer holding securely, or the surface is no longer coping with the weight and movement of your kit.
Pay particular attention around the rear doors, side loading door and wheel arches. These areas take repeated impacts from trolleys, tool cases, plasterboard, pipe, ladders and wet footwear. If the board flexes under load or catches when you slide equipment in and out, it will only become more frustrating to use.
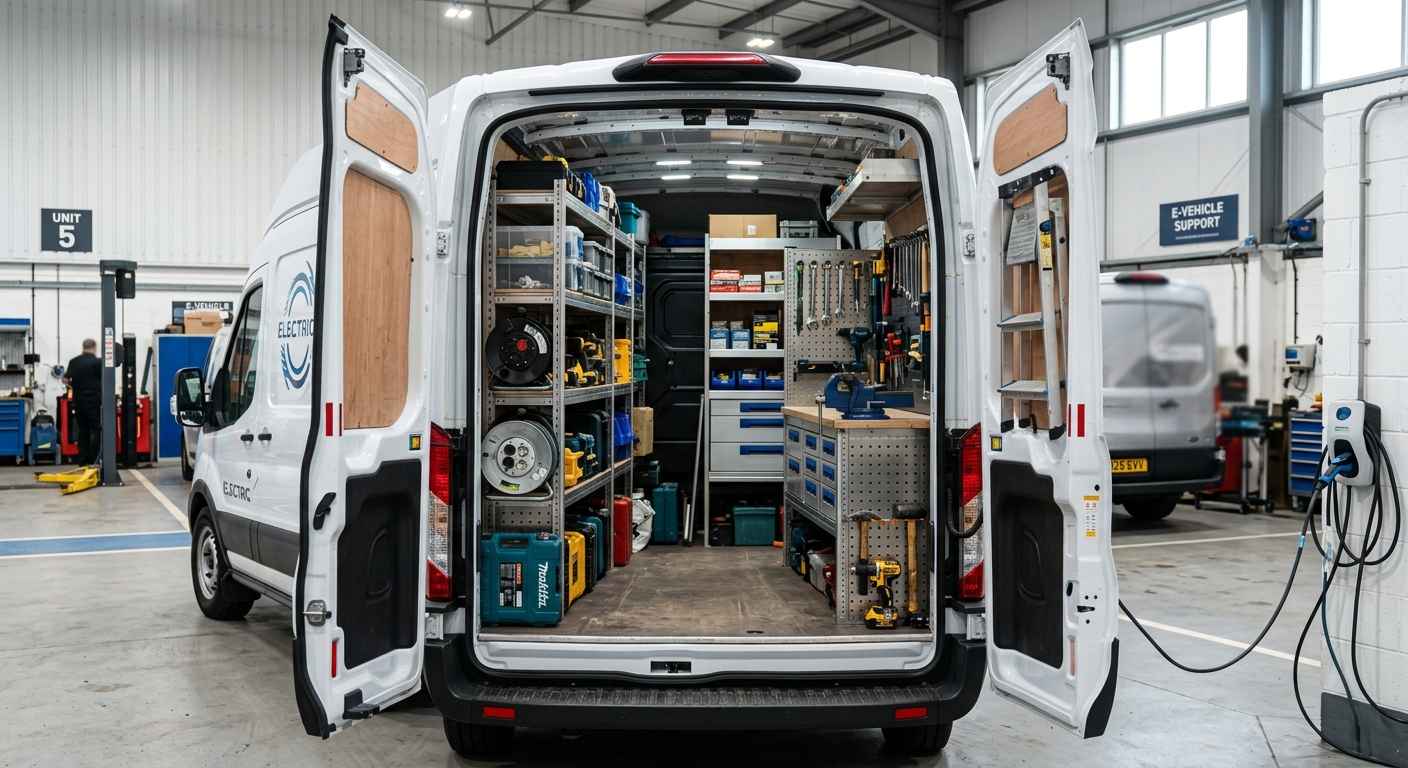
It is also sensible to replace flooring when changing the way the van works. A plumber adding side racking, an electrician carrying more cases, or a fleet operator standardising vehicles may need a floor layout that suits the new setup better than the existing one.
Why van flooring replacement matters
The floor takes the weight of nearly everything you carry. Without a solid, properly supported surface, heavy tools can damage the van's metal load bed and loose items move more readily in transit. A replacement floor creates a sacrificial working layer that is easier and more economical to renew than the vehicle itself.
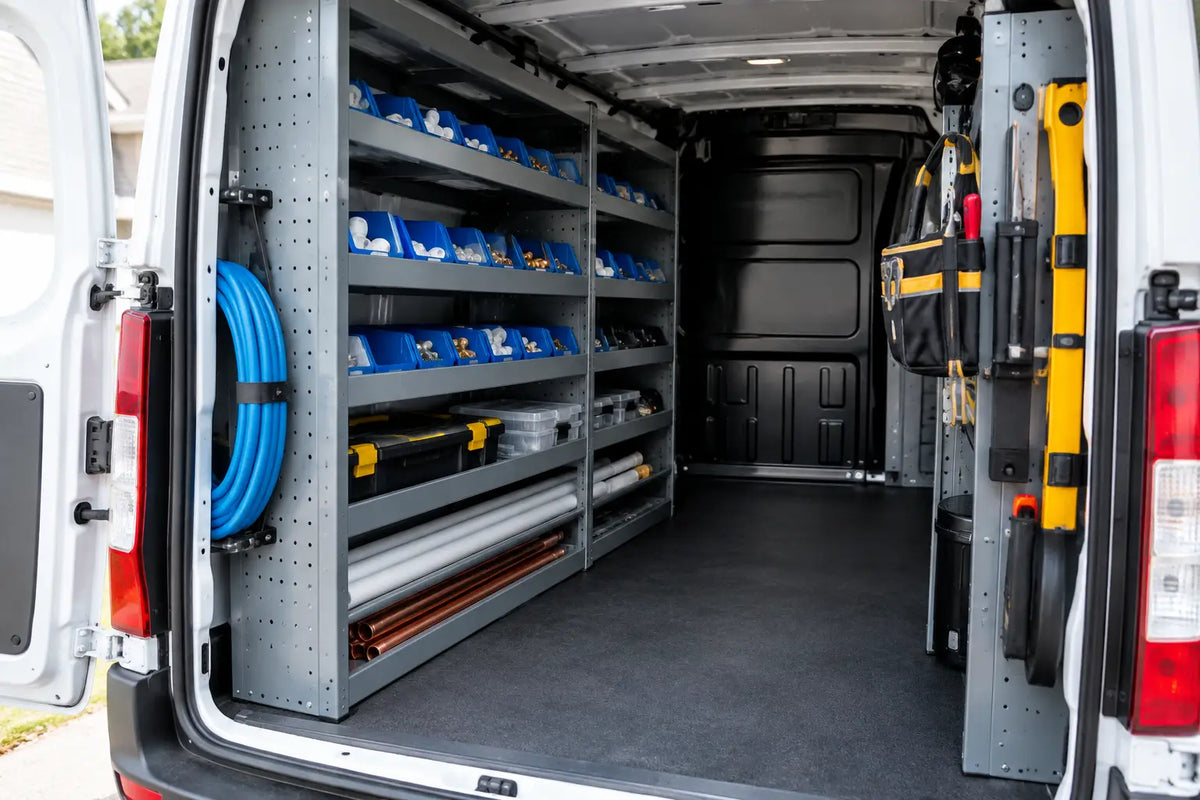
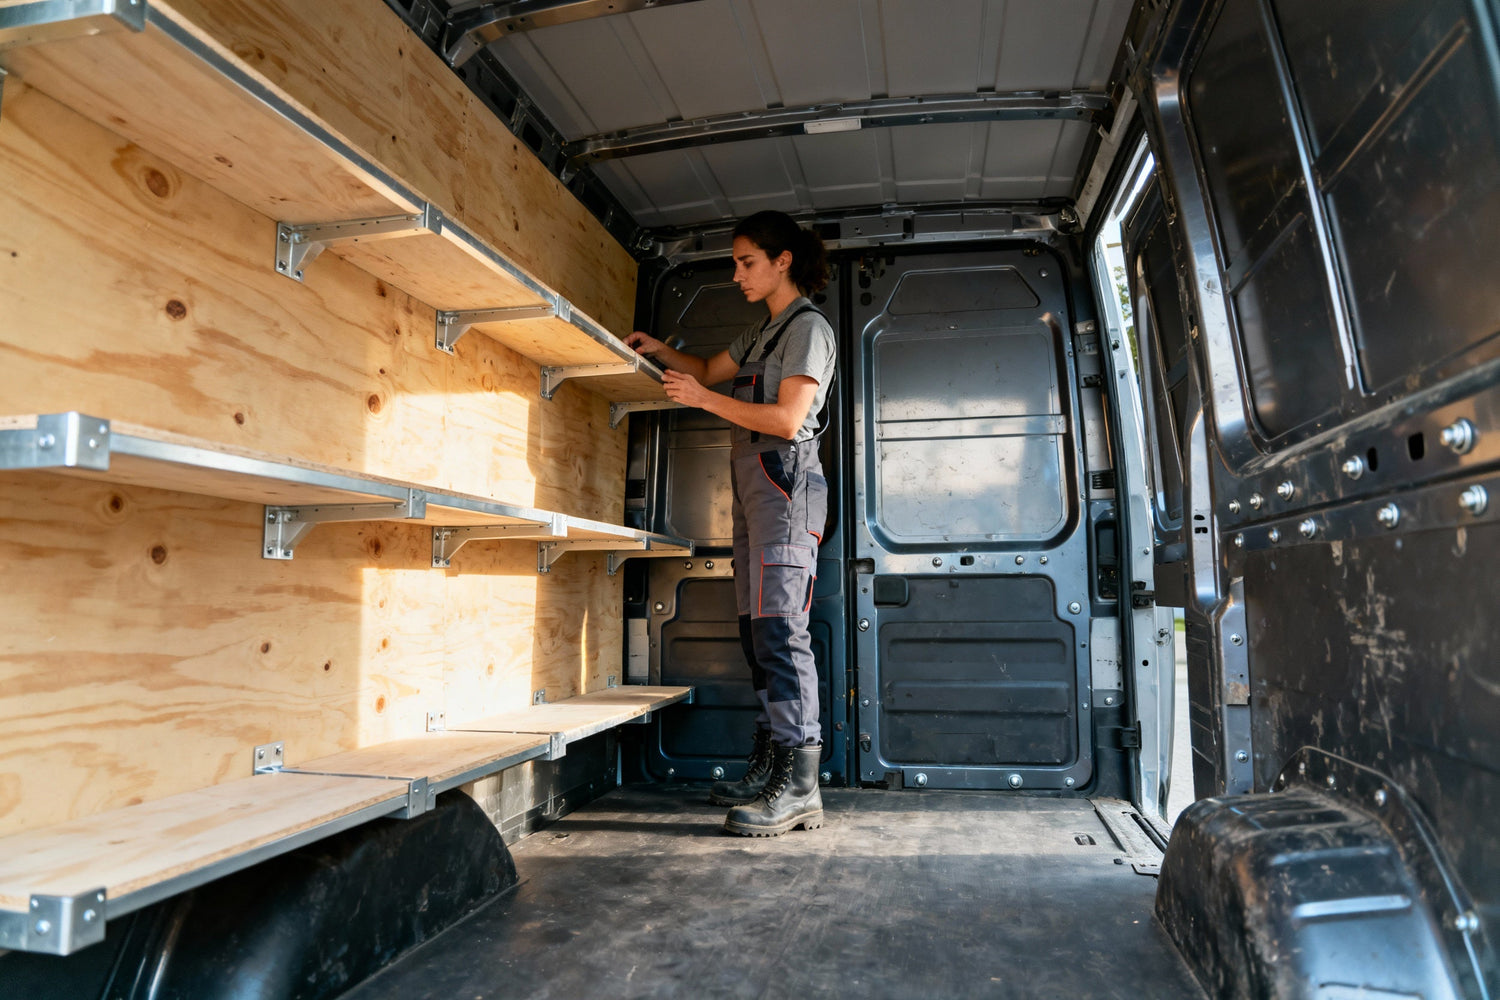
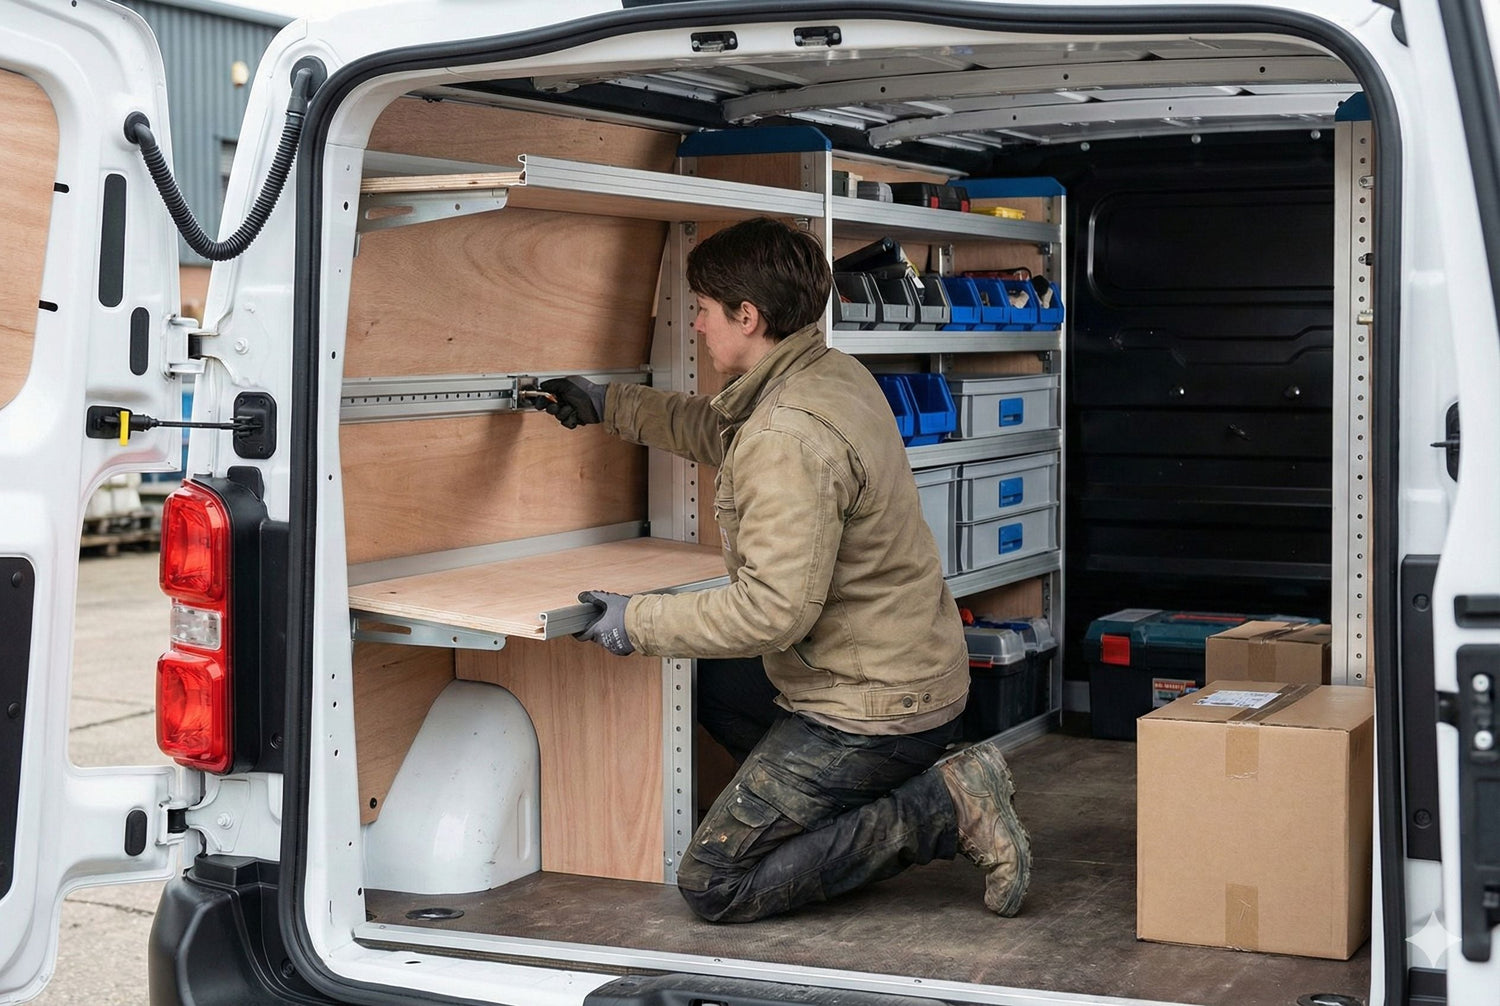
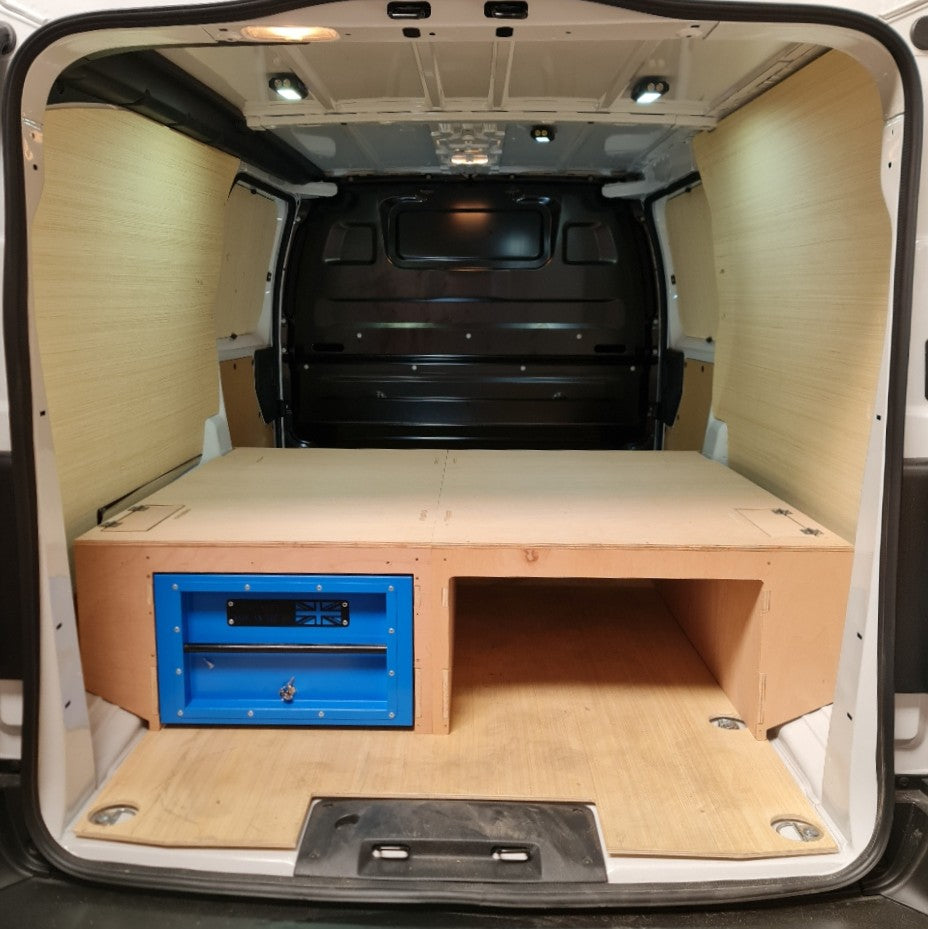
A level floor also makes storage more effective. Shelving, drawer units and tool cases are easier to position when the base is flat and stable. If you are fitting a false floor, it can provide a useful platform for dividing the load area into clear working zones, with space below or around the system for selected equipment where the design allows.
There is a professional benefit too. A clean, organised load space makes it quicker to find consumables, load up for the next job and keep customer-facing equipment presentable. It will not replace good housekeeping, but it makes good housekeeping far easier to maintain.
Choose the right material for the job
The best material depends on what you carry, how often the van is used and whether the floor needs to work with other storage equipment. There is no single board that suits every trade.
Phenolic-faced plywood
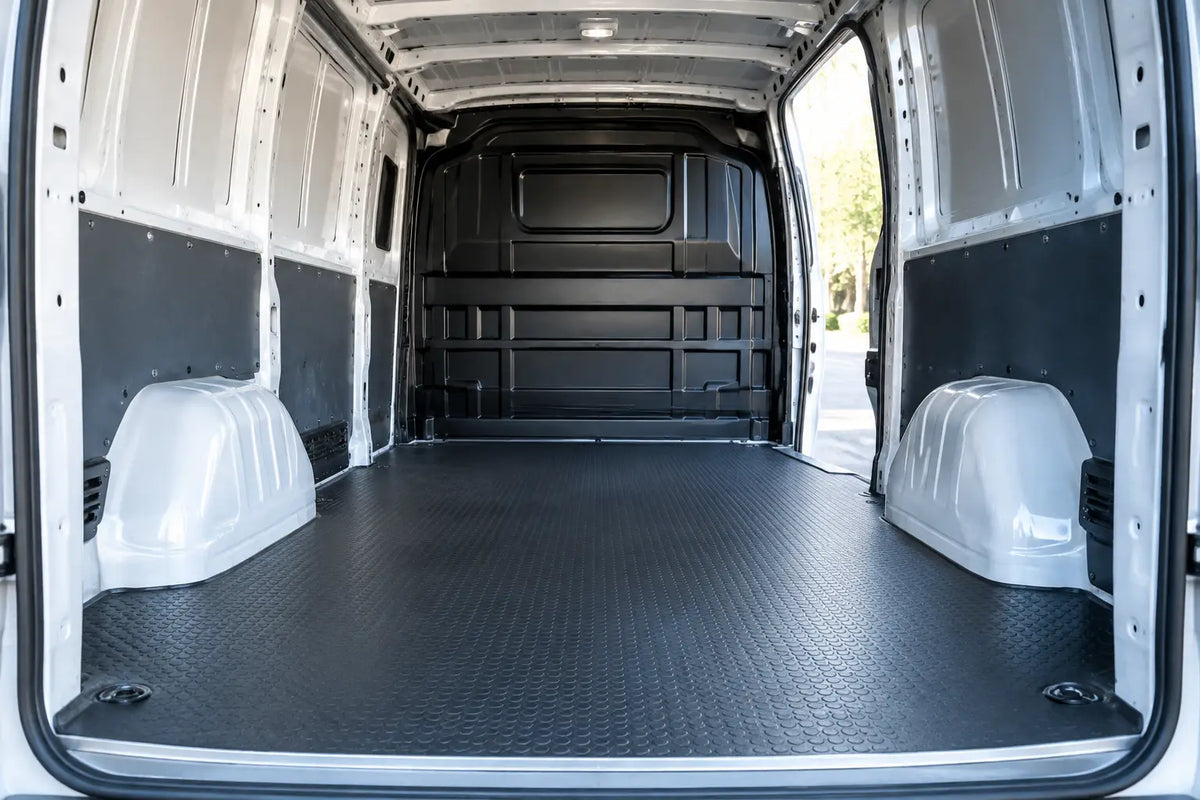
Phenolic-faced plywood is a common choice for commercial van floors because it combines a durable timber core with a hard, textured surface. The grip is useful when entering the van in wet conditions and when moving tool cases or materials. It is generally well suited to daily trade use, provided the edges are protected and the board is correctly fixed.
This type of flooring is a practical all-rounder for electricians, builders, maintenance teams and other users who need an abrasion-resistant load area. The trade-off is weight. A substantial board adds weight to the van, so it is worth considering payload if you regularly carry heavy stock or machinery.
Plain plywood with a protective finish
Standard plywood can be a lower-cost route for light-duty use, but it needs suitable treatment to resist moisture and dirt. Untreated timber absorbs spills and can deteriorate quickly in a working van. It may be appropriate for a lightly used vehicle, but it is less forgiving where wet gear, paint, adhesives or muddy boots are routine.
Rubber and mat-style coverings
Rubber coverings can improve grip and are easier on delicate items, but they are not always a replacement for a structural floor. In many cases, they work better as a top layer over a sound board. They can be useful for service vans carrying cases and equipment that needs extra protection from vibration, although cleaning underneath matters if moisture becomes trapped.
Get the fitment right for your van
A van floor should be selected by the exact vehicle, body length and model generation wherever possible. Load areas that look similar can differ around wheel arches, door apertures, tie-down points and internal contours. A poorly matched board creates gaps, awkward trimming and edges that are more likely to lift over time.
Before ordering, confirm the make, model, year, wheelbase and roof or body variant where relevant. Measure the load area as an additional check if the vehicle has been converted or altered previously. This is particularly important with used vans, where an old floor may have been cut around equipment that is no longer fitted.
Model-specific false floors and storage components can make planning simpler, but always check product fitment details before buying. CNC Work supplies vehicle-focused van storage solutions intended to help working users build a more organised load space without guessing at basic compatibility.
Prepare the load area before fitting
Do not lay new flooring over damp, loose or badly corroded metal. Remove the old board and sweep out all debris, including metal swarf, grit and broken fixings. Check the load bed carefully for surface rust, damaged tie-down points and signs of water ingress around door seals.
Any corrosion should be dealt with properly before the new floor goes down. Covering it may hide the issue temporarily, but it does not stop it getting worse. Let the area dry fully after cleaning, especially in colder or wetter conditions.
This is also the right time to think ahead. If you plan to add shelving, a bulkhead-mounted organiser, tool holders or a false floor, work out where each component will sit before drilling or fixing anything. A few minutes spent setting out the load area can prevent blocked access, wasted space and unnecessary extra holes later on.
Fixings, edges and load security
The strongest board is only as useful as the way it is fitted. Use suitable fixing points and avoid drilling into areas where you could damage vehicle components beneath the load bed. Existing mounting points are often preferable where the floor design supports them. If you are unsure about a fixing location, check the vehicle information or seek qualified advice.
Edges deserve just as much attention as the centre of the board. Exposed plywood edges are vulnerable to knocks and moisture, particularly at the rear threshold and side door. A tidy edge treatment helps the floor last longer and reduces the chance of splinters or snagging when loading materials.
Flooring is not a substitute for load restraint. Toolboxes, machinery and larger equipment should still be secured using appropriate rated points and methods. A non-slip board helps limit movement, but it cannot safely hold a heavy item in place under braking or cornering.
Make the replacement work harder
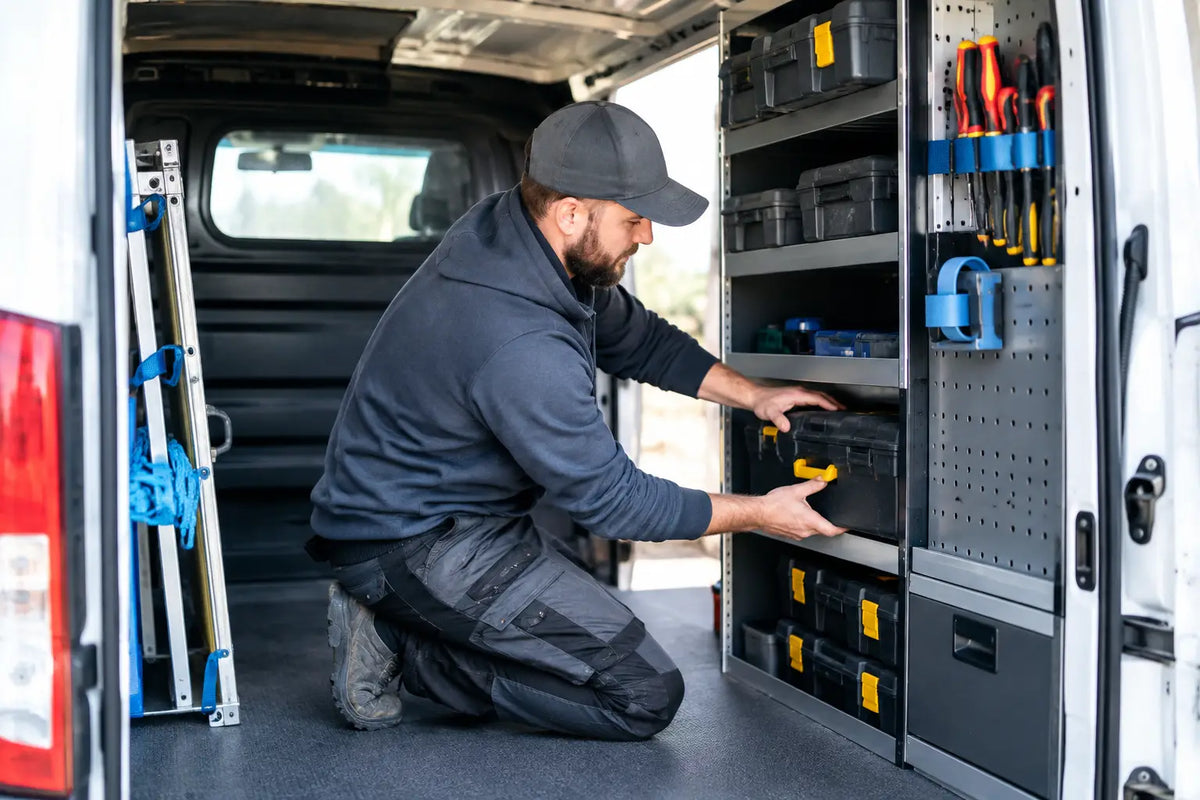
A good van floor becomes far more useful when it supports a clear storage plan. Keep heavy equipment low and close to the bulkhead where practical, while keeping daily-use consumables within easy reach at the side or rear doors. Leave a sensible central route for longer materials, cases or access to the front of the load area.
If your work involves sealants, fixings, wipes, gloves or small parts, dedicated holders can stop these items rolling across the new floor. Pairing the floor with shelving or racking also keeps the load area clearer, so it is easier to sweep out and spot anything that has been left behind after a job.
There is a balance to strike. Filling every available gap can make a van feel organised at first, but it may reduce flexibility when you need to carry a larger item. Build around the equipment you use every day, then retain a usable open area for changing job requirements.
Look after the new floor
Regular maintenance is straightforward. Sweep out grit and offcuts, wipe up spills promptly and check the door edges and fixing points every few months. If you carry wet materials or work in muddy conditions, give the floor time to dry rather than leaving moisture trapped beneath mats, boxes or bags.
A replacement floor should make your van easier to work from, not become another thing to worry about. Choose a material suited to the load, confirm the fitment for your exact vehicle and plan it alongside your storage. Done properly, it gives every tool, case and consumable a better place to work from tomorrow morning.