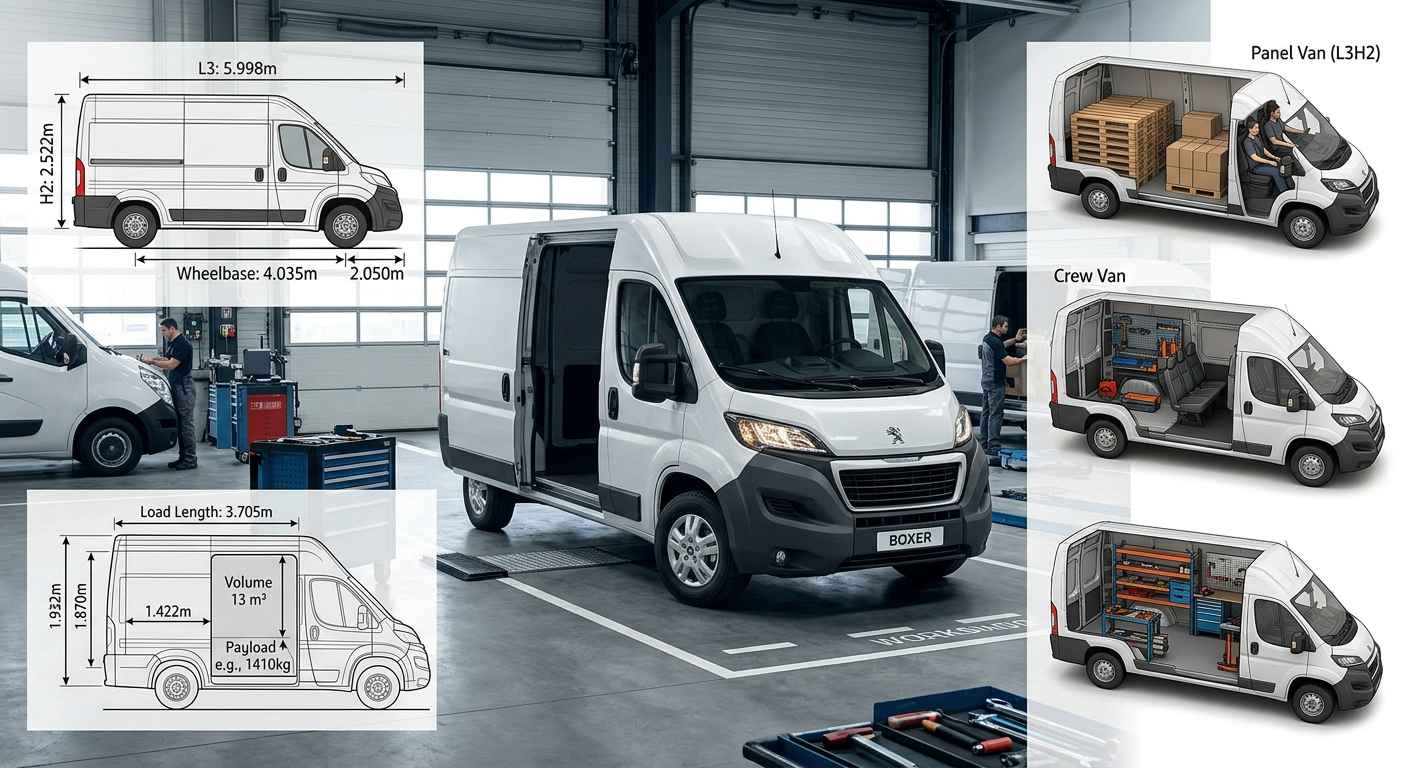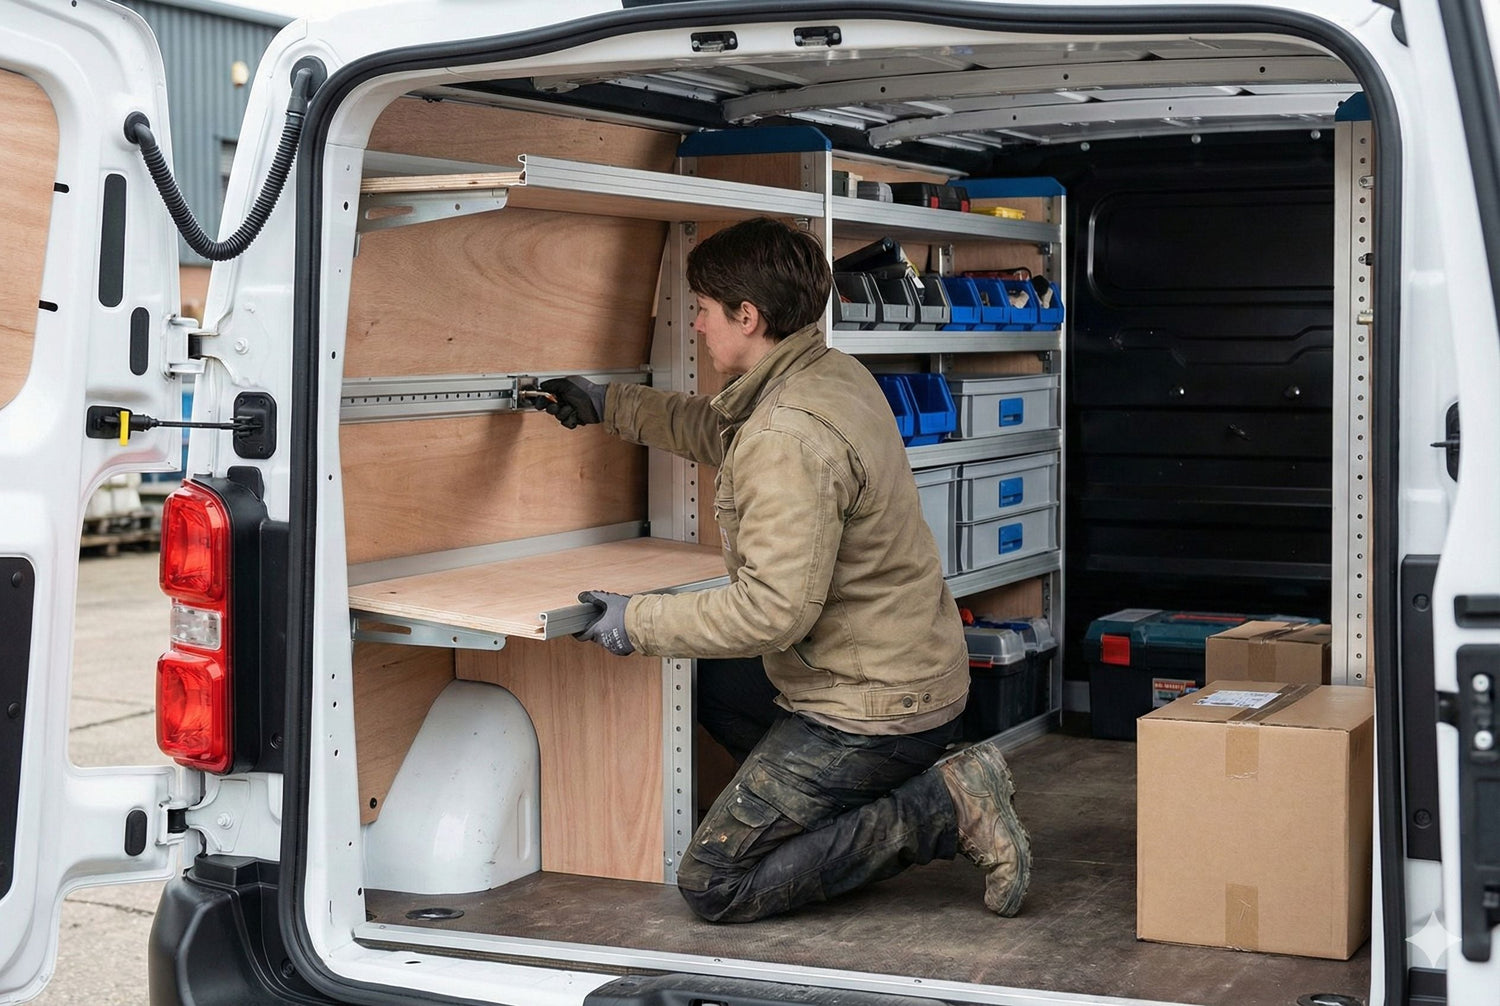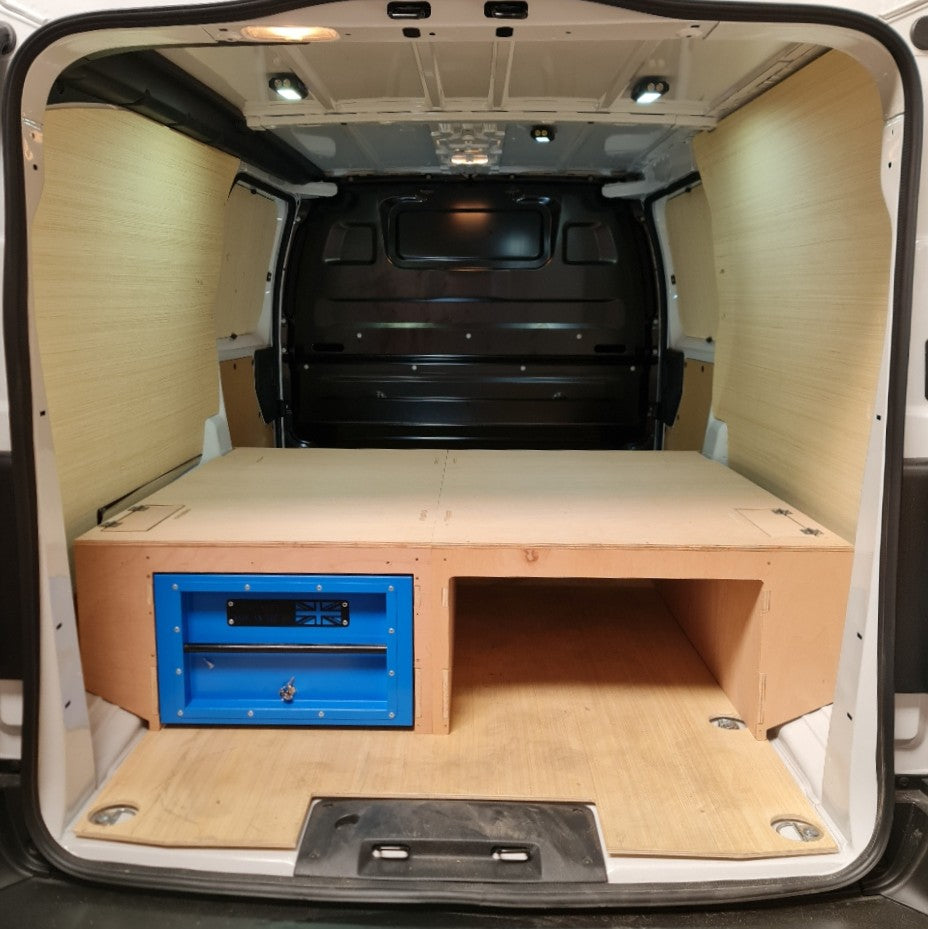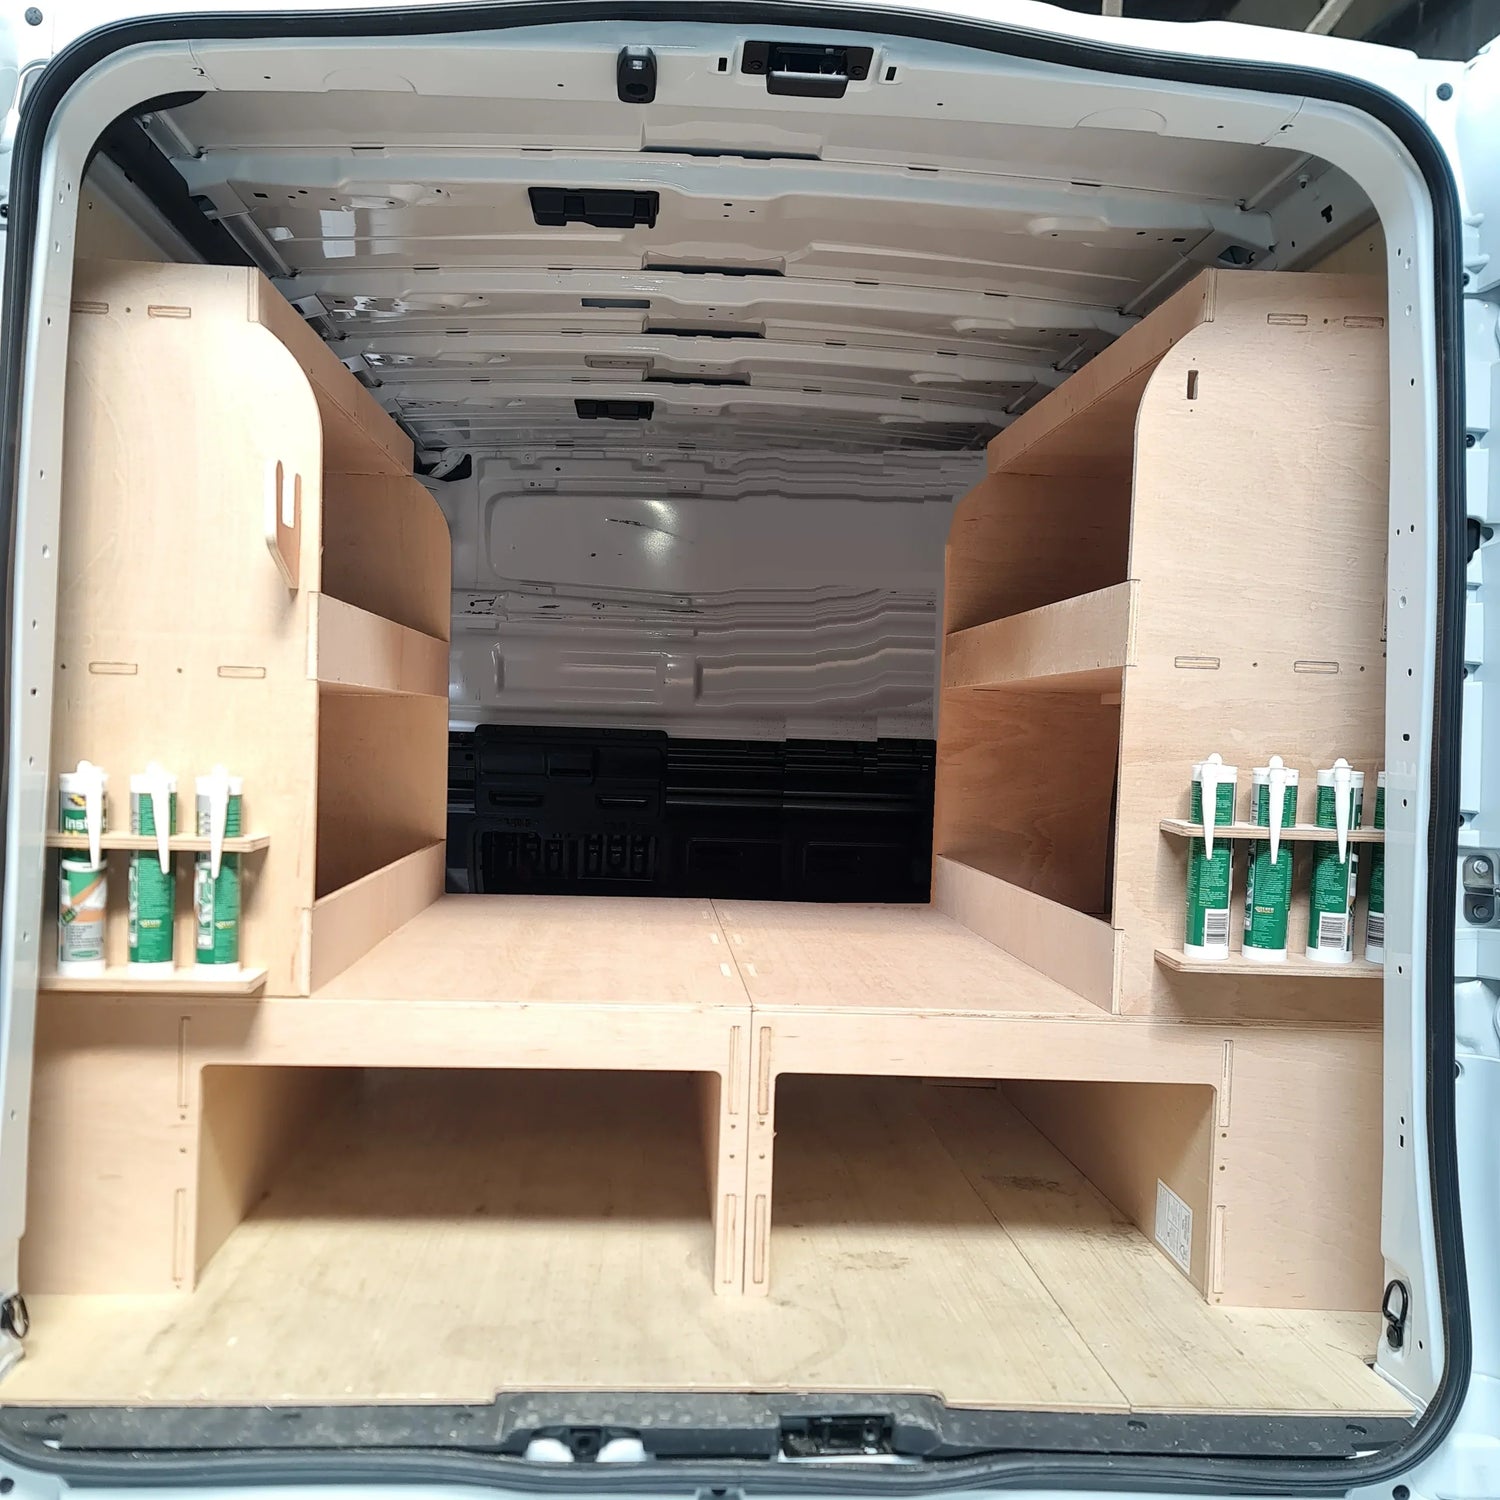











A shelving unit that looks right on paper can still be wrong for the van. A wheel arch may take more room than expected, a bulkhead can reduce usable length, or a low roof can stop a case from sliding onto a shelf. To measure van load space properly, you need the usable dimensions inside your actual vehicle, not just the figures quoted for a van range.
For plumbers, electricians, fitters and maintenance teams, a few accurate measurements can prevent wasted time, unsuitable purchases and a poorly organised work area. They also help you decide whether shelving, a false floor, accessories or a combination of storage systems will make the best use of the space.
Why accurate load-space measurements matter
Manufacturer dimensions are useful as a starting point, but they do not always reflect the van in front of you. Different wheelbases, roof heights, bulkheads, factory linings and trim levels can change the available space. Even two vans with the same badge may have a different internal layout.
Measuring also makes you think about how you work. An electrician carrying organisers, cable, testers and small parts has different priorities from a builder transporting long tools and fixings. A mobile engineer may need clear access to cases at the side door, while a delivery van may need as much unobstructed floor area as possible.
The aim is not to fill every inch. It is to create a layout where tools are secure, frequently used items are easy to reach, and the load area stays practical throughout a working day.
Before you measure van load space
Empty the rear load area as far as possible. Loose cases, bags and offcuts make it harder to measure accurately and can hide obstructions that matter to your layout. Sweep out debris too, particularly around the wheel arches and door openings, so your tape sits flat.
Use a rigid tape measure rather than estimating with a spirit level, a box or a mobile phone app. A second person is useful for longer measurements, especially when measuring from the bulkhead to the rear doors. Record everything in millimetres. It is the simplest way to compare your figures with product dimensions and leaves less room for rounding errors.
You will need a tape measure, a notepad or mobile phone, a straight edge for checking awkward points, and a camera. Photographs of the bulkhead, wheel arches, doors and existing lining are helpful when reviewing dimensions later.
If your van already has plywood lining, a rubber floor, a bulkhead or any other fitted equipment, leave it in place when measuring. Your storage system has to fit the van as it is used, not a bare shell that no longer exists.
How to measure van load space
Start with the floor, then move upwards and towards the doors. Take each measurement at more than one point where the body shape changes. Vans rarely have perfectly square sides, and a single measurement can be misleading.
Measure usable load length
Measure from the rear face of the bulkhead to the inside edge of the closed rear doors. This is your main usable floor length. If there is no bulkhead, measure from the back of the front seats in their normal driving position, but allow clearance so the seats can still move and recline.
Next, measure the length at waist height and near roof level. This shows whether the side panels taper inwards. It matters when planning tall shelving or long drawers, as a unit that clears the floor can still foul the upper bodywork.
If you regularly carry conduit, ladders, trunking or other long materials, measure the clear route from the rear doors through to the bulkhead. A storage plan may need to retain a central channel or a clear section of floor rather than using full-length shelving on both sides.
Measure width in three places
First, measure the widest point between the side walls. Then measure the narrowest point between the wheel arches. Finally, measure the width between any existing lining, panels or fitted shelves.
The wheel-arch measurement is usually the one that determines what can sit on the floor. It affects false floors, drawer systems, stacking boxes and the width available for large cases. Do not assume that a floor-level cabinet can run over or around the arches without checking its design and dimensions.
Measure the space at the height where you plan to fit side shelving as well. The side walls may widen above the wheel arches, providing room for a taller unit or deeper shelf than the floor dimensions suggest.
Measure internal height and roof shape
Measure from the finished floor to the lowest point of the roof. Take one figure near the centre and another close to each side wall. Roof ribs, headlining and curved roof sections can reduce clearance where tall storage is positioned.
If you are considering top trays, high-level shelving or carrying tall cases upright, check the clearance at the actual location of the item. A few millimetres can be the difference between a practical setup and one that forces you to load equipment at an angle every time.
Check door openings and access points
A storage unit can fit inside the load area but still be difficult to load through the doors. Measure the rear door opening width and height, then do the same for the side loading door if you use it during the day.
Also note the position of door stays, hinges, latches, interior lights and any factory tie-down points. These features should remain accessible where possible. They can influence where a rack ends, how deep a shelf can be, and how easily you can remove cases.
Record the features that take up space
Dimensions alone do not give a full picture. Draw a simple plan of the load area, even if it is only a rectangle in a notebook. Add the bulkhead, wheel arches, side door, rear doors, tie-down rings, trims and any existing equipment.
Mark which side you normally load from and where you stand when selecting tools. For example, placing your most-used consumables beside the side door can cut down repeated trips around the back of the van. Heavier tools are generally better kept low, while lighter boxes and frequently used small items can go on accessible shelves.
Measure the wheel arches individually. They may look identical, but linings, fuel filler arrangements or interior panels can make one side less clear than the other. Check for low-mounted lights and protruding door catches too.
Use your van load space measurements to plan storage
Once your figures are written down, compare them against the external dimensions of the storage you are considering. Allow a sensible margin rather than working to an exact millimetre. Vans flex slightly, linings are not always perfectly straight, and you need enough clearance to position components without damaging trim.
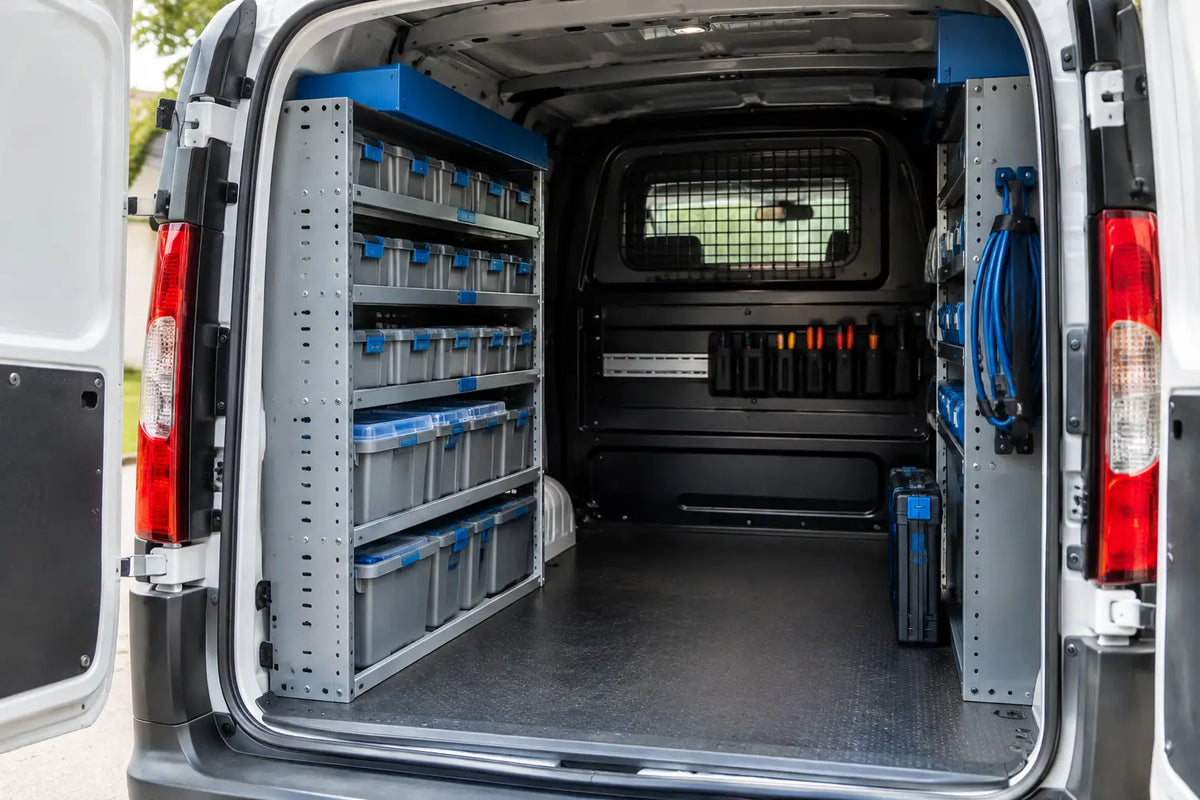
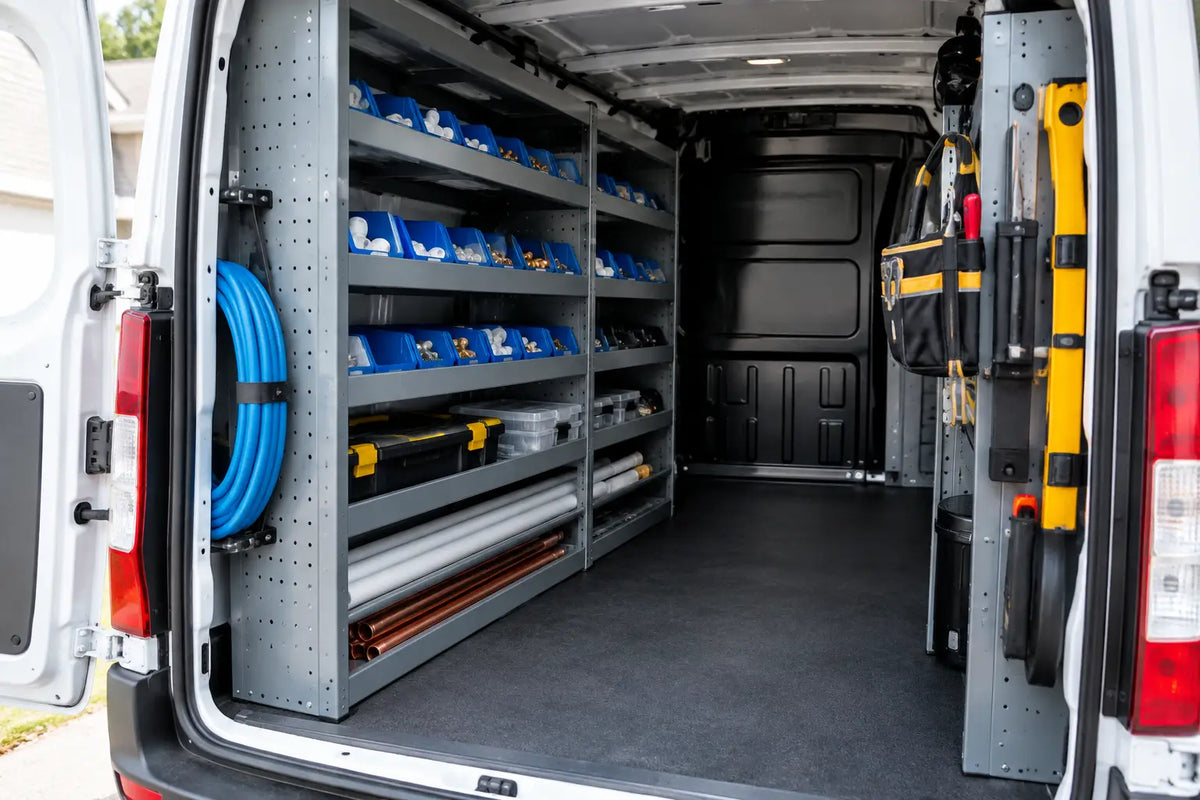
Think in working zones. A common trade layout uses shelving for small parts on one side, room for tool cases or materials on the other, and a clear route through the centre. This will not suit every job. A decorator may need floor space for paint and dust sheets, while an engineer may value organised access to a wide range of small components.
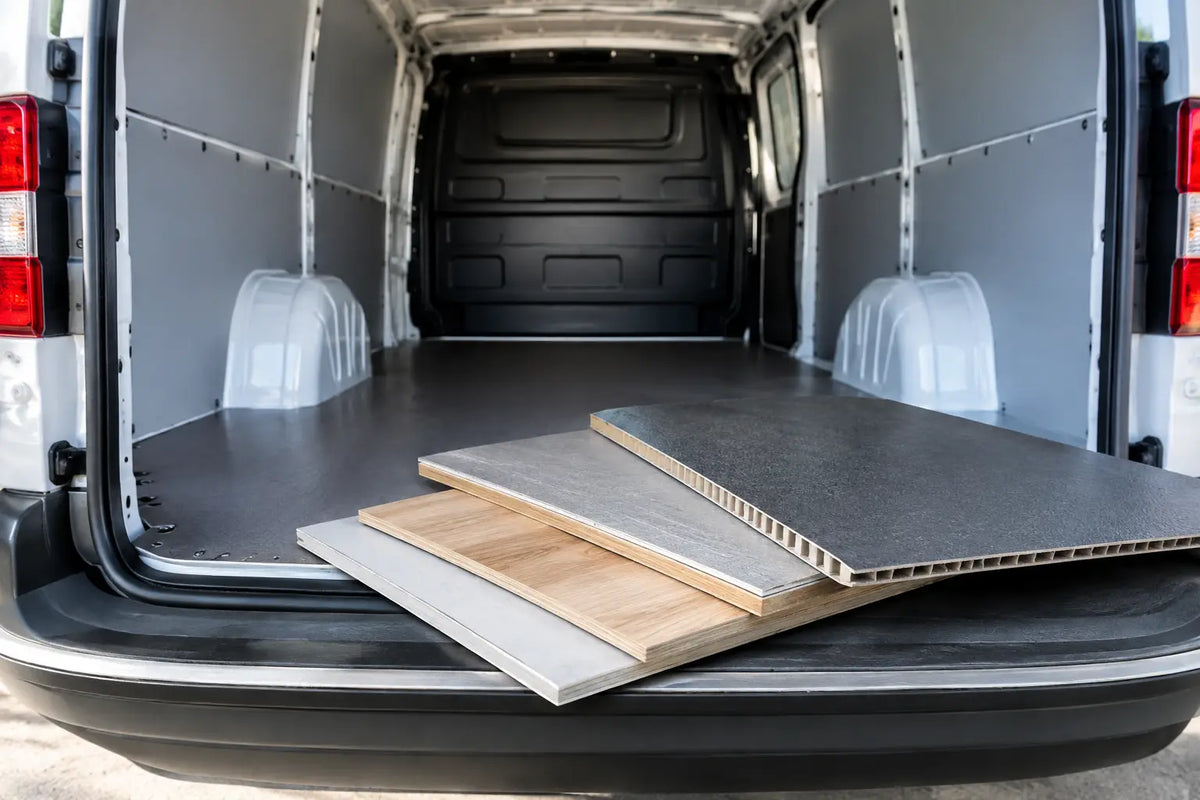
False floors can improve organisation by creating a flat, protected base and, depending on the design, providing underfloor storage. But they raise the finished floor level. Recheck the remaining internal height before committing to tall racking or upright cases.
Choose vehicle-specific storage only after confirming the exact make, model, wheelbase, roof height and year where relevant. Product categories are useful for narrowing the choice, but your own measurements are the final practical check, particularly on vans with existing lining or previous modifications.
Common measurement mistakes to avoid
The most common error is using maximum load length or width as though it applies everywhere. Vans narrow around arches, curve near the roof and lose space at the doors. Measure where the storage will actually sit.
Another mistake is forgetting about access. A rack that blocks a tie-down point, makes a case hard to remove, or leaves no room to open an organiser properly will soon become frustrating. Leave space for your hands, not just the item itself.
Finally, do not plan around today’s load alone. Consider the tools, stock and materials you use across a normal month. A well-organised van should support routine work without becoming a permanent pile of cases on the floor.
Take careful measurements before buying, then build the layout around the jobs you do most often. That bit of preparation makes it far easier to choose practical shelving, flooring and accessories that keep the van organised and ready for work.