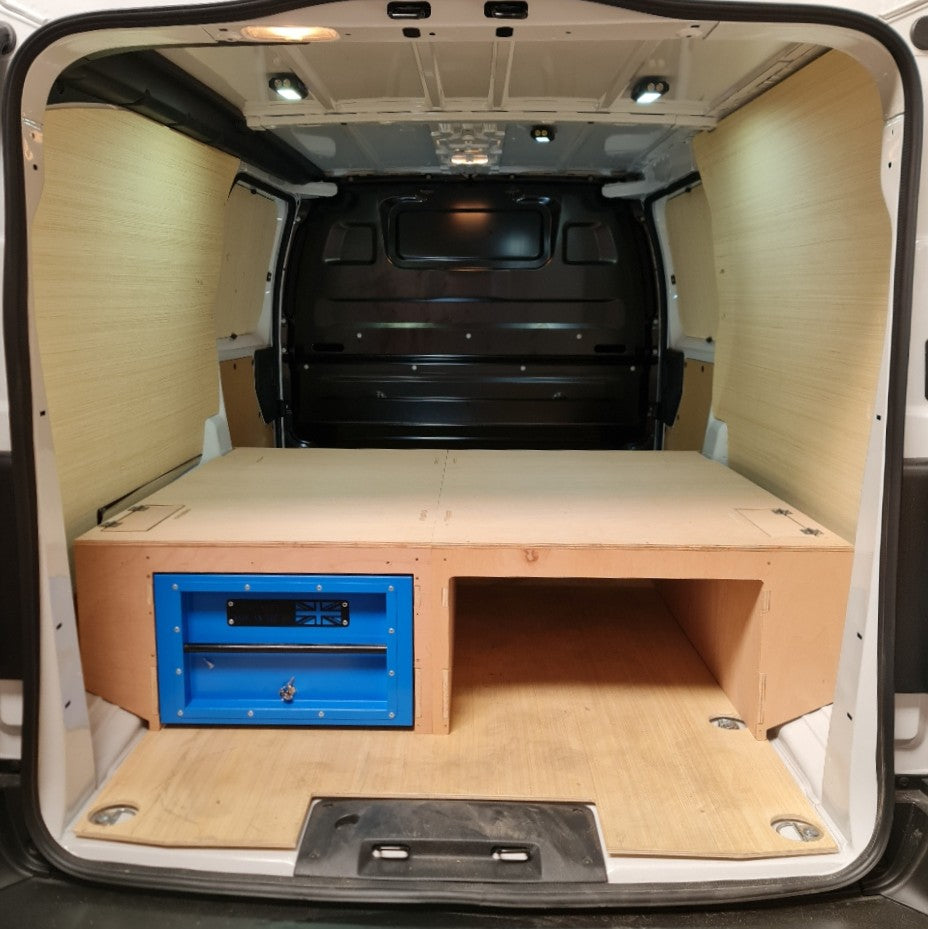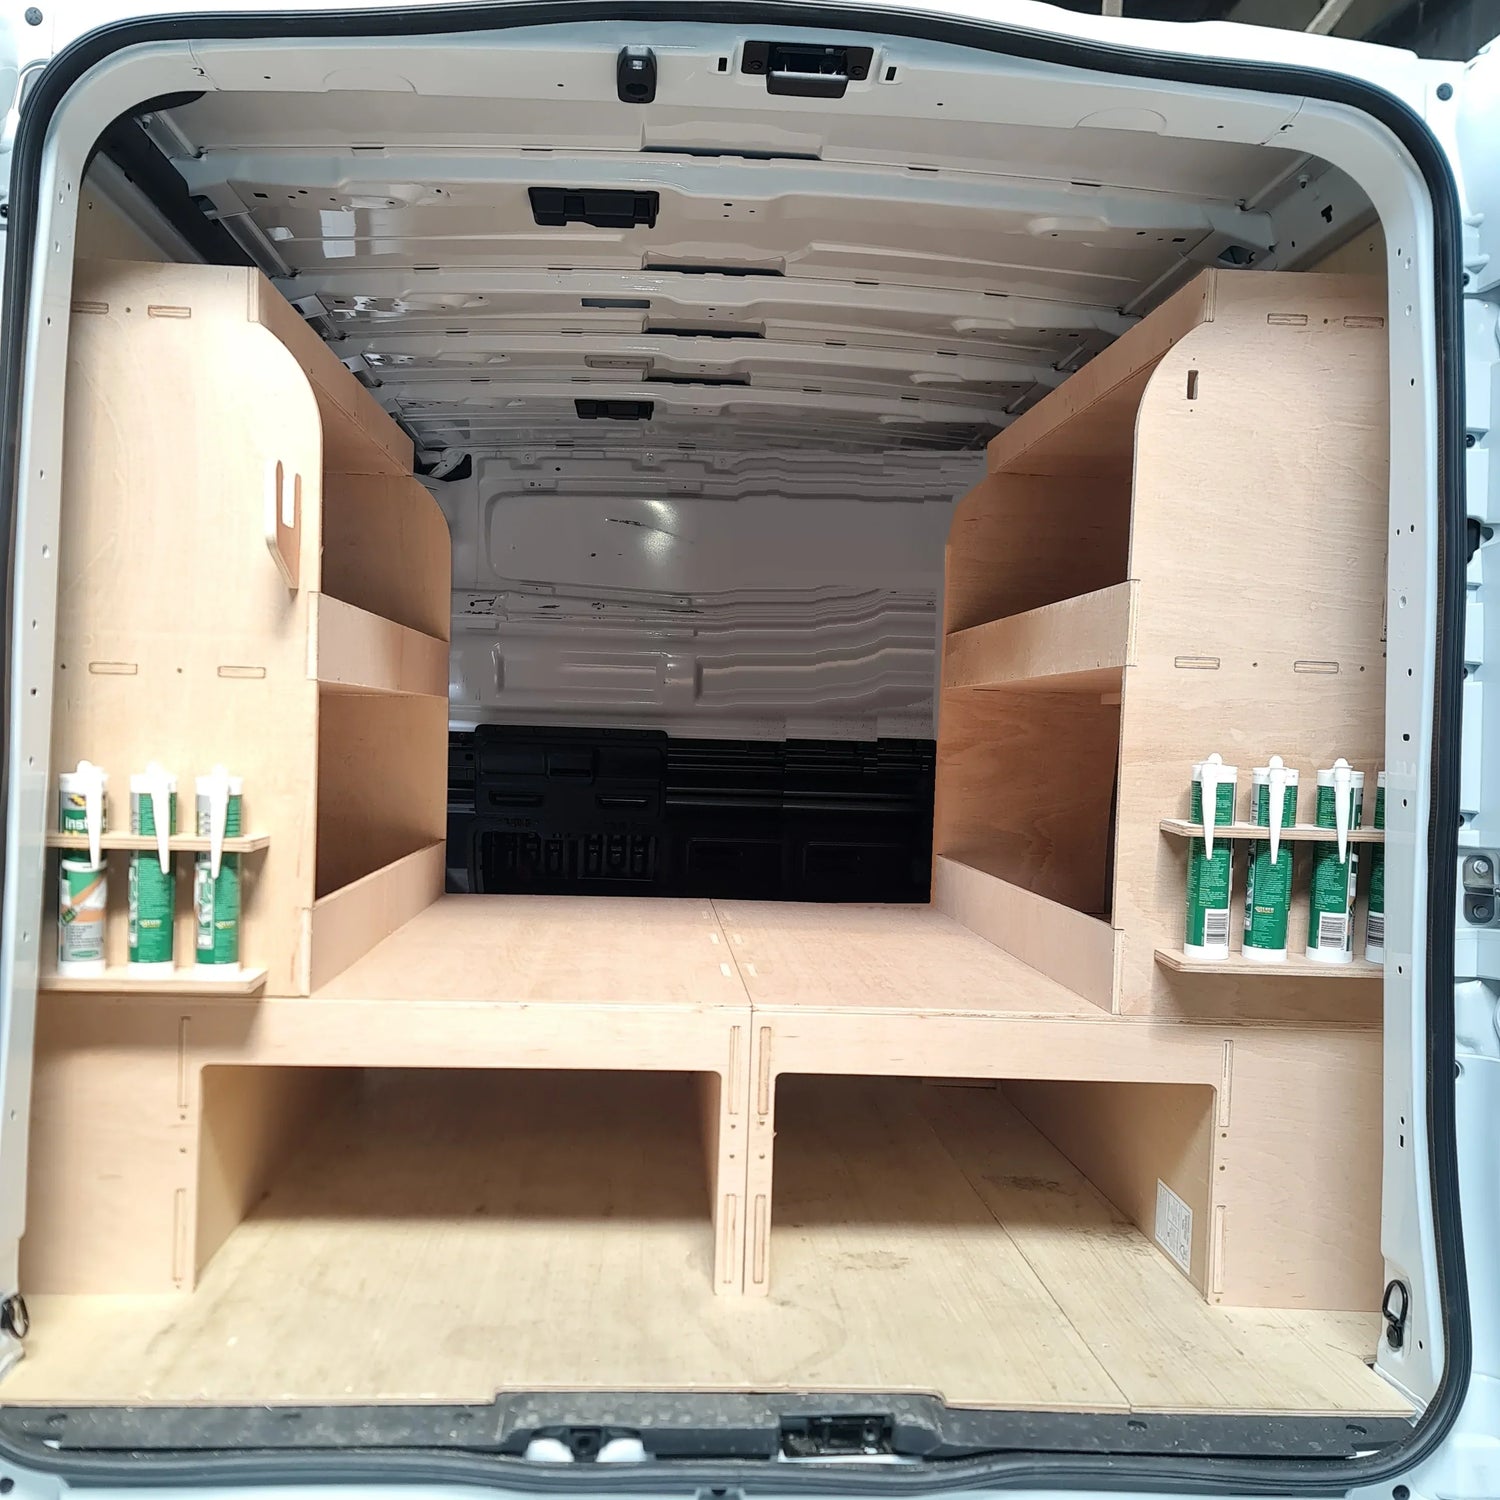











A working van floor takes a harder beating than most people expect. Toolboxes slide in and out, bags of fittings get dropped, ladders scrape across the deck and wet boots bring in grit. The right Citroen Dispatch flooring gives your load area a tougher, flatter base and makes the rest of your storage system work properly.
For a plumber, electrician, fitter or maintenance engineer, this is not just a cosmetic upgrade. Flooring protects the original van floor, helps keep equipment stable and creates a more organised starting point for racking, shelving and day-to-day storage. The best choice depends on how you use the van, what you carry and whether you are fitting other equipment around it.
Why Citroen Dispatch flooring is worth fitting
The factory load area is built for general use, but trade work is rarely gentle. Repeated loading can mark, dent and wear the original surface, particularly around the side door and rear threshold. A properly fitted false floor or load-area floor helps take that punishment instead.
It also gives you a cleaner, more usable workspace. Loose items are easier to sweep out, and a flat, solid surface makes it easier to position cases, boxes and material. When you open the rear doors at the start of a job, a tidy van makes it quicker to see what is there and get moving.
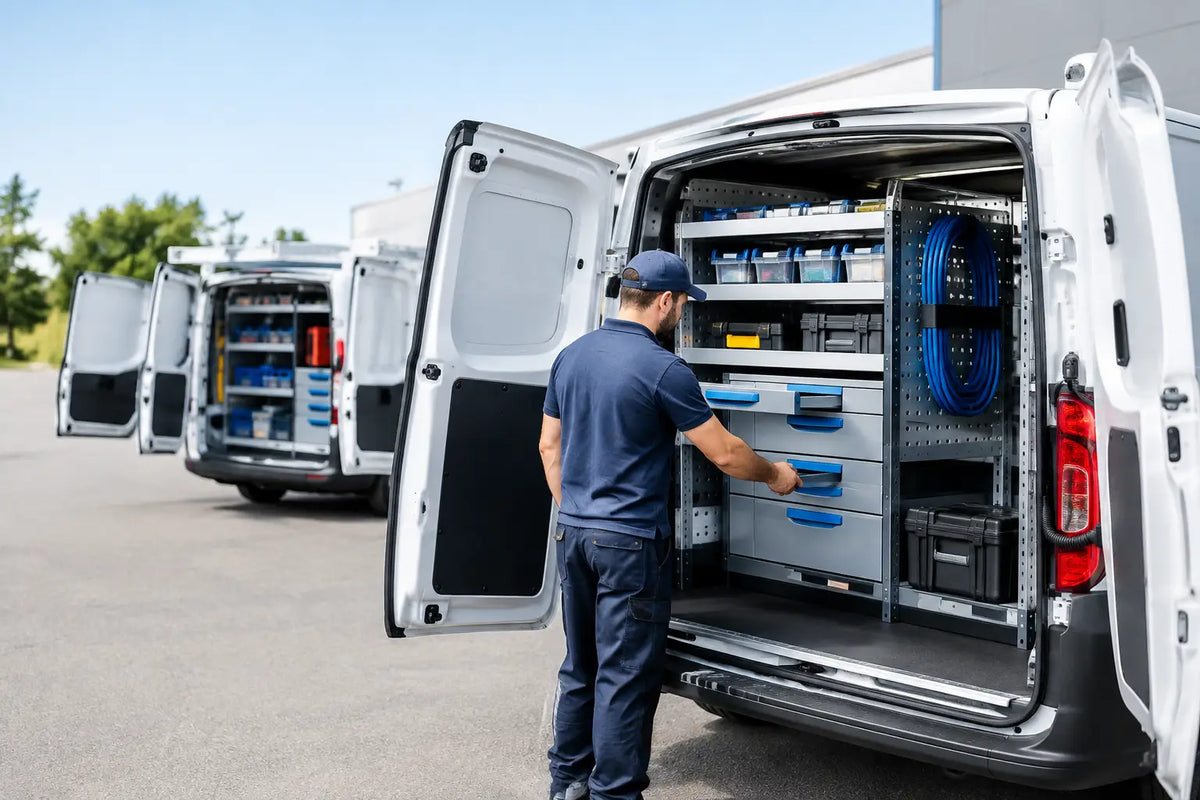
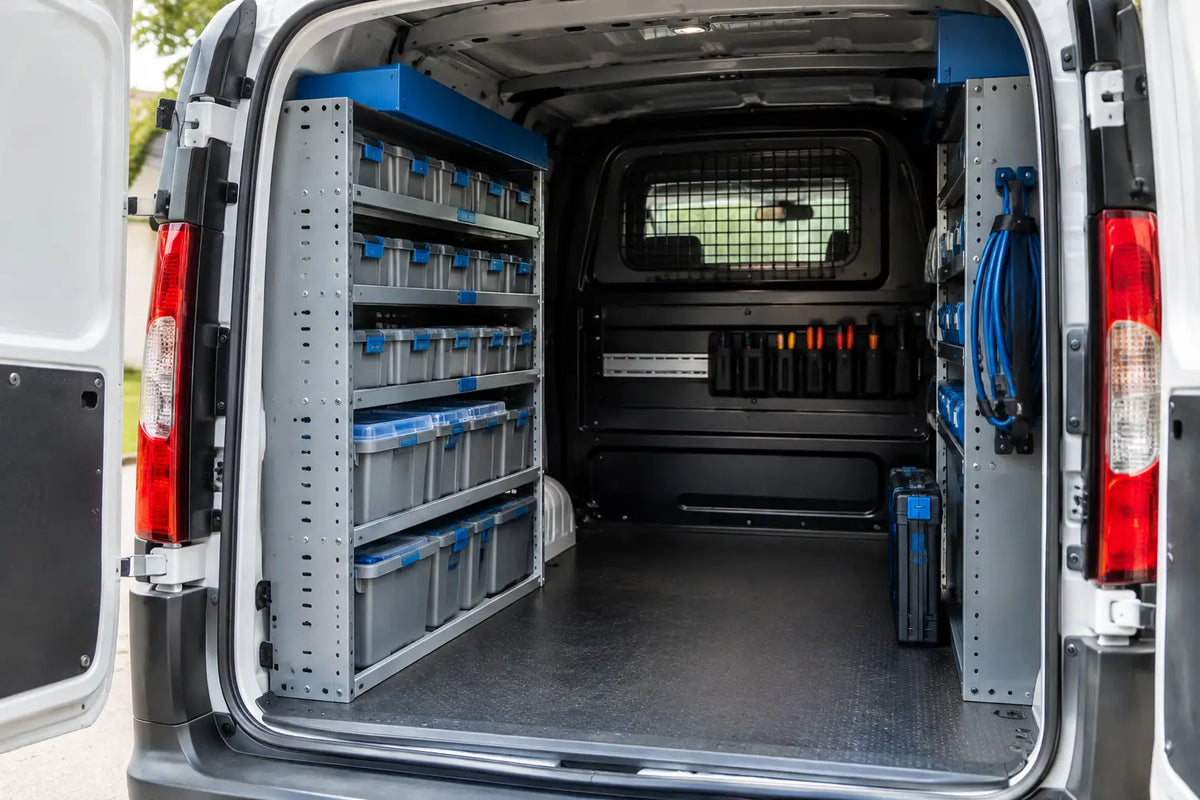
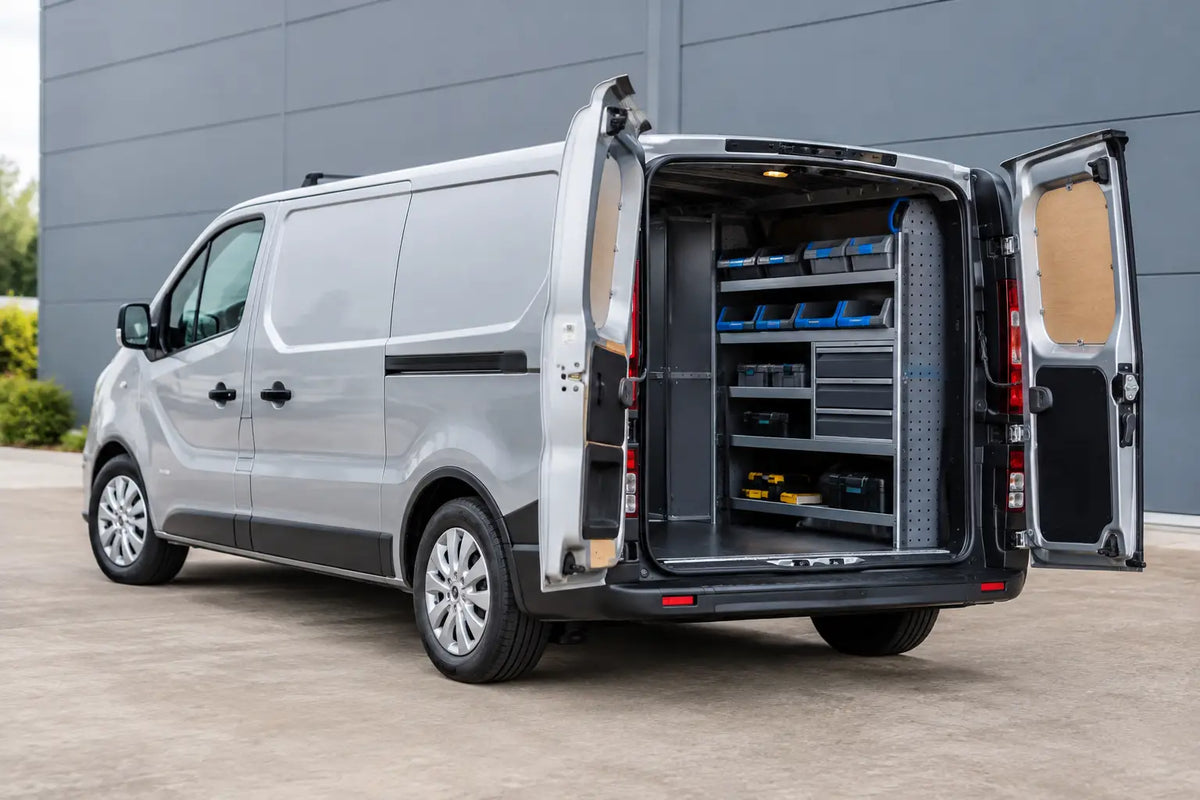
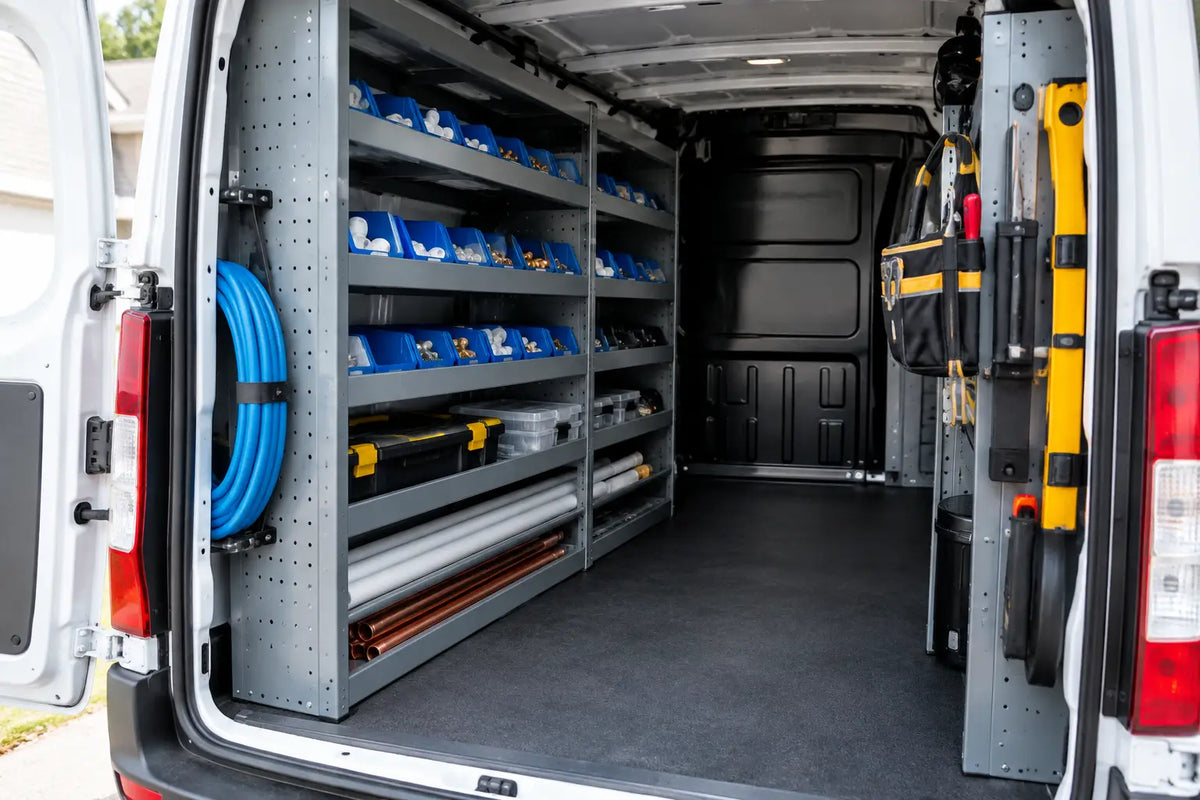
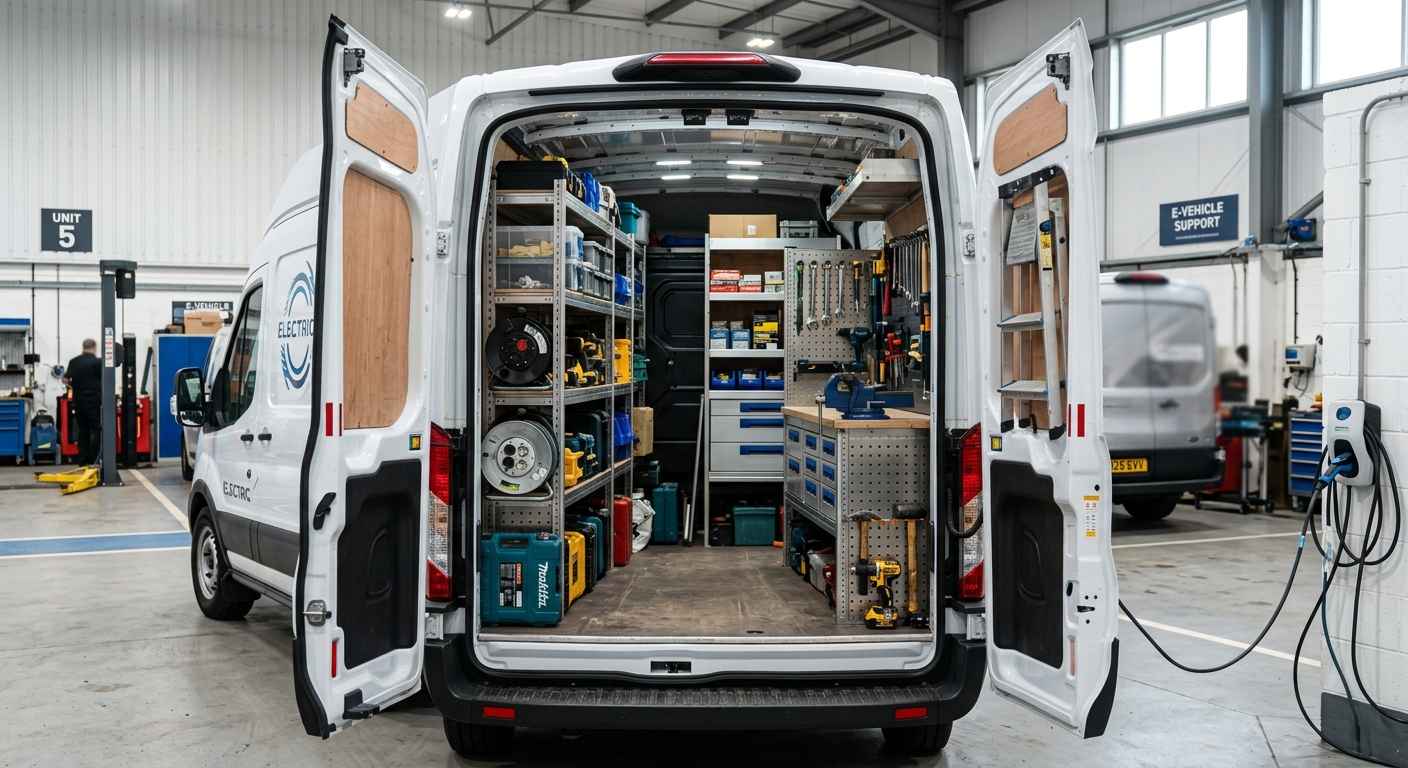
Flooring becomes even more useful when you are planning van racking. A strong base can provide a sensible foundation for a well-organised fit-out, helping you build a van around the way you actually work. Heavy tools can stay low, smaller consumables can sit in shelving, and the central floor space remains available for longer materials or larger equipment.
Start with your Dispatch model and load area
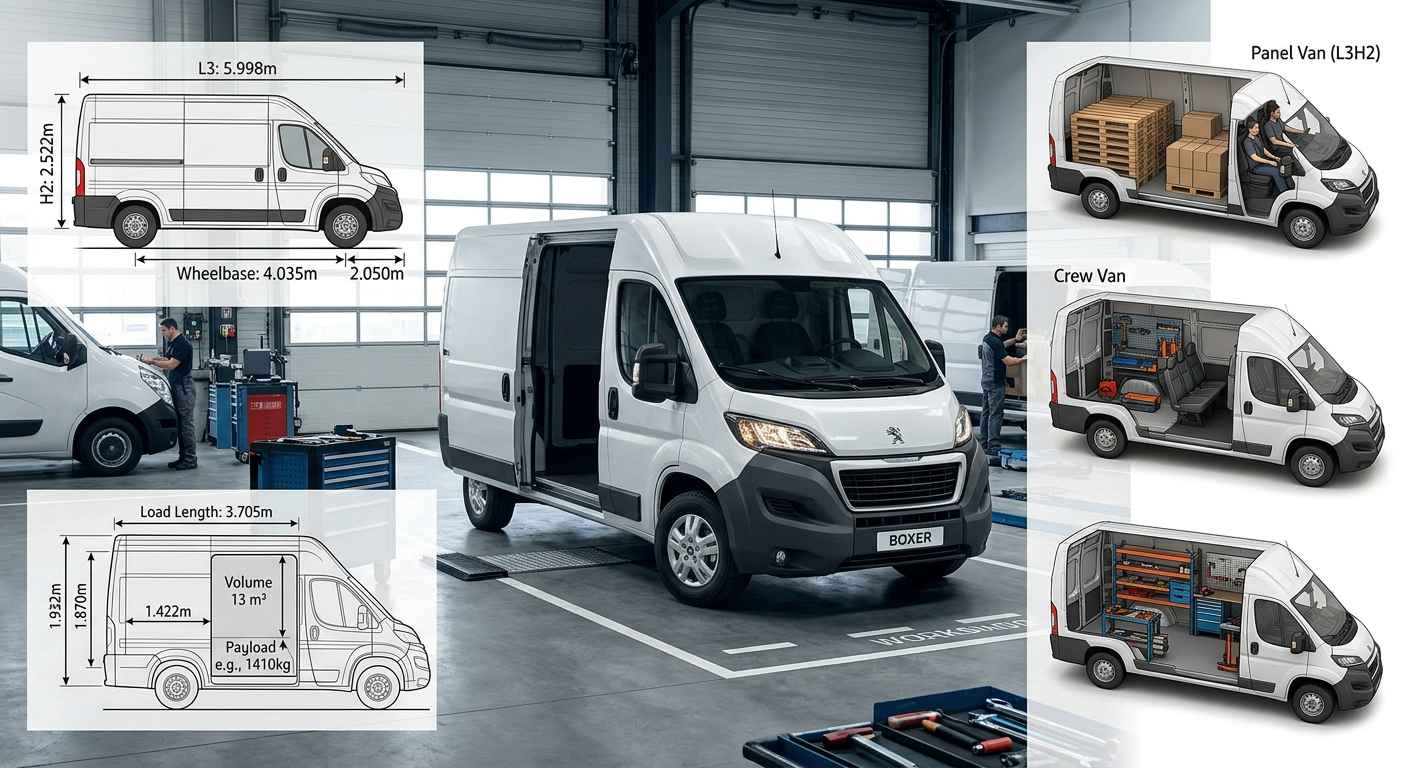
Citroen Dispatch flooring should be selected for the exact vehicle version, not just the Dispatch name on the bonnet. Load-area dimensions and layouts can vary between compact, standard and long body versions, as well as across model years. Side-door arrangements, wheel arch positions and factory fixing points also matter.
Before ordering, confirm the van's year, body length and door configuration. Measure the usable load area if you have already added lining, racking or other equipment. This avoids discovering that a floor designed for a different length or generation leaves a poor fit around the edges.
If you run more than one vehicle, do not assume one floor will transfer neatly from one van to another. Even vans from the same platform family can have small differences that affect fitment. Vehicle-specific products are usually the sensible route because they are designed around the relevant load bay rather than requiring repeated trimming on site.
Think about the work the floor will support
A floor for a mobile electrician carrying stacked cases has different priorities from one for a builder regularly loading sheet materials, or a service engineer carrying parts bins and testing equipment. Consider the heaviest item you load, how often it goes in and out, and whether it is likely to move during normal driving.
Also consider access. If you regularly use the side door for quick collection of consumables, pay attention to the area around that entrance. If most loading happens through the rear doors, the rear edge will see the most wear. These are the places where good protection and a tidy transition make daily use easier.
False floors, liners and full load-area protection
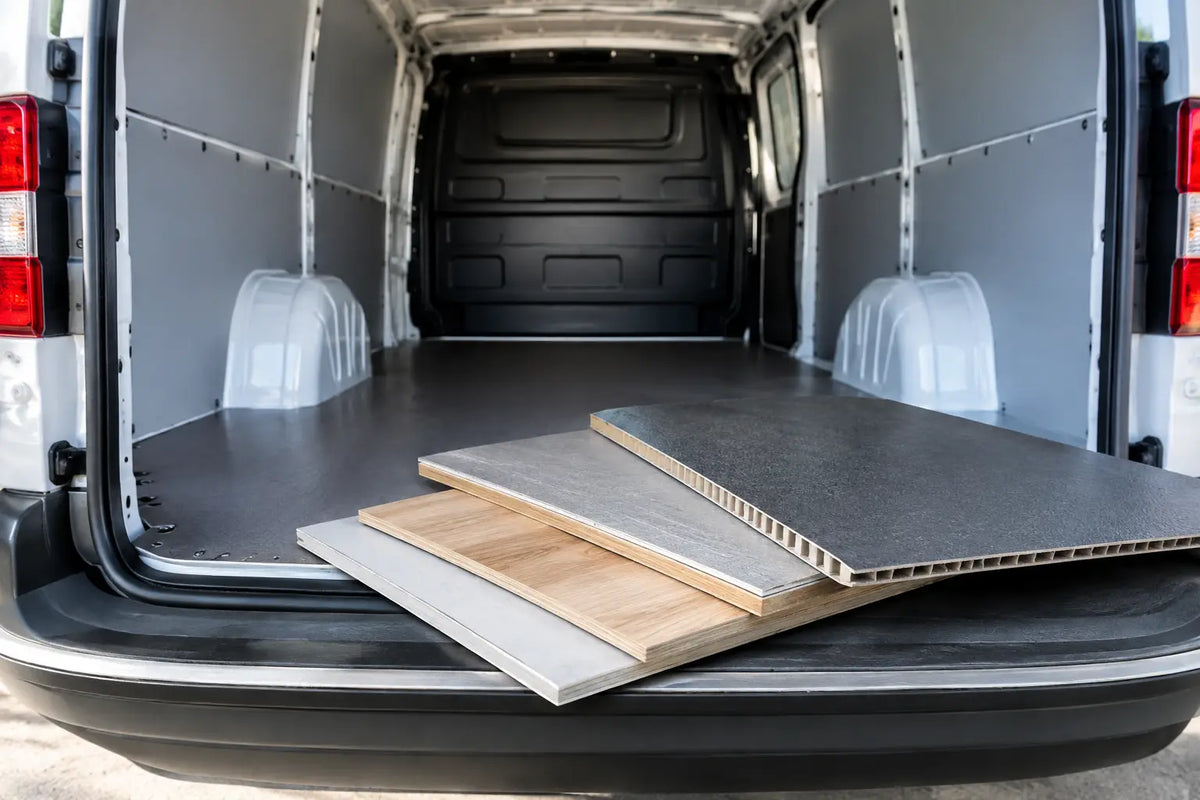
The term van flooring can cover several different products. A false floor is generally a shaped board fitted across the load area to create a durable working surface. It is often the most practical option for trade vans because it gives a level base for storage equipment and takes the knocks of regular loading.
A lighter protective liner may suit vans carrying low-weight goods or where the priority is simply keeping the original floor cleaner. For more demanding use, a substantial false floor offers better support and a more solid feel underfoot. It is particularly useful where tool cases, generators, cable drums or stocked shelving are part of the daily load.
The right answer is not automatically the thickest floor available. Extra weight matters in any commercial vehicle, especially when the van is already carrying racking, tools and materials. Choose a floor that is suitable for the job, then keep the rest of the installation efficient and purposeful.
Surface grip matters more than appearance
A smooth surface may be easy to clean, but it can allow plastic cases and boxes to slide when braking or cornering. A textured, anti-slip finish helps improve grip under boots and equipment, especially in the wet conditions that are familiar on UK jobsites.
That said, flooring is not a substitute for securing a load. Heavy, loose or unstable items still need proper restraint using suitable load-securing points and equipment. The floor should support a safer, tidier setup, not encourage you to rely on friction alone.
Plan the floor with racking and shelving
The most efficient vans are planned as a single workspace. Flooring, shelving, racking and accessories should complement each other rather than compete for the same space. Fitting a floor first gives you a clear base from which to decide where larger items will sit and how much central walkway you need.
Keep the weight low and evenly distributed where possible. Toolboxes, power tools and heavier stock are usually better placed close to the floor than high up in a rack. Frequently used small parts should be positioned near the door you use most, so you are not climbing into the van every time you need a fitting, screw or sealant tube.
A practical layout might use side shelving for organisers and consumables, with clear floor space down the middle for equipment and materials. Another trade may need one side left open for ladders or pipe storage. There is no single best layout - the right one is the one that reduces handling time on your normal working day.
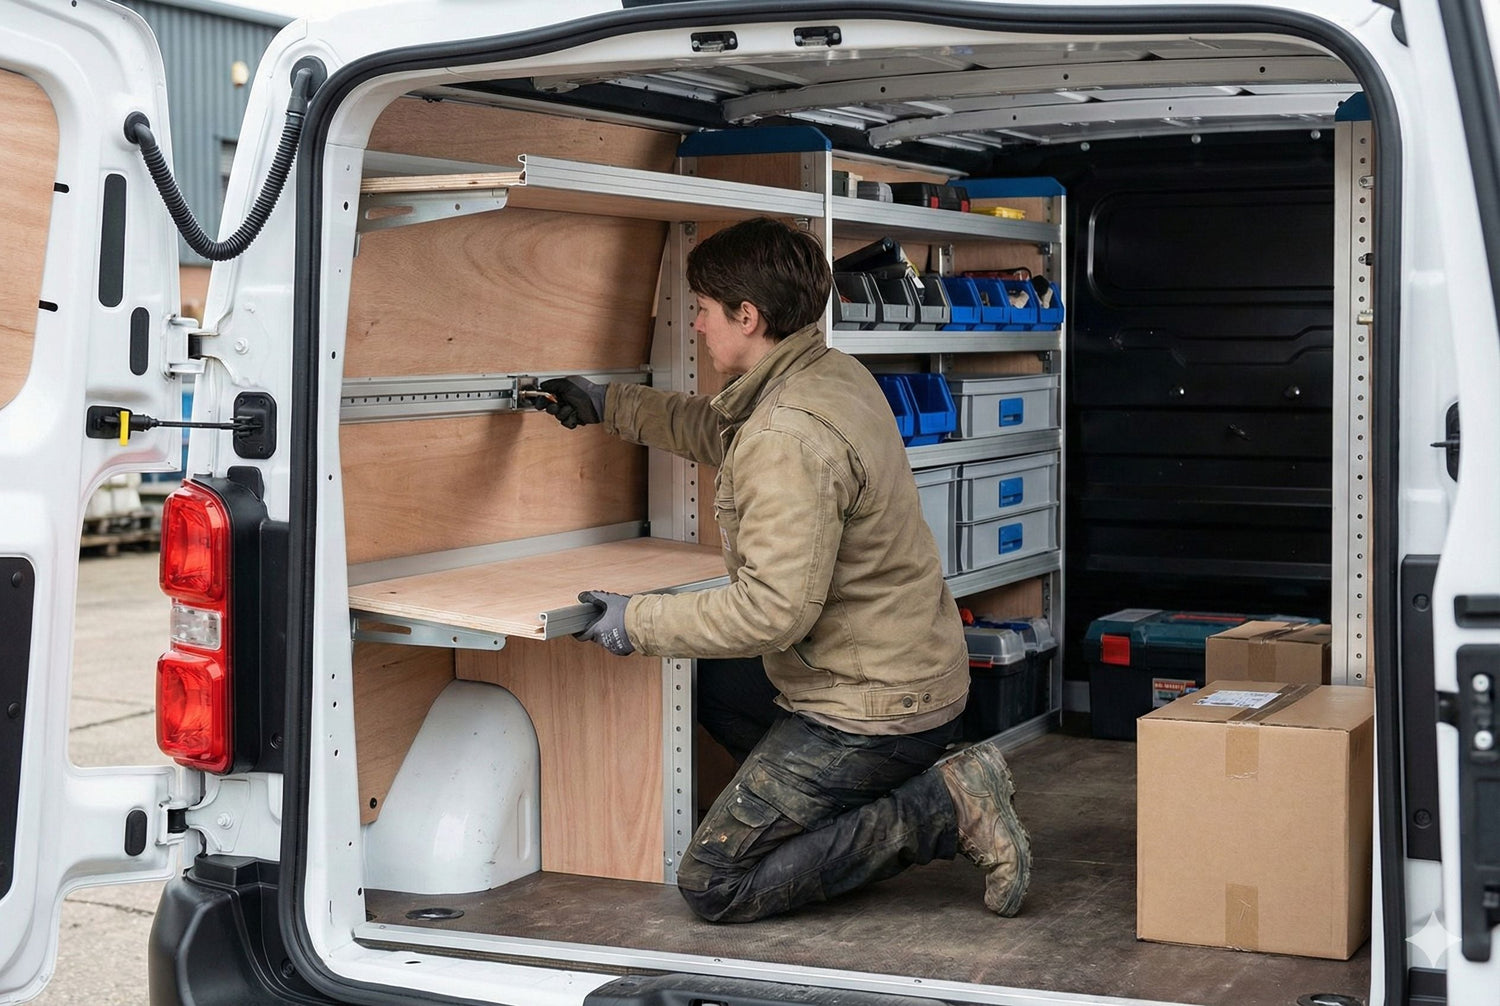
If you intend to add racking after fitting the floor, check the proposed fixing method carefully. Do not drill or fix through the vehicle structure without understanding what is beneath the load area. Brake lines, wiring, fuel-related components and structural sections need to be treated with care. Follow the instructions supplied with each product and use suitable fixings for the specific installation.
What to check before fitting
A straightforward fit starts with preparation. Empty the load area completely, remove loose debris and inspect the original floor for damage or trapped moisture. If the van has a factory mat or existing lining, decide whether it needs to come out for the new floor to sit correctly.
Check that the floor lies flat before fixing it. Pay attention to wheel arches, side-door openings, rear thresholds and any access points that need to remain usable. If the van has load-lashing rings or other fittings you need to retain, make sure the floor design accounts for them rather than covering them over without a plan.
Once fitted, walk across the floor and test the areas where you normally place heavy equipment. It should feel stable, with no rocking sections or raised edges that could catch a case, snag materials or become a trip point. Recheck the fixings after the first few weeks of work, particularly if the van is used on rough sites or carries heavy loads.
Keep the floor working hard
Flooring needs very little attention, but a few simple habits extend its useful life. Sweep out grit and swarf regularly, especially near doors and beneath storage units. Wipe up oil, adhesive, paint or standing water promptly rather than allowing it to sit in corners.
Avoid dragging sharp metal edges across the same area repeatedly. Use mats, protective pads or sensible loading technique when moving awkward equipment. If damage does occur, deal with it early so moisture and dirt cannot work beneath the floor or into exposed edges.
For fleet operators, flooring also makes inspections quicker. A clear, level load area makes it easier to spot loose equipment, damaged cases and items that have not been returned to their proper place. That supports a more consistent standard across vans and helps drivers start each shift ready for work.
A well-chosen floor does not need to be flashy. It needs to fit the right Citroen Dispatch, stand up to the equipment you carry and support a layout that saves time every day. Start with the load area, plan around your actual workflow, and your van will be easier to work from before the first tool comes off the shelf.