










A van shelf that rattles loose on the way to site is more than an annoyance. It can damage tools, waste time and leave your load unsafe when you brake or corner. Fitting racking properly from the start gives every tool, fitting and consumable a place, so you can open the rear doors and get on with the job.
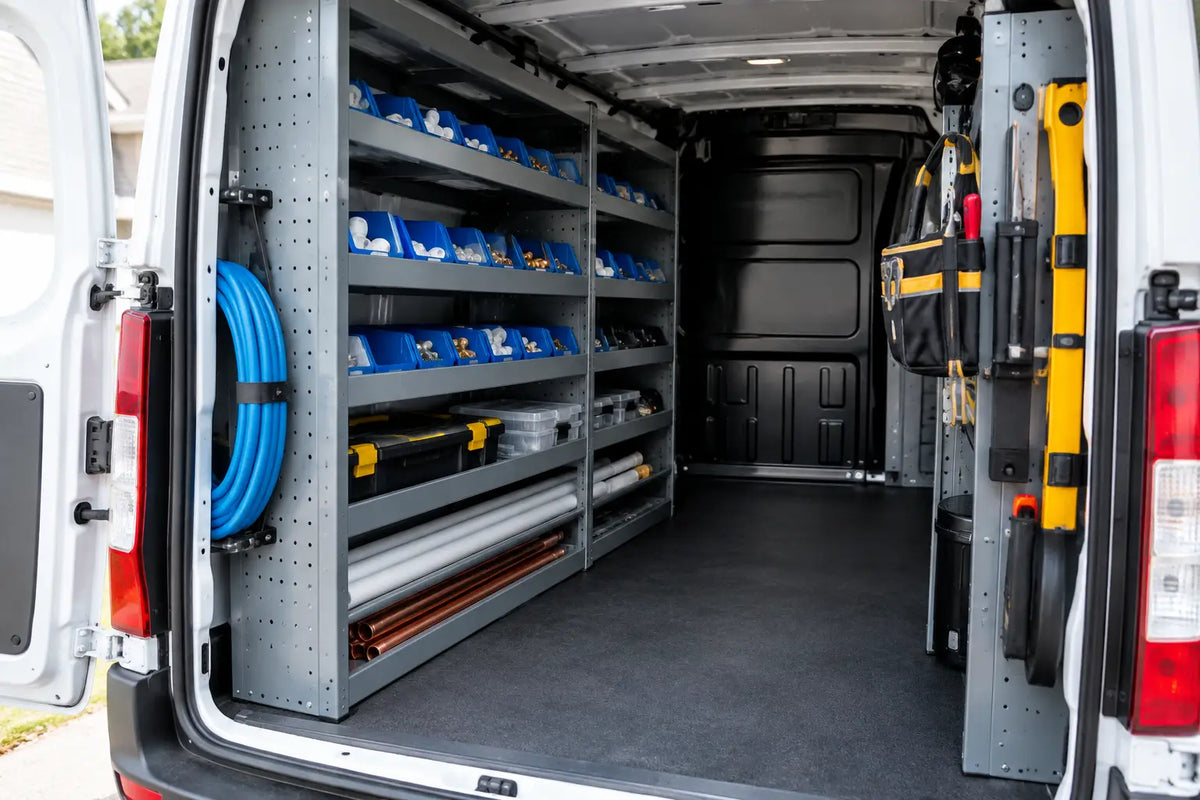
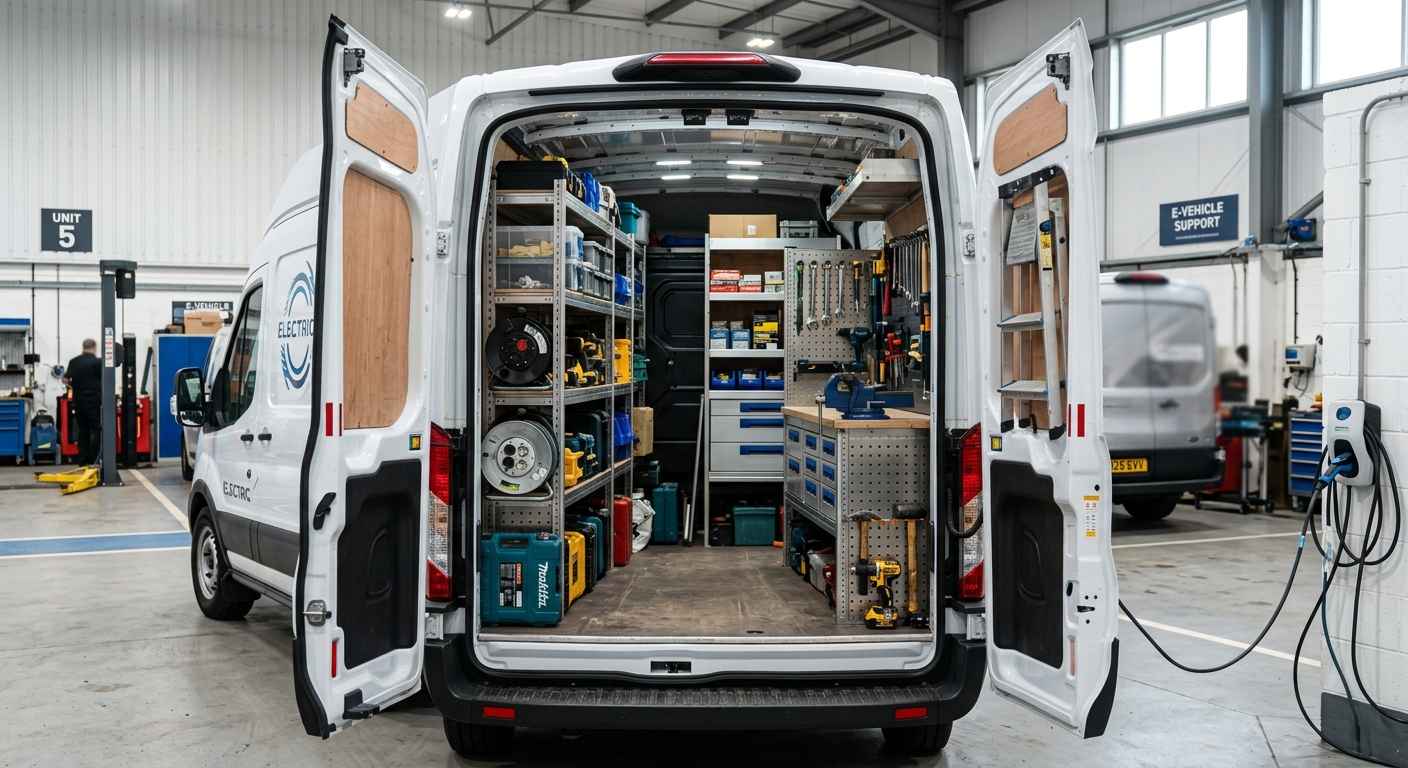
Knowing how to fit van shelving starts before you pick up a drill. The right approach depends on your van, the shelving system, the weight you carry and how you work from the vehicle each day. A plumber carrying boxes of fittings needs a different layout from an electrician with cases, cable reels and test equipment.
Start with the right shelving for your van
Choose a shelving system made for your exact vehicle model, wheelbase and model year where applicable. Vans that look similar can have different internal contours, mounting positions, door openings and wheel arch shapes. Measuring your load area is useful, but it is not a replacement for checking the product is intended for your vehicle.
Think about access before capacity. Deep shelves may hold more stock, but shallow trays and open compartments can be quicker for small parts. If you regularly carry heavier power tools, larger cases or pipe fittings, plan their position low down and close to the van's centre line where possible.
Before ordering or fitting, check the system's load guidance and compare it with what you genuinely carry on a busy day. Remember that shelving, false floors, tools, materials and passengers all contribute to the vehicle's permitted weights. An organised van should make work easier without encouraging overloading.
Plan the layout before fitting van shelving
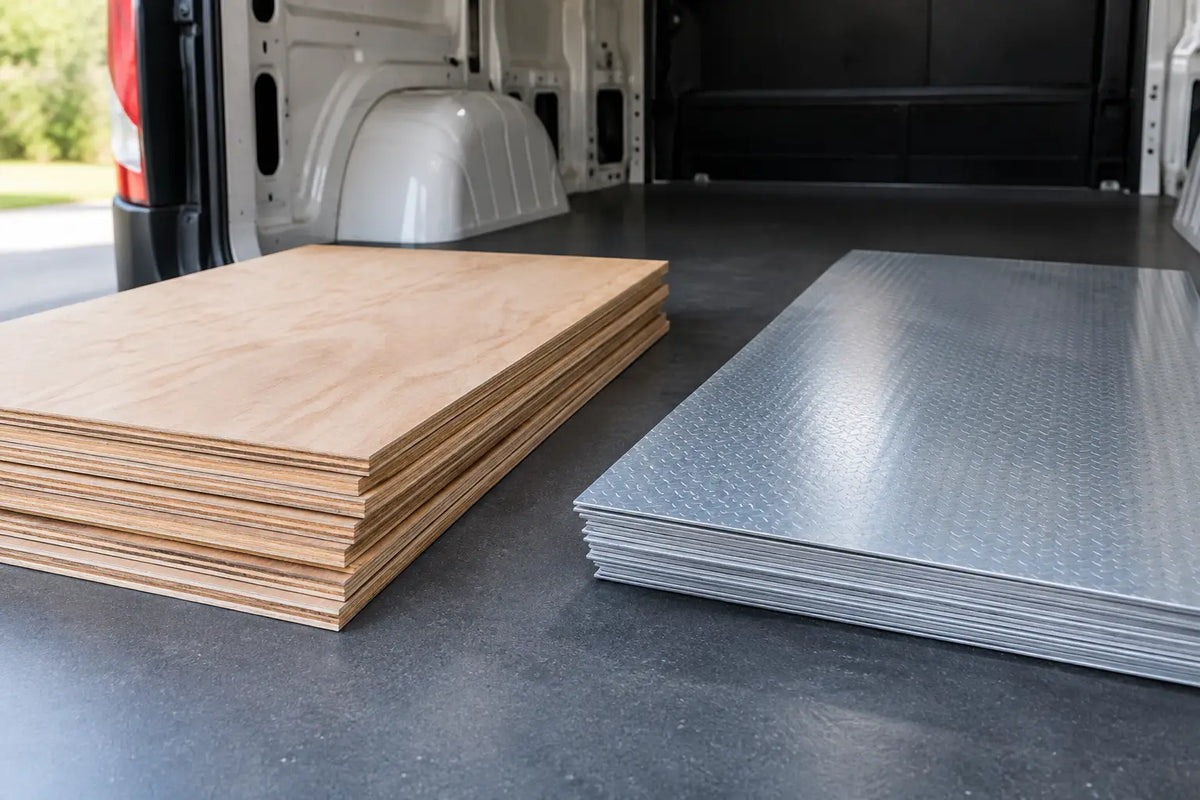
Empty the load area completely. Sweep it out, remove loose fixings and inspect the lining, floor and existing tie-down points. This is the best time to spot damage, damp or loose ply that could affect the installation.
Place the shelving units in the van without fixing them permanently. Open and close the side and rear doors, then stand where you normally work from. Check that drawers, doors and removable cases can be used without catching the wheel arch, bulkhead or door frame.
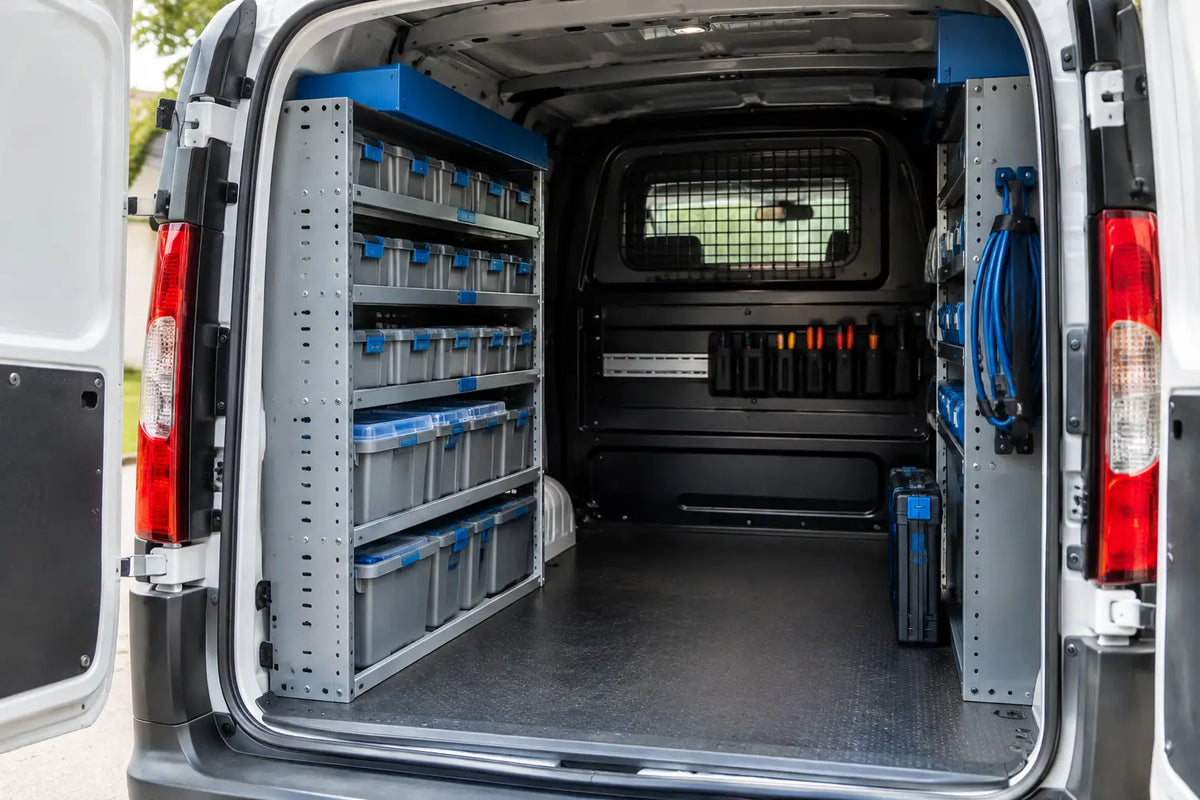
For most working vans, the practical rule is simple: put the items you use most within easy reach, place heavy equipment at floor level, and keep bulkier stock towards the front of the load area where it is safely supported. Leave enough clear space for longer materials if these form part of your daily work.
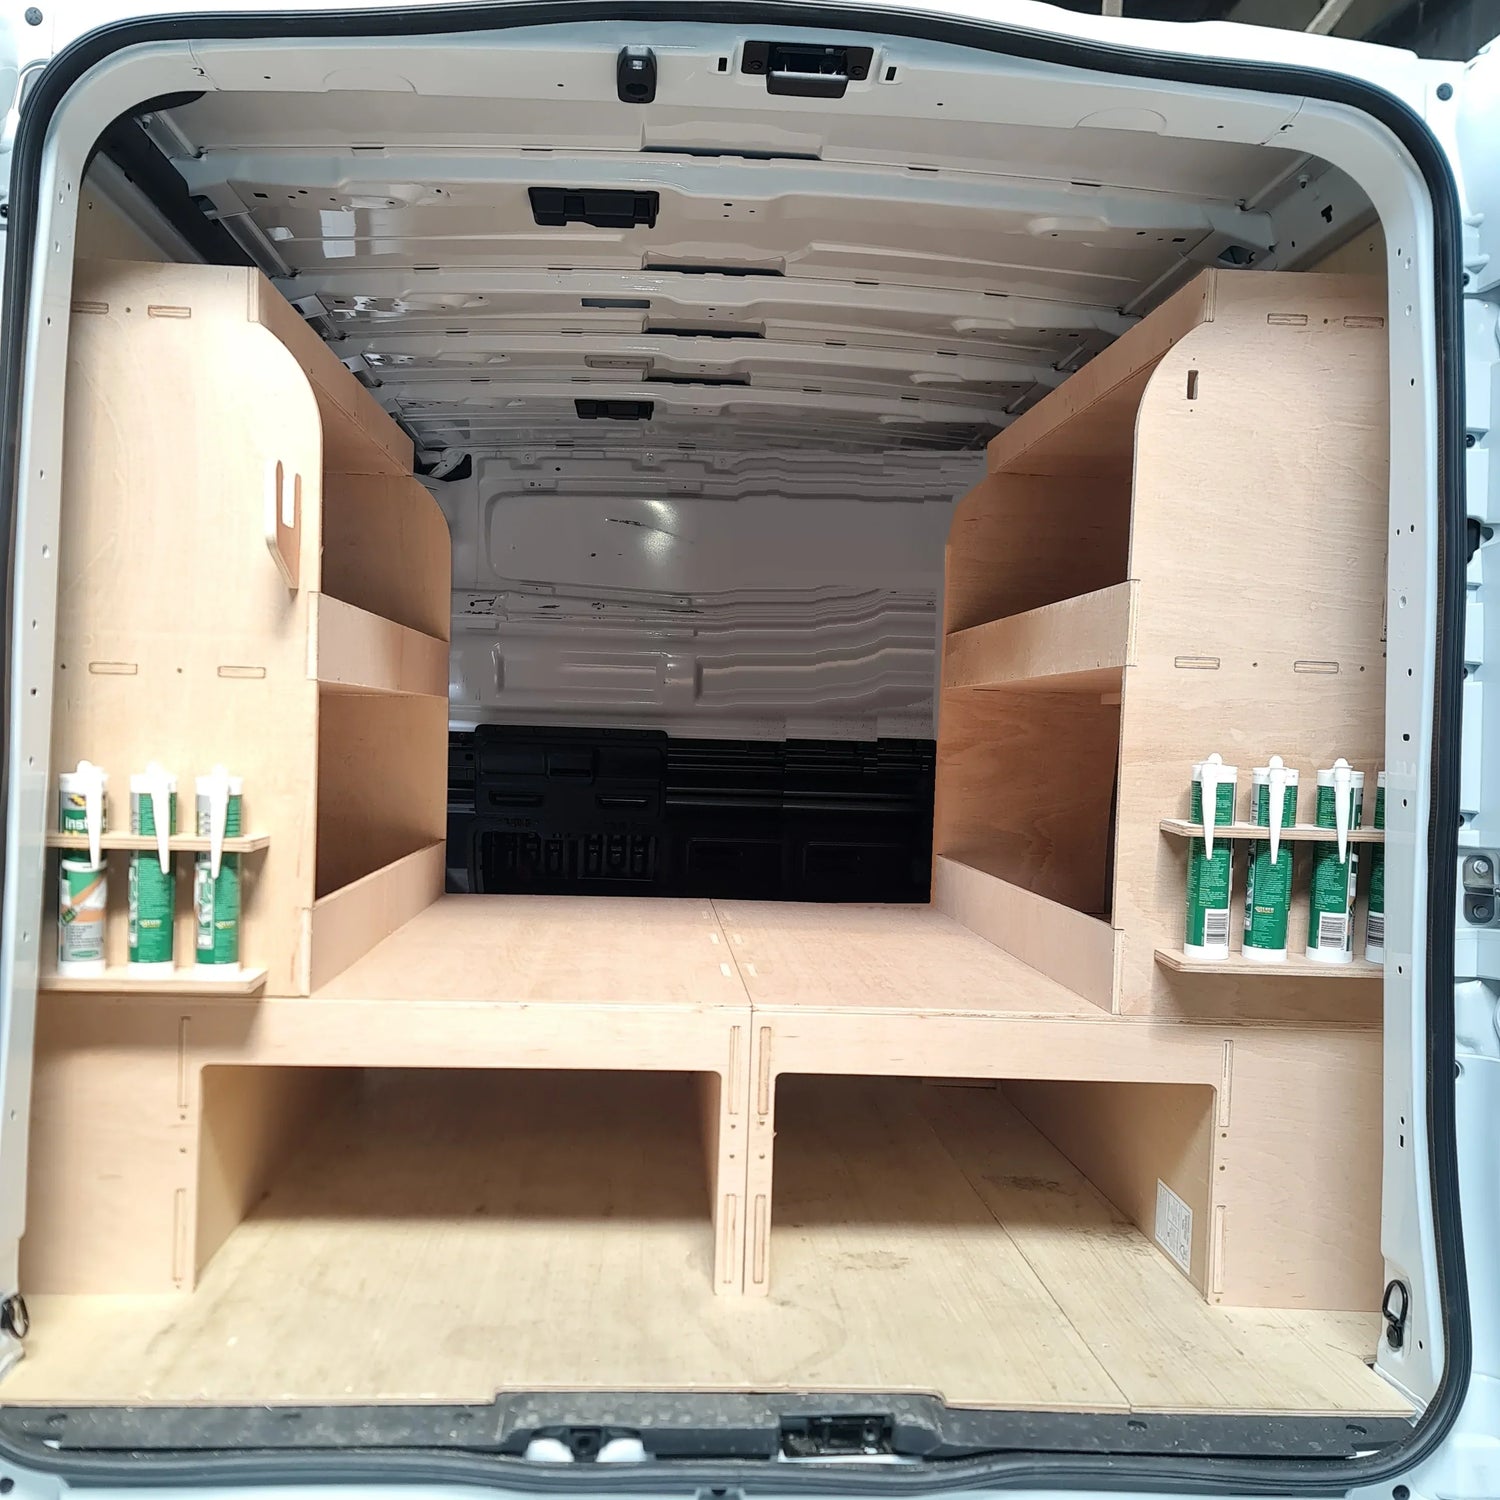
It also pays to plan accessory locations now. A sealant holder near the rear door, a wipe dispenser by the side loading door or small-parts storage at working height can remove repeated trips in and out of the van. These are small changes, but they save time over a full week.
Check where you can safely fix the unit
Do not assume every part of the van body is suitable for drilling or carrying load. Behind panels may be wiring looms, lights, fuel components, brake lines or structural sections. The fixing method supplied with the shelving and the instructions for that specific system should always take priority.
Many vehicle-specific units use existing mounting points, while others may require carefully positioned fixings. If drilling is required, inspect both sides of the intended location before making a hole. Remove or move trim only where necessary, and never drill blind.
A lined van needs particular care. Thin plywood lining on its own is generally not a suitable structural fixing point for loaded shelving. The shelving needs to be secured as the manufacturer specifies, using sound points in the vehicle body, floor or approved brackets rather than relying on the lining to take the strain.
If there is any uncertainty about a proposed fixing point, stop and check the fitting instructions again. One wrongly placed hole can create more work than taking ten minutes to confirm the position.
Tools and preparation for a clean installation
Set out the shelving components and check the pack against the instructions before you begin. Identify left and right side parts, shelves, braces, fasteners and any floor brackets. It is easier to correct a missing or misplaced component on the ground than halfway through the job.
The exact tools vary by system, but a tape measure, marker, socket set or spanners, drill and appropriate drill bits are commonly required. You may also need a trim tool, a deburring tool and suitable protection for any bare metal created during fitting. Wear eye protection when drilling and gloves when handling metal components.
Build the shelving on a flat surface if the instructions allow it. Do not fully tighten every bolt at the first stage. Keeping the frame slightly loose gives you enough movement to square it up and align the fixing points accurately once it is in the van.
How to fit van shelving step by step
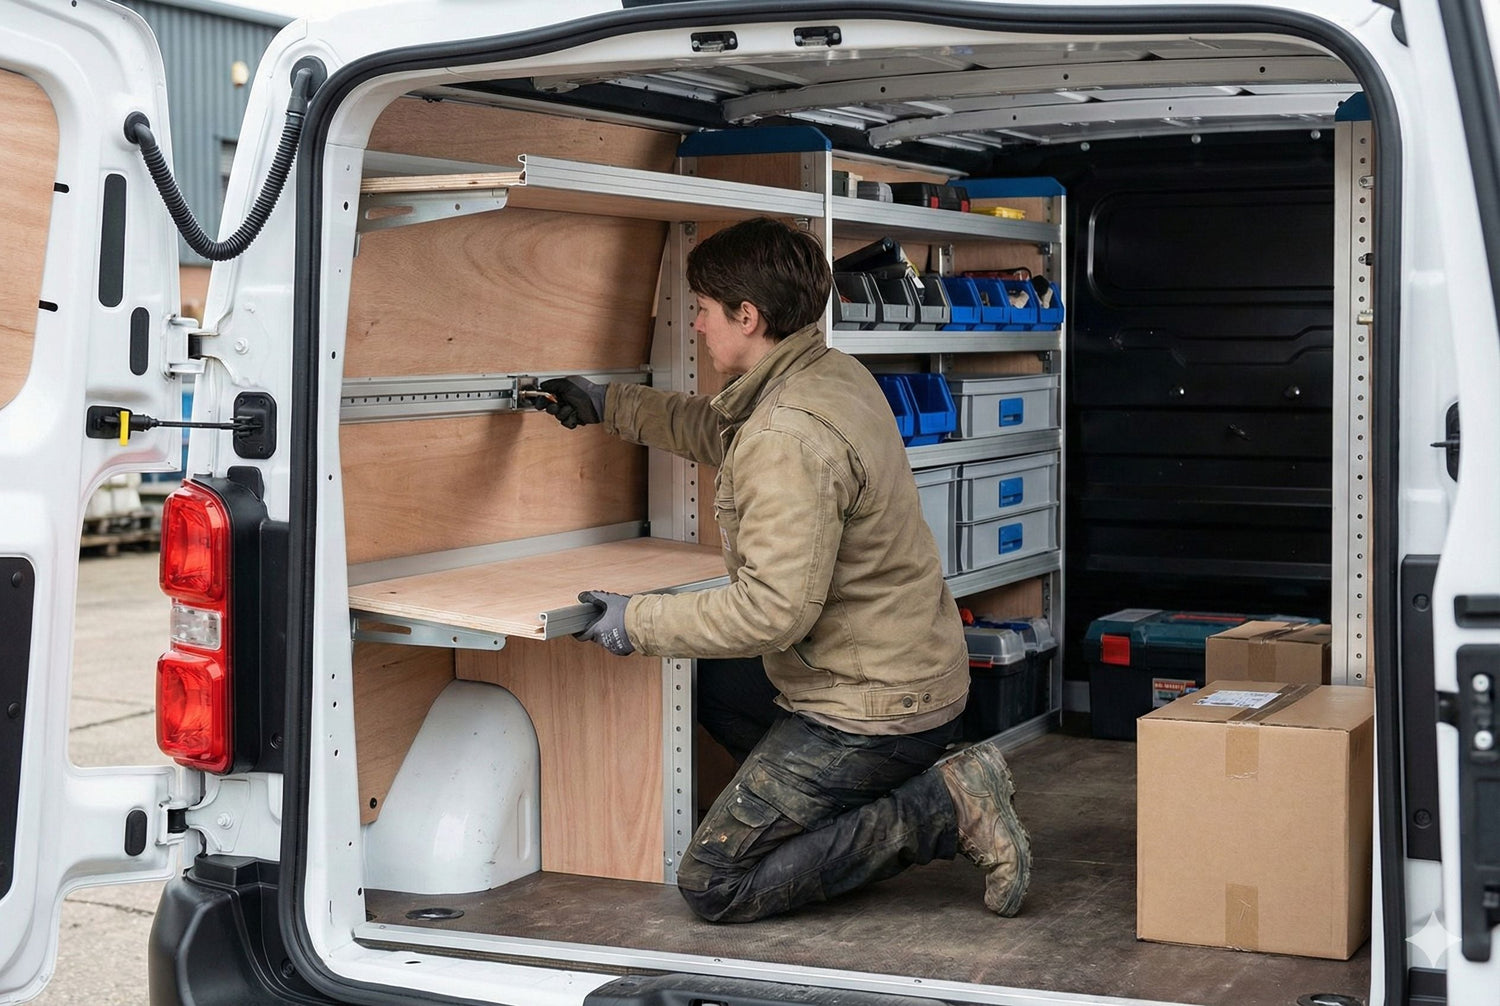
Start by positioning the assembled or partly assembled unit in the planned location. Use a tape measure to check the gap at the rear doors, side door and bulkhead. A unit that is level and square is easier to use, quieter on the road and less likely to place uneven stress on its fixings.
Mark the fixing positions only after the unit is correctly aligned. Check the marks twice, including from underneath the vehicle where relevant, before drilling. If the installation uses existing vehicle points, make sure threads are clean and that the supplied bolts engage correctly without cross-threading.
Fit the main brackets and primary fixings first, following the sequence in the product instructions. Then add shelves, dividers, rear braces and front restraints as required. Tighten all bolts gradually and evenly so the frame remains square. Overtightening can damage threads, deform brackets or crush lining material, so use the specified torque where one is provided.
Where drilling exposes bare metal, treat the edge appropriately to help prevent corrosion before the final fixing is installed. Clear away metal swarf as you go. It can scratch the floor, work into tool cases and create an unnecessary puncture risk later.
Once the shelving is secured, pull and push the unit firmly by hand. It should not rock, shift or flex excessively at the mounting points. Check all shelves are properly seated, fasteners are tight and any sharp edges are covered or positioned away from normal loading areas.
Load it properly after installation
The fitting is only part of the job. Poor loading can undo a good installation. Keep the heaviest items at the bottom, spread weight evenly from side to side and avoid putting all dense stock on one shelf. Use suitable restraints for cases, loose machines and awkward items that could move under braking.
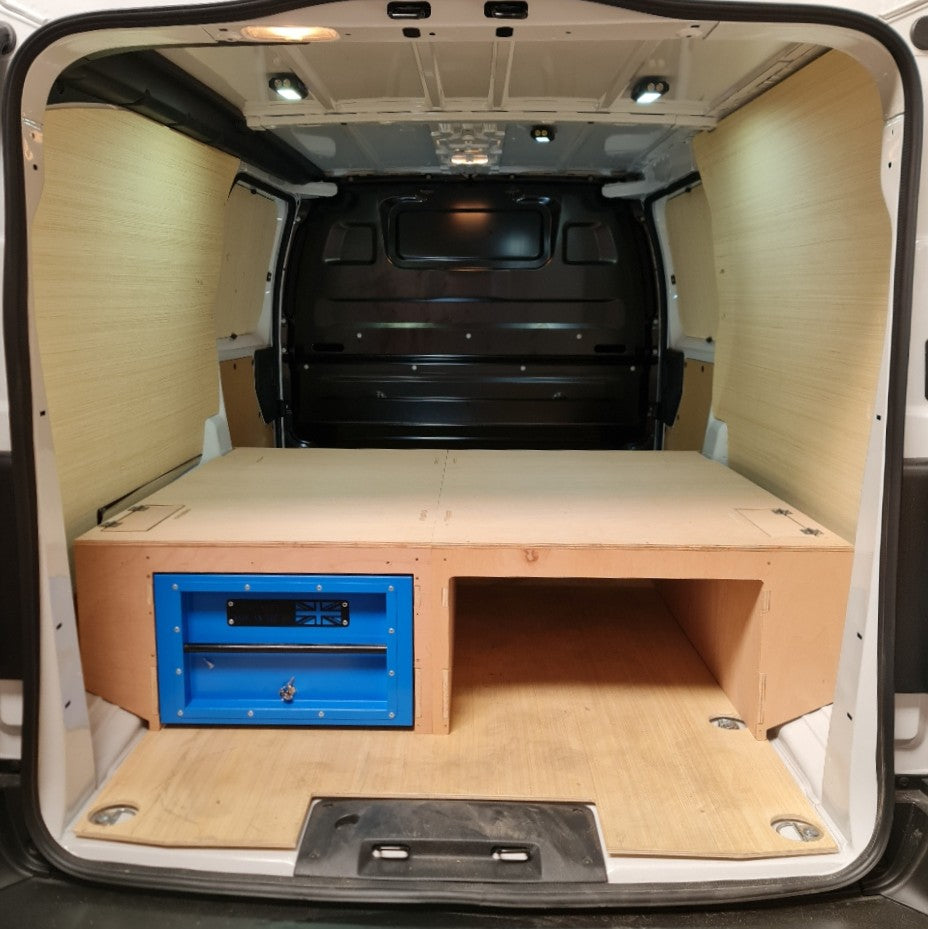
Avoid overfilling shelves until items can fall out when a door is opened. Small bins, dividers and holders help control fittings and consumables, while a false floor can create a separate space for longer tools or valuable equipment. The best arrangement is the one that lets you find what you need without unloading half the van.
After the first few journeys, inspect the installation again. Road vibration can reveal a bolt that needs checking or a tool case that needs a better restraint. Make shelf and divider adjustments early, before the layout becomes a daily frustration.
Common fitting mistakes to avoid
The most common mistake is buying general-purpose shelving without confirming it suits the van. A close-looking fit can still leave poor access, awkward gaps or unsuitable mounting positions. Select by vehicle details and read the supplied fitment information carefully.
Another is fitting shelves around whatever is already in the van. Taking the time to empty the load area and mock up the layout gives a much better result. It helps you keep doors clear, use the full height sensibly and decide where your everyday tools belong.
Finally, do not treat the first installation as permanent just because the frame is bolted in. Your work changes. If you take on more maintenance work, add a second operative or start carrying different stock, revisit the layout. Vanshelves storage systems and accessories can help build a setup around the work you actually do, rather than the clutter that has built up over time.
A well-fitted shelving system should earn its space every day: less searching, fewer damaged tools and a van that is ready before the next job.