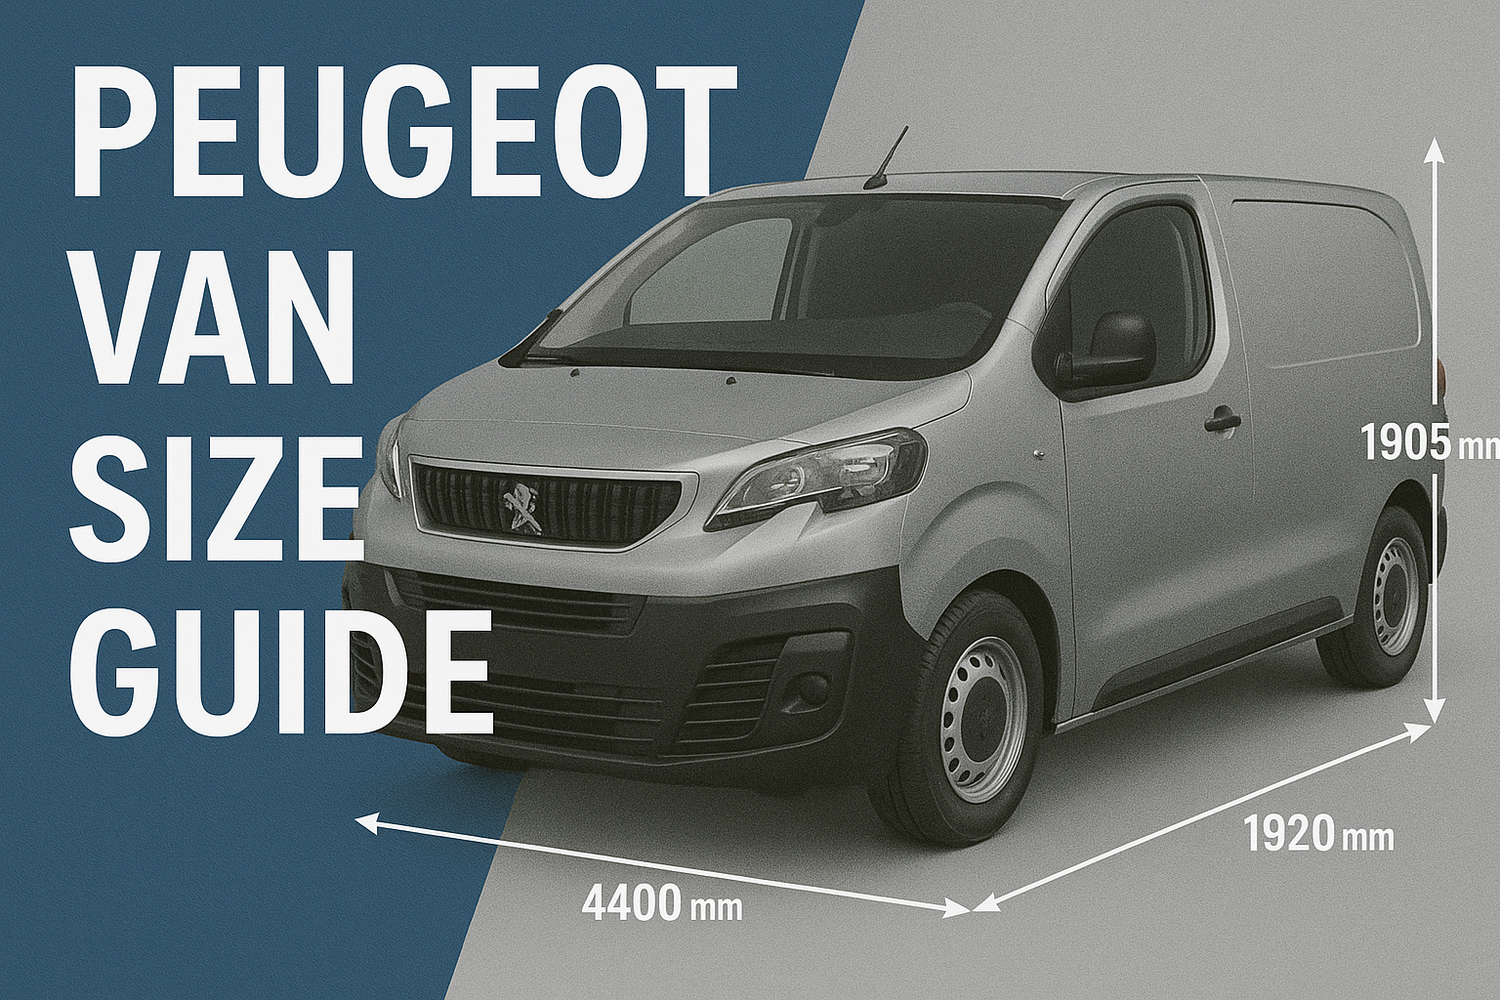
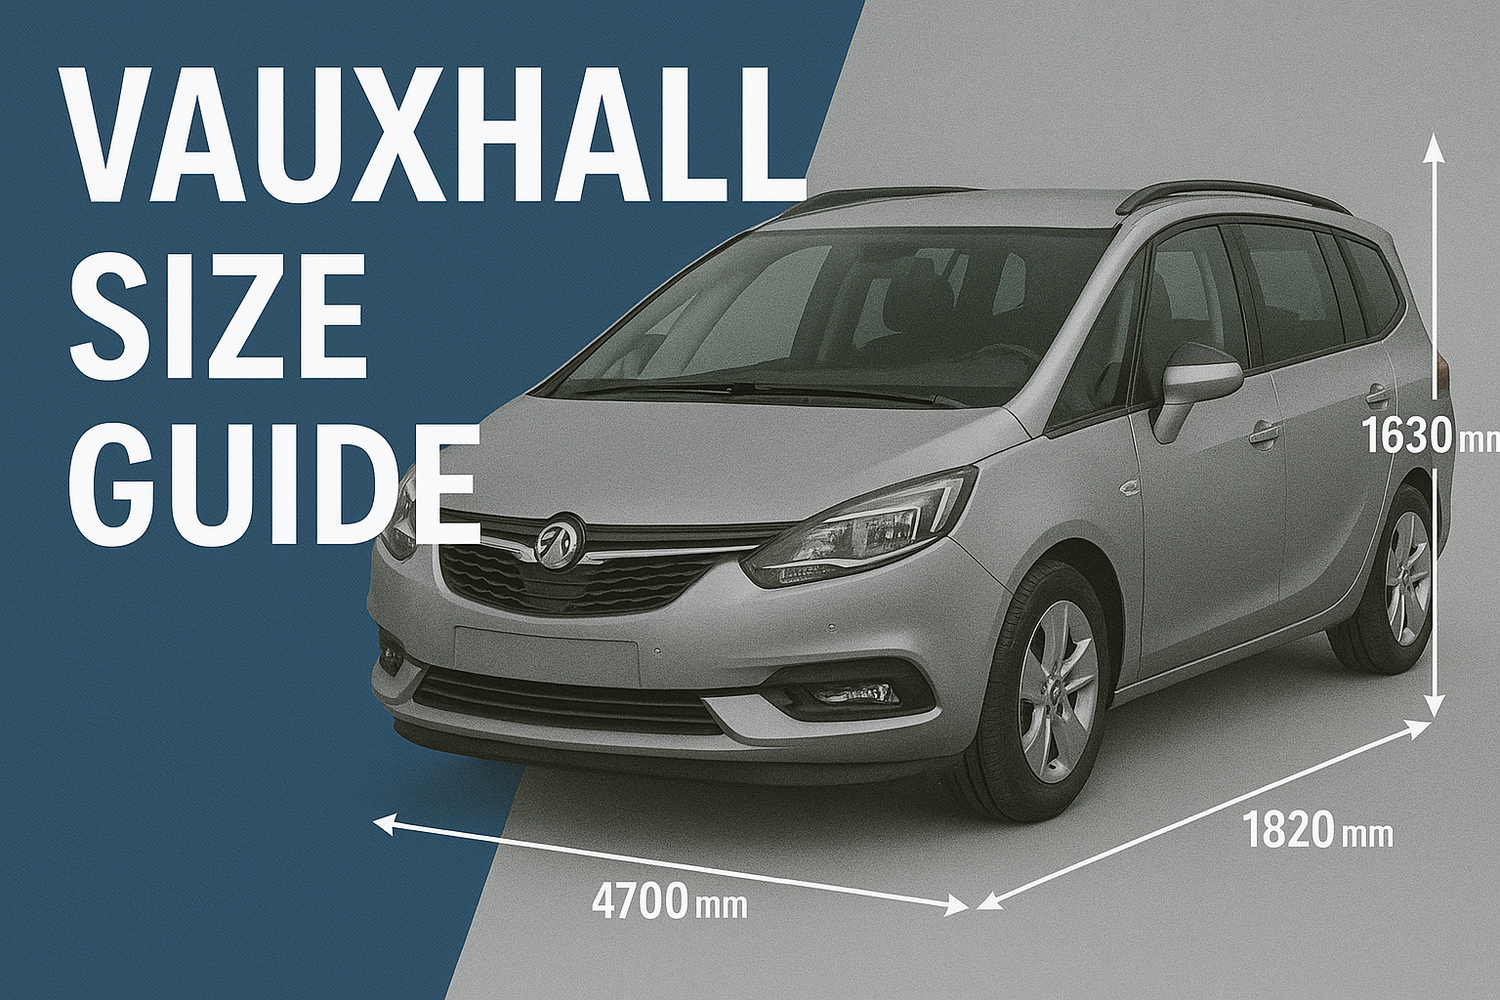
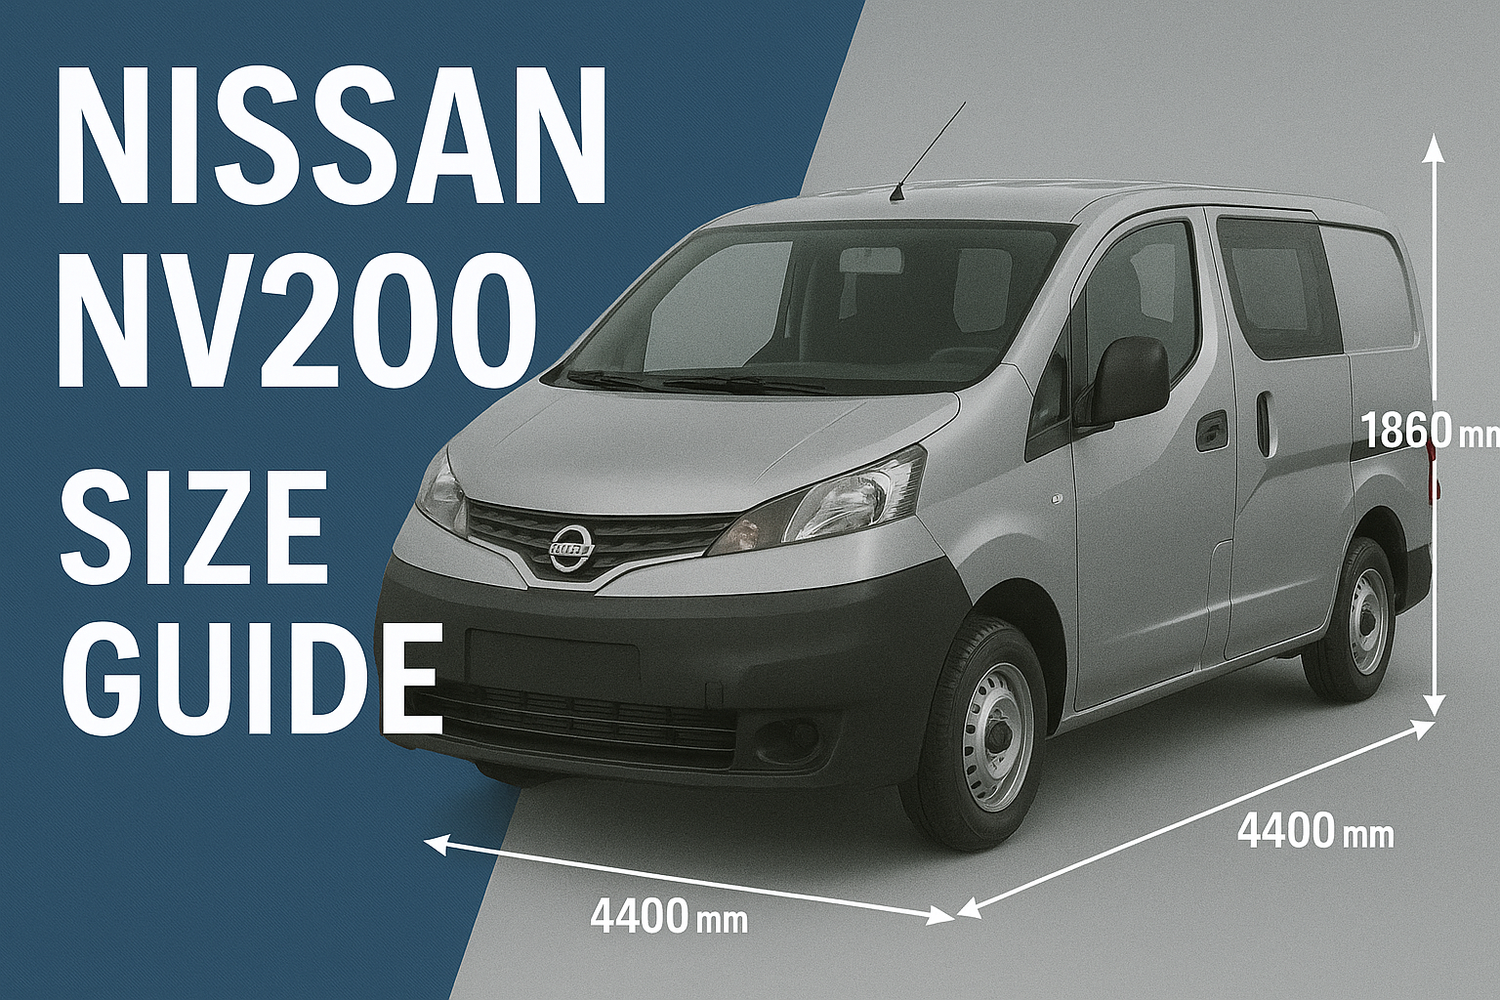
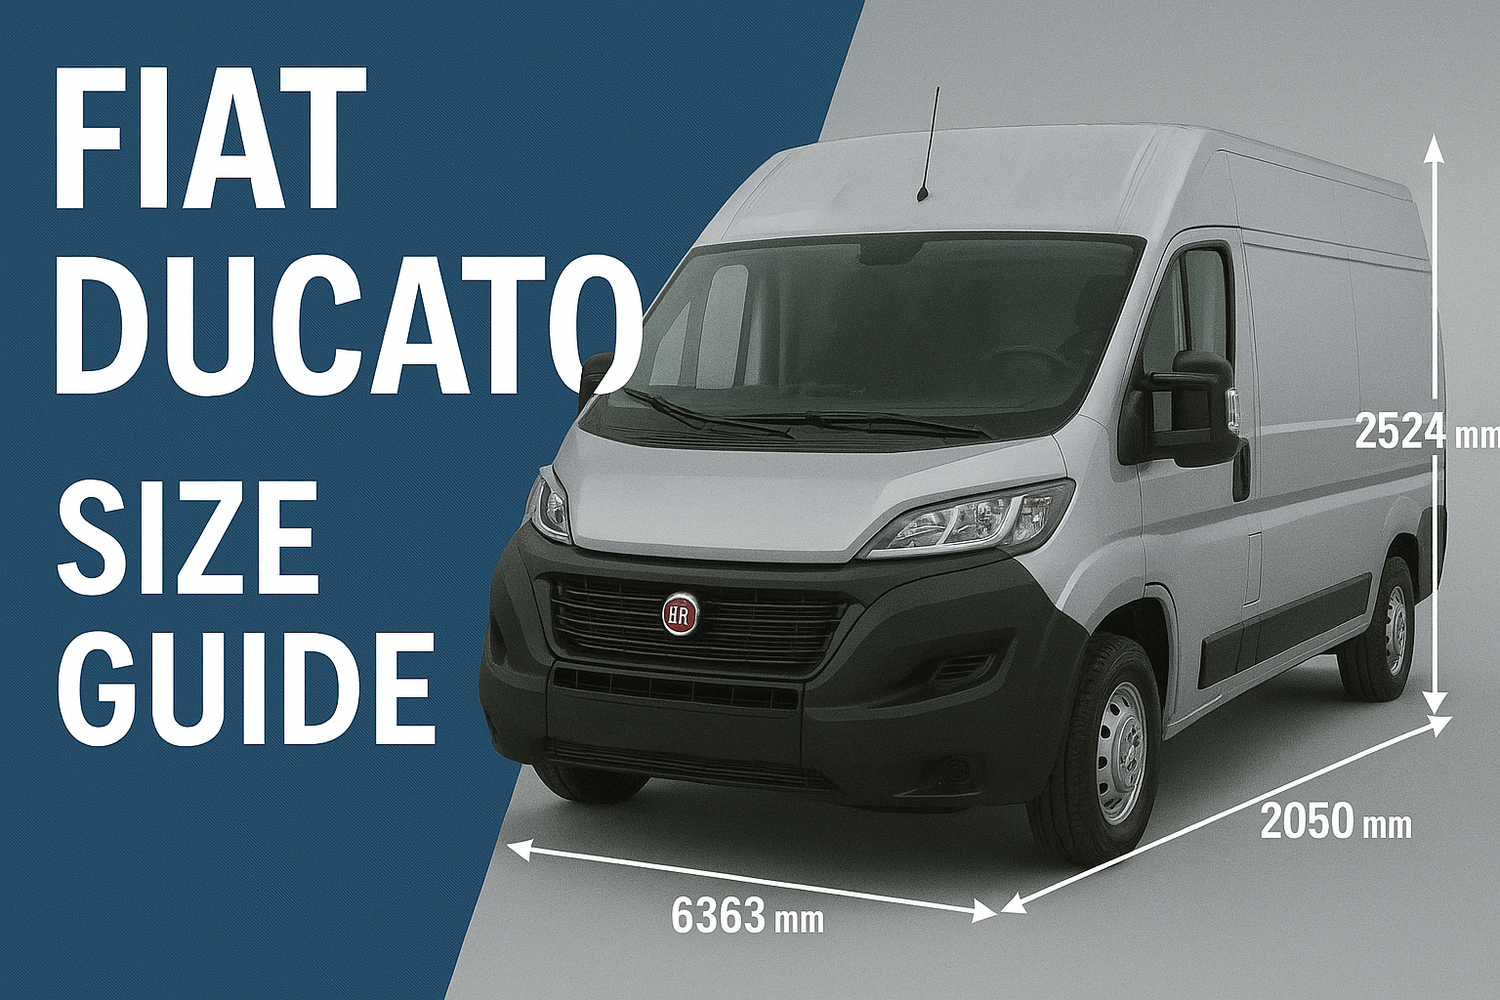
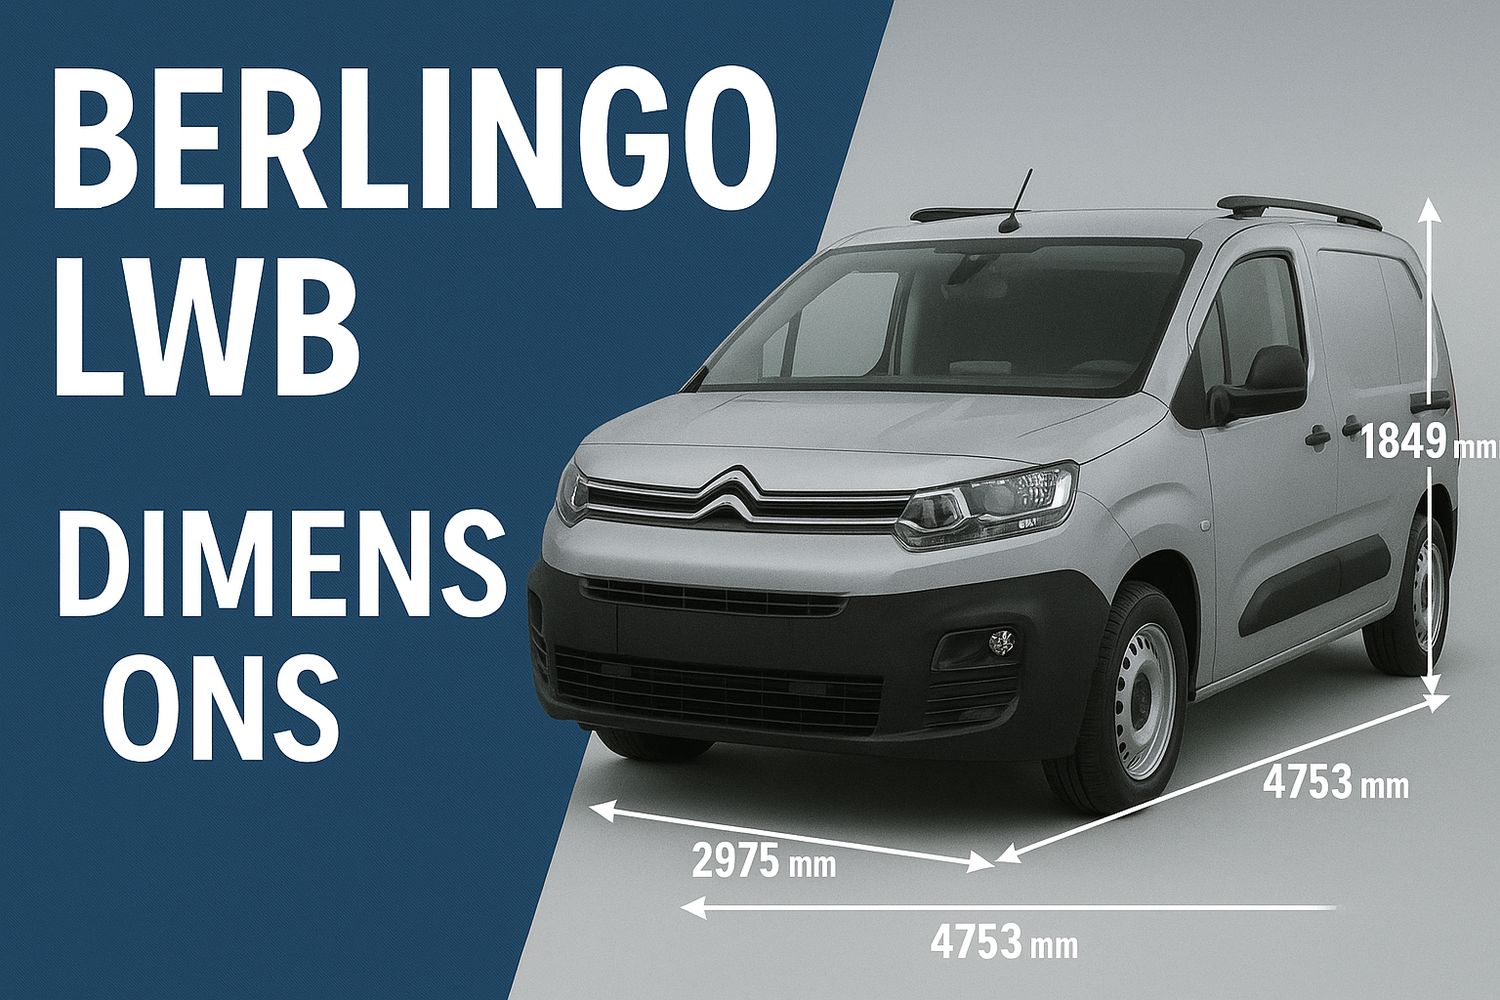
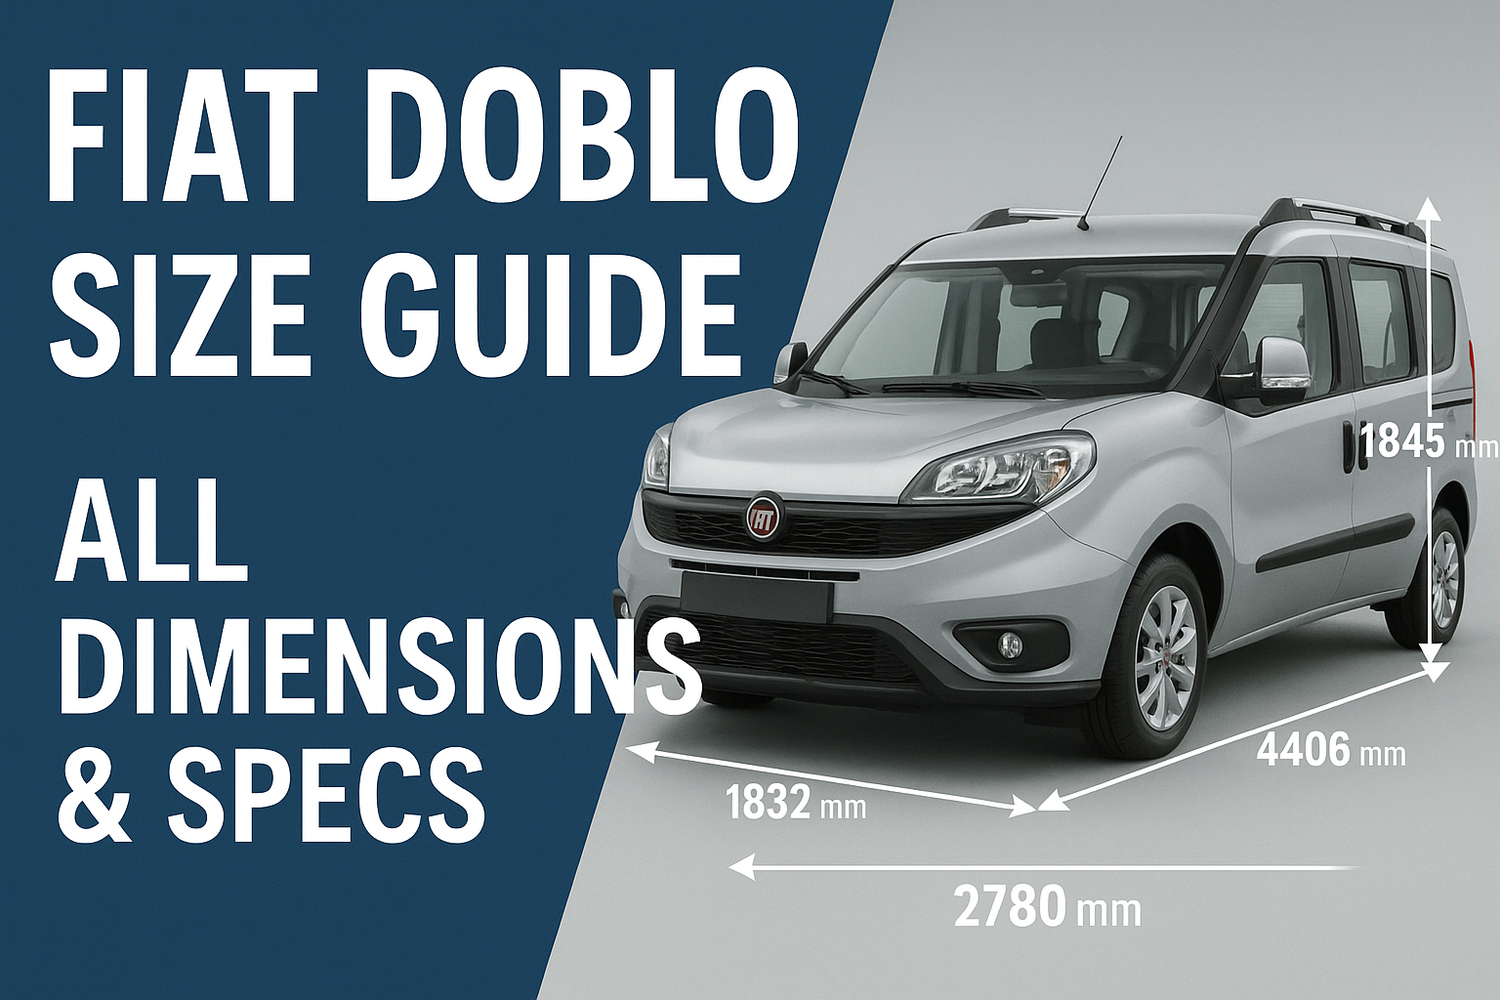



A van can look like the right size on a forecourt and still be wrong for the way you work. A few centimetres lost to wheel arches, a lower roof than expected or rear doors that do not suit a long load can soon make every job harder. This van dimensions explained guide sets out the measurements that matter when you are carrying tools, materials and van storage.
For tradespeople, the useful question is not simply, ‘How big is the van?’ It is whether the load area will take your kit safely, leave room to work and suit the racking, shelving or false floor you plan to fit.
Van dimensions explained: the measurements that matter
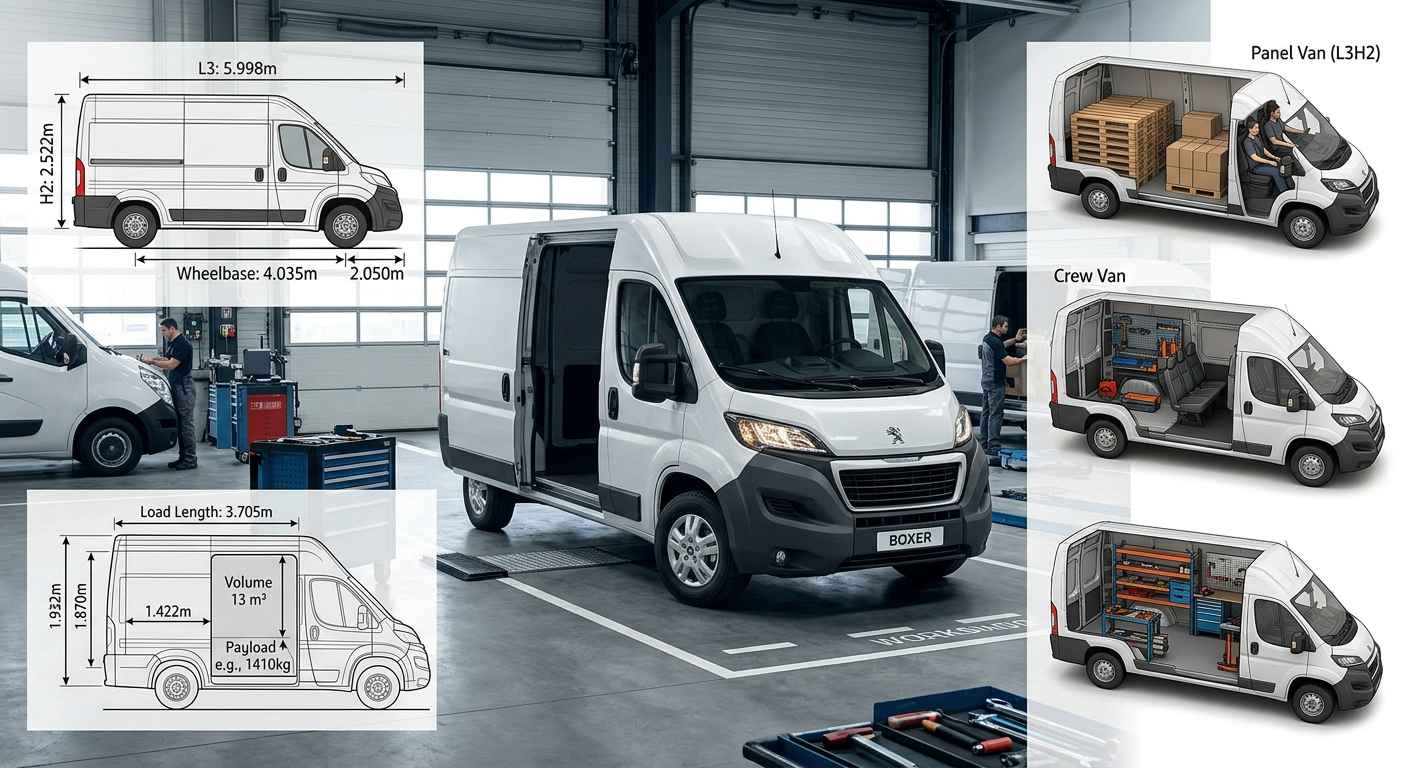
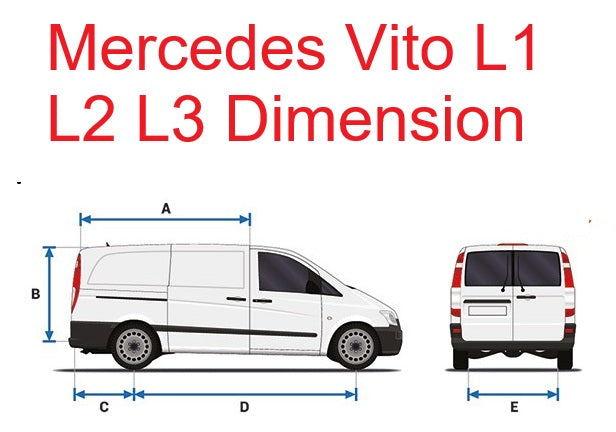
Manufacturers publish several dimensions for each van, but they are not all equally useful. Start with the internal load area, because this is the space available after the cab bulkhead and before the rear doors. It is normally described by load length, load width, load height and load volume.
Load length is measured from the bulkhead to the rear door opening. It tells you whether ladders, conduit, trunking, pipe or long tool cases can sit flat on the floor. On some vans, a load-through hatch below the passenger seat creates extra length, but only for slim materials. It is not the same as having a longer load bay for bulky equipment.
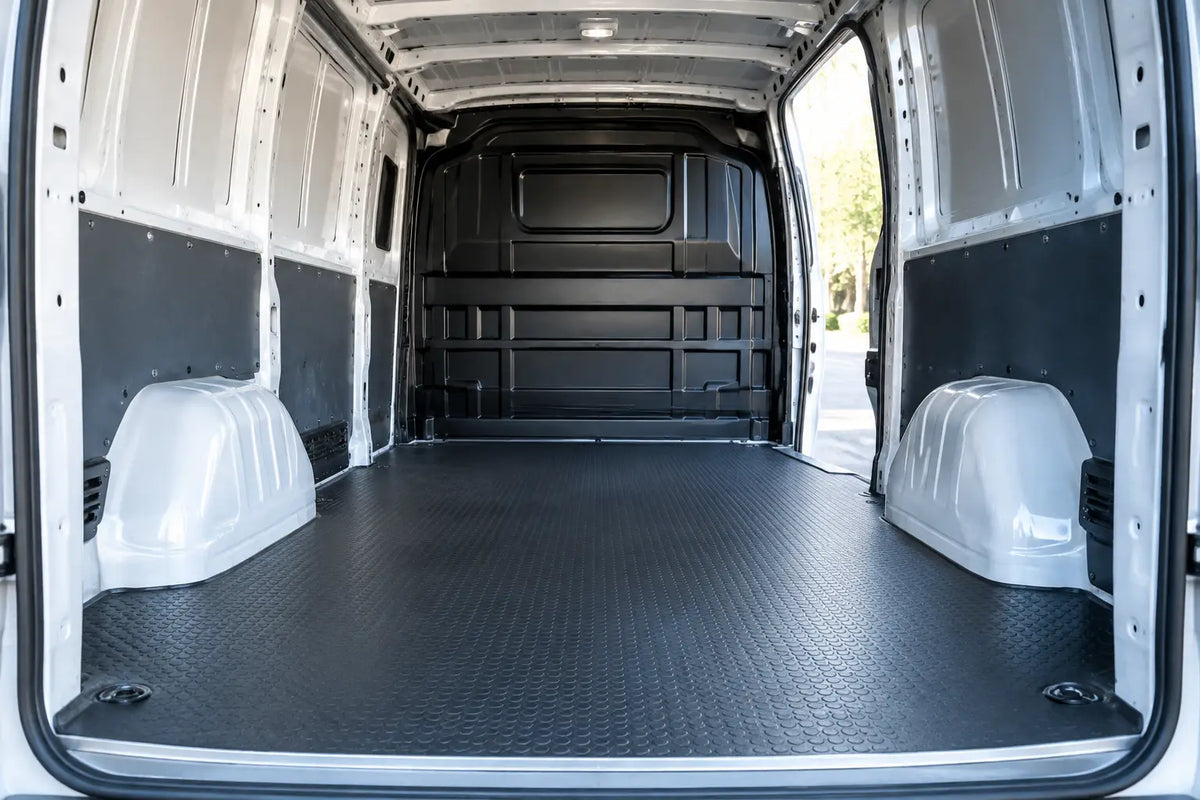
Load width is usually quoted at the widest point between the side panels. That figure can be misleading if you are planning floor-level storage. The narrowest point is often between the wheel arches, and this is the measurement that decides whether sheet material, toolboxes or a wide false-floor drawer will fit.
Load height is the floor-to-roof measurement. A few extra centimetres can make a real difference when loading tall cases, cable reels or stackable boxes. High-roof vans provide more standing and stacking room, but they may be less convenient in height-restricted car parks and can cost more to run.
Load volume, measured in cubic metres, is useful for comparing van classes, but it should not be your deciding figure. A van may have a respectable cubic capacity yet lack the floor length or wheel-arch width needed for your regular loads. Volume is a headline number. Usable shape is what matters on site.
| Measurement | What it affects in daily use |
| --- | --- |
| Internal load length | Long materials, ladder storage and full-length shelving |
| Width between wheel arches | False floors, drawer units, sheet goods and wide tool cases |
| Maximum internal width | Side racking depth and space for larger equipment |
| Internal load height | Stacking, tall cases and access inside the van |
| Rear door opening | What can be loaded without turning, lifting or forcing it |
| Side door opening | Safe kerbside access to frequently used tools |
Do not confuse external size with load space
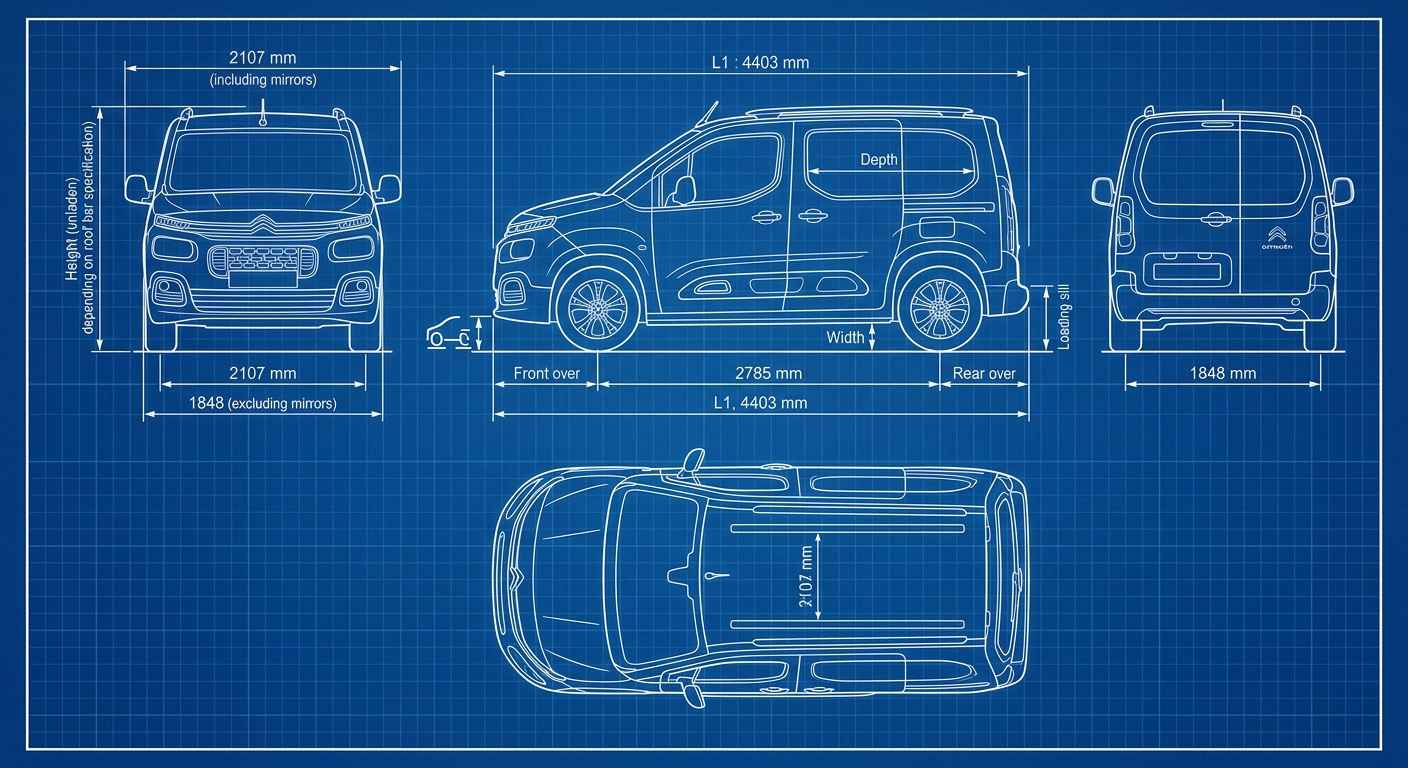
External length and width matter for parking, tight estates and city work, but they do not tell you precisely what will fit inside. Mirrors, bumpers and body shape all affect the outside measurements. The internal bay can also change considerably between a short-wheelbase and long-wheelbase version of the same model.
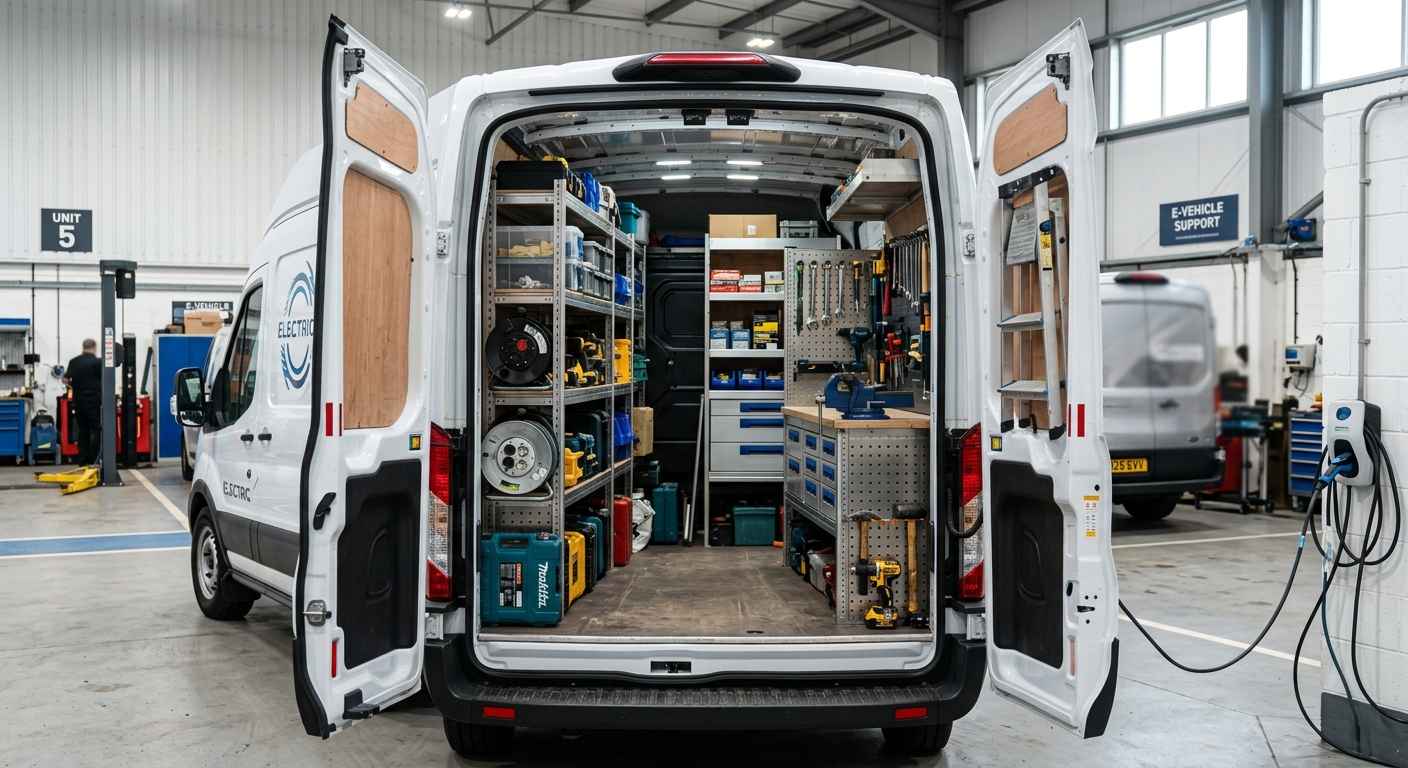
A compact van is often easier to park, cheaper to manoeuvre and better suited to reactive work in built-up areas. The trade-off is that every storage decision counts. Deep shelving on both sides may leave too little clear floor space for bulky items, so a one-sided racking layout with a protected floor can be the better working setup.
A larger van gives you greater capacity, but more space does not automatically mean better organisation. If tools are loose at the front, consumables are mixed with materials and access depends on climbing into the load area, time is still being wasted. Racking should make the dimensions work harder, not simply fill the empty space.
Wheelbase, roof height and body style
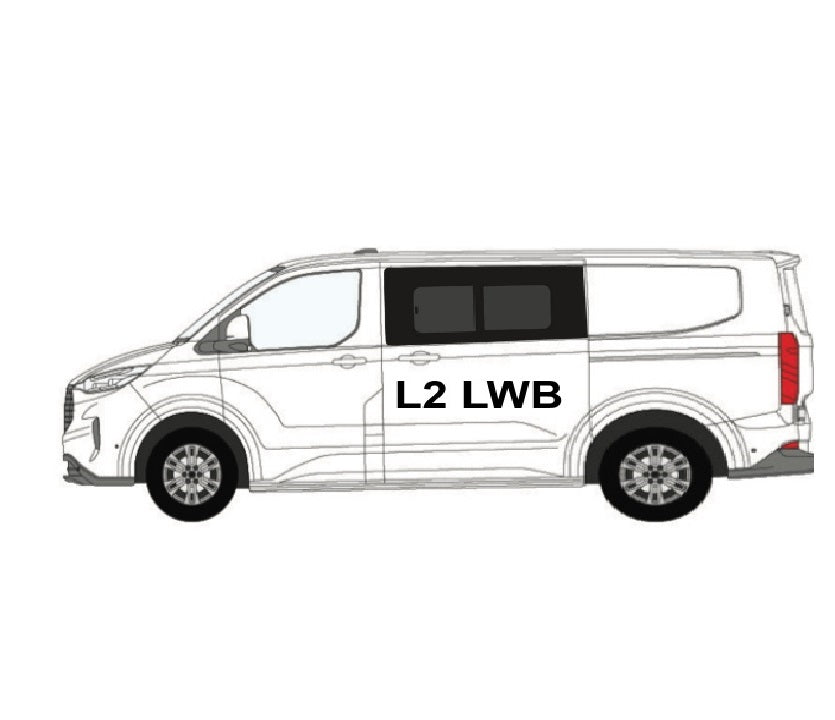
Most working vans are offered in more than one wheelbase. The wheelbase is the distance between the front and rear axles, while the overall length includes the front and rear overhangs. A long-wheelbase van generally has a longer load bay, but check the actual internal length rather than assuming how much extra space it provides.
Roof height is another choice with practical consequences. Standard-roof vans are easier to live with where access is restricted, while high-roof versions help trades that carry tall shelving, larger stock levels or equipment that cannot be laid down. If you rarely stand inside the van and mostly work from the rear or side doors, a high roof may not justify the compromise.
Body style also affects access. Twin side doors can make it easier to reach stock from either side of the vehicle, particularly for mobile maintenance work. Rear barn doors generally give a wide opening, whereas a tailgate needs room behind the van to lift. Think about how and where you unload, not just what you carry.
Payload is not a dimension, but it is a limit
Payload is the maximum weight you can add to the van after its kerb weight has been accounted for. It includes the driver, passengers, fuel, tools, racking, false floors, stock and any equipment carried in the cab or load area. This is where many otherwise sensible setups go wrong.
A load bay may physically hold a full set of shelving, power tools, fixings, cable, pipe fittings and materials, but that does not mean the van can legally or safely carry that weight. The payload can vary between versions with different engines, roof heights, wheelbases and factory options. Always check the exact vehicle specification and its weight plate.
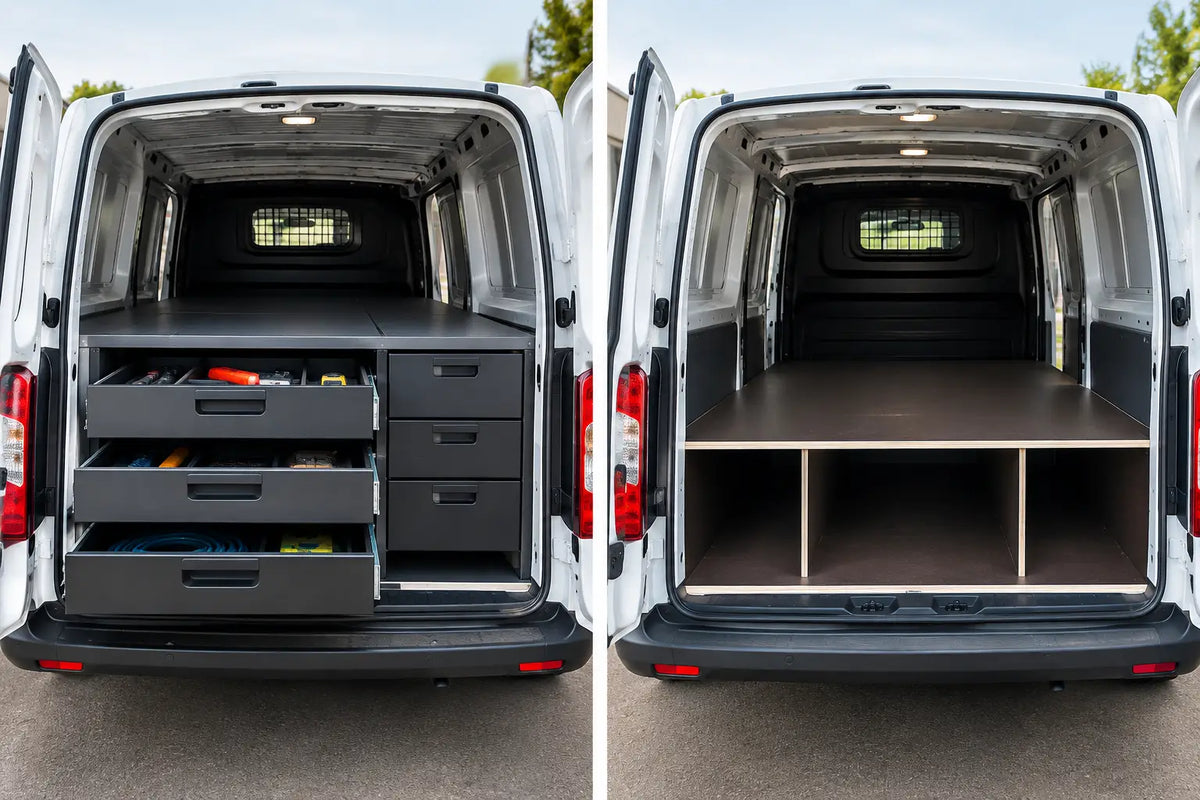
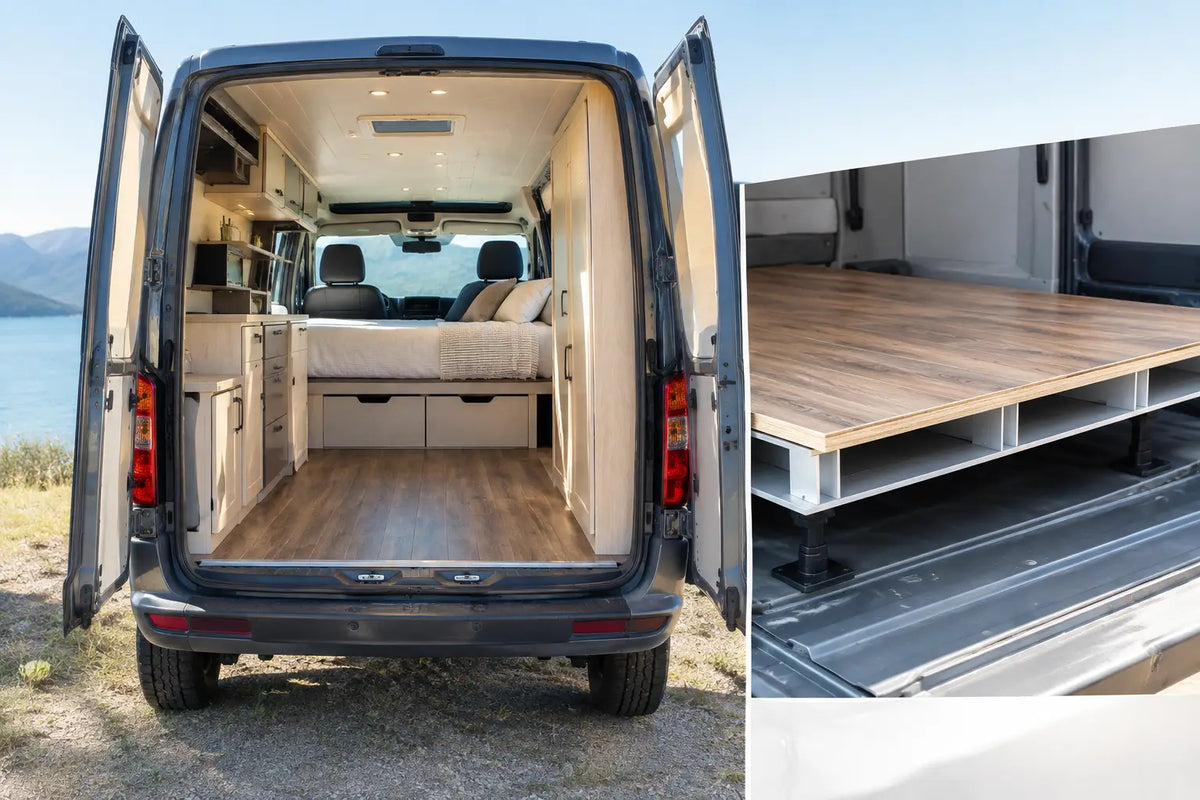
Storage equipment has weight, but it can also help you manage payload properly. Fixed positions for tool cases and stock make it easier to see what is being carried. A false floor can protect the vehicle floor and create a place for long items, yet it must be included in the total weight calculation. The same applies to roof bars, tow equipment and a second passenger.
Overloading affects handling, braking and tyre wear. It can also create problems at roadside checks and with insurance after an incident. If your van runs close to its limit, review the stock held onboard rather than treating the payload figure as an estimate.
Measuring your own van before choosing storage
Even when a van is listed by make, model and year, measure it before ordering storage. Facelifts, model generations, bulkheads, factory linings and previous conversions can alter the usable area. A tape measure and ten minutes in the back of the van can prevent the wrong purchase.
Measure the full floor length, then measure from the bulkhead to the rear edge of the wheel arches. Take the width at the floor, between the arches and above the arches. Measure the height at the side wall as well as in the centre if the roof is shaped. Finally, check the rear and side door openings, including anything that projects into them.
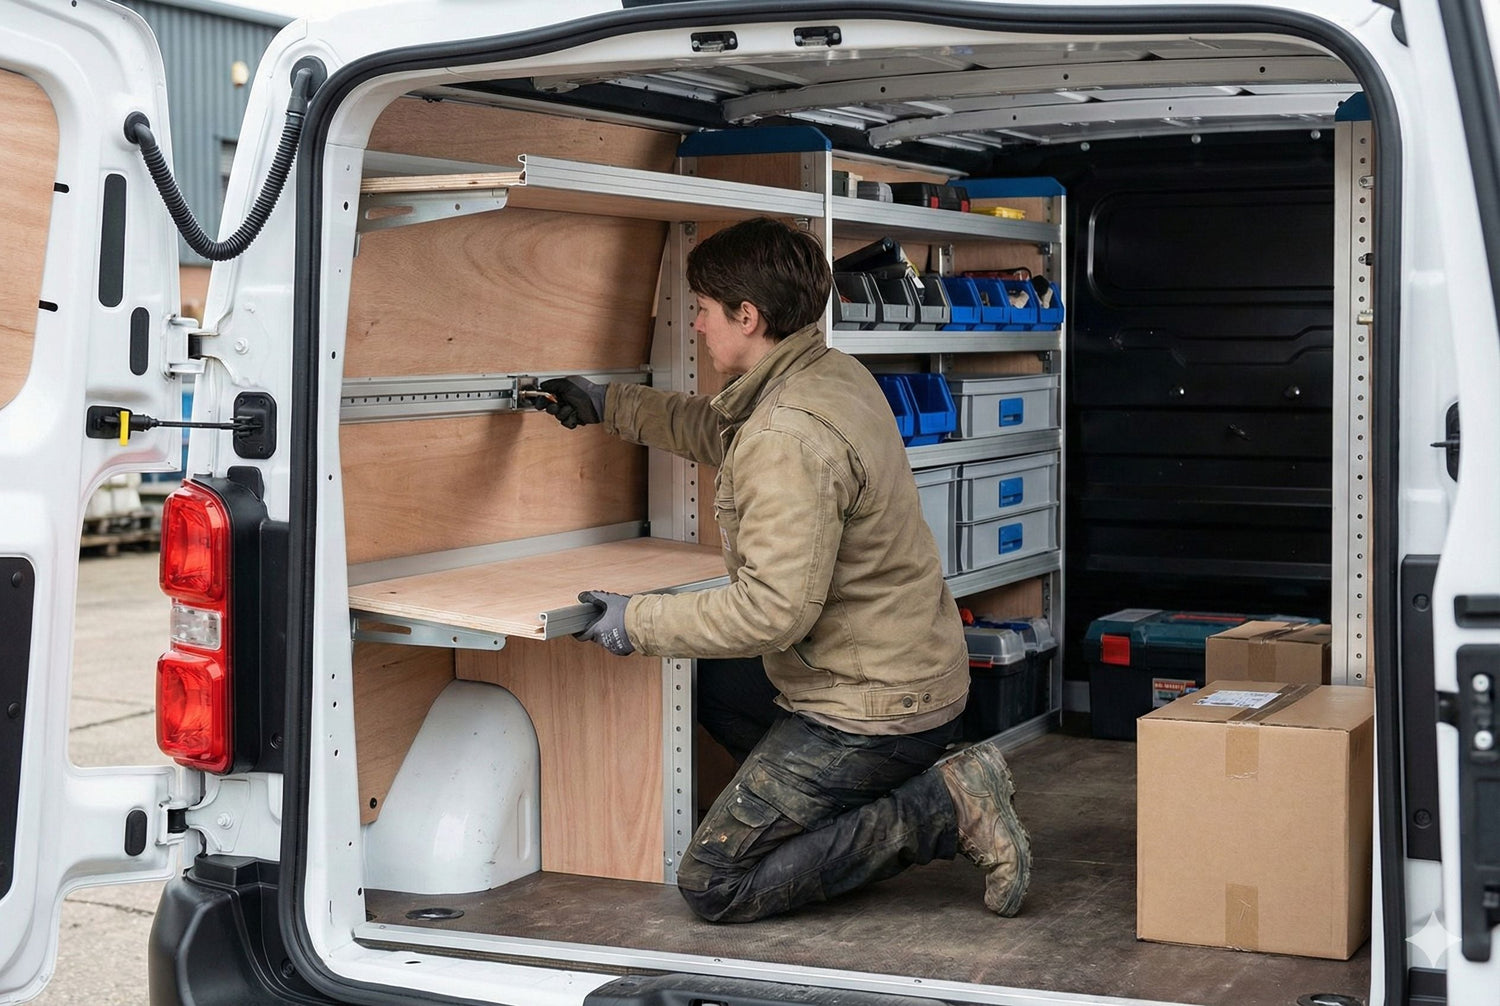
When comparing those measurements with a racking or shelving product, leave sensible clearance for existing ply lining, floor covering and door movement. Do not rely on an outside body measurement or a generic online figure. Vehicle-specific product information is the right starting point, but the vehicle in front of you is the final check.
Plan around your most-used equipment
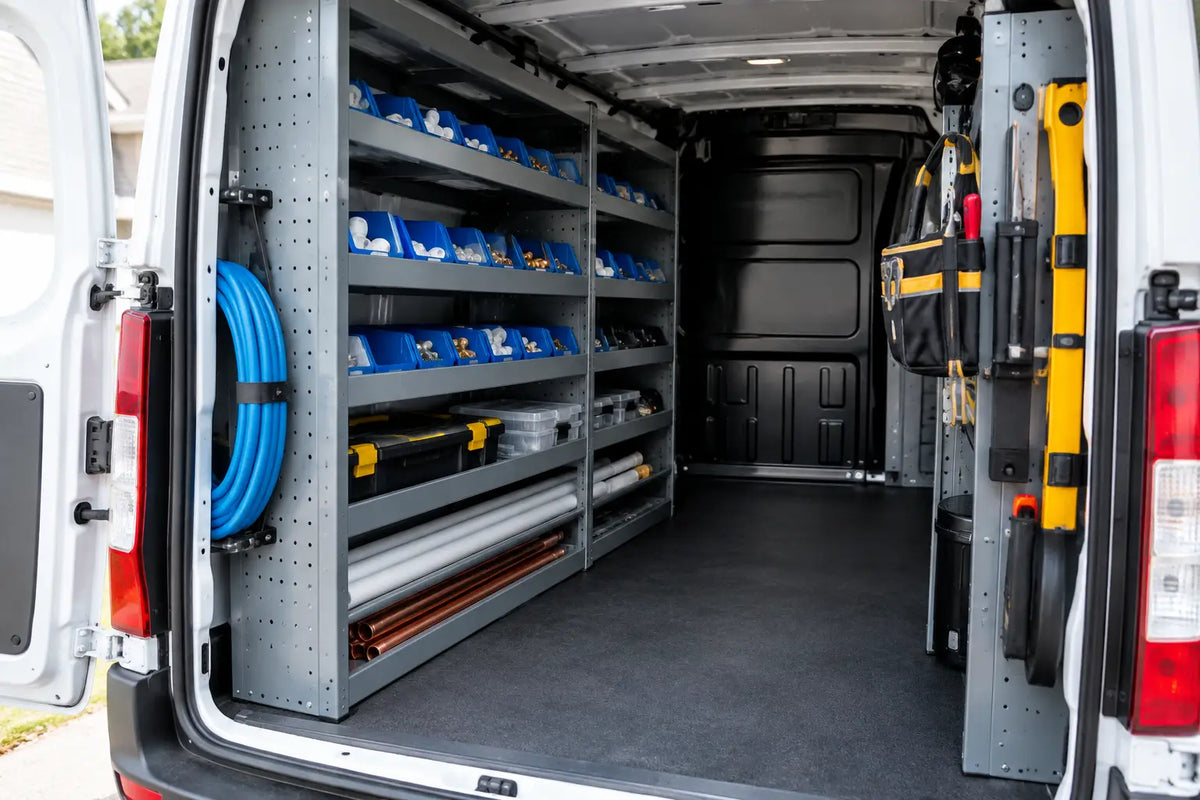
Start the layout with the items you reach for every day. An electrician may need testers, fixings, cable and power tools close to the side door. A plumber may prioritise organised fittings, sealants and pipe storage. A maintenance engineer may need a clear floor route for cases and replacement parts.
Keep heavier tools low down and close to the bulkhead where possible. Put small consumables in accessible compartments rather than loose boxes. Leave a clear loading path for the awkward item that is often forgotten during planning - a step ladder, vacuum, generator or long case.
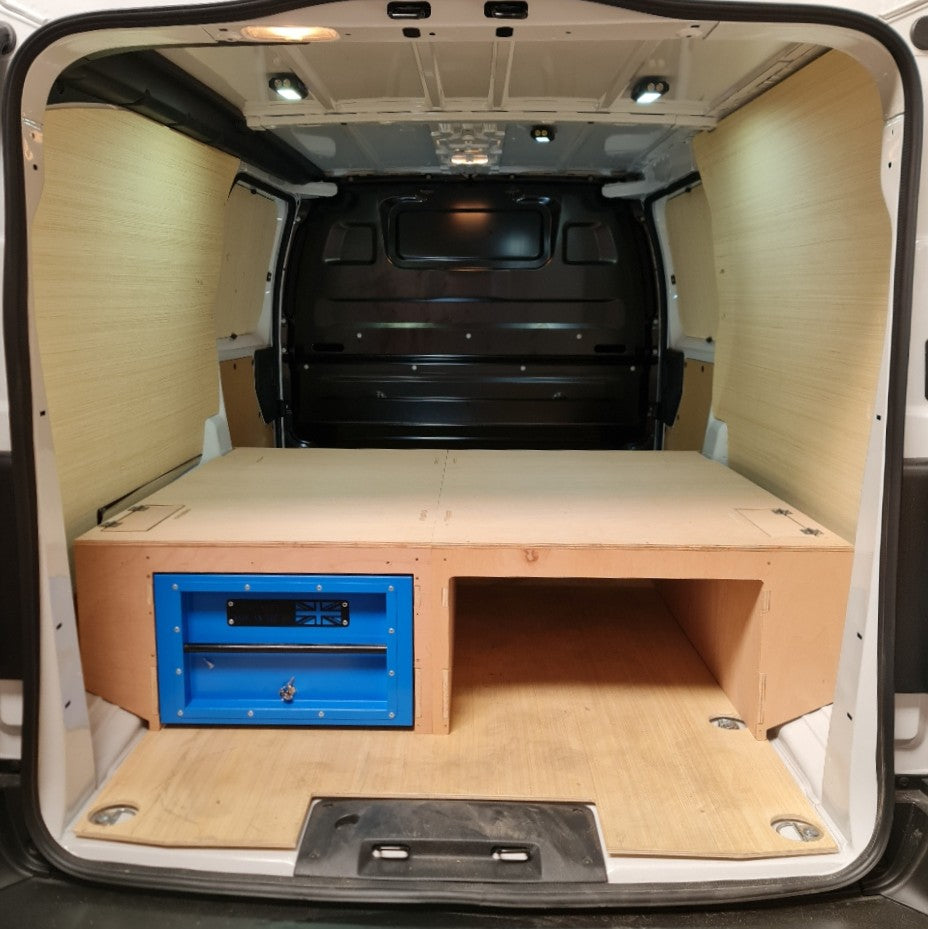
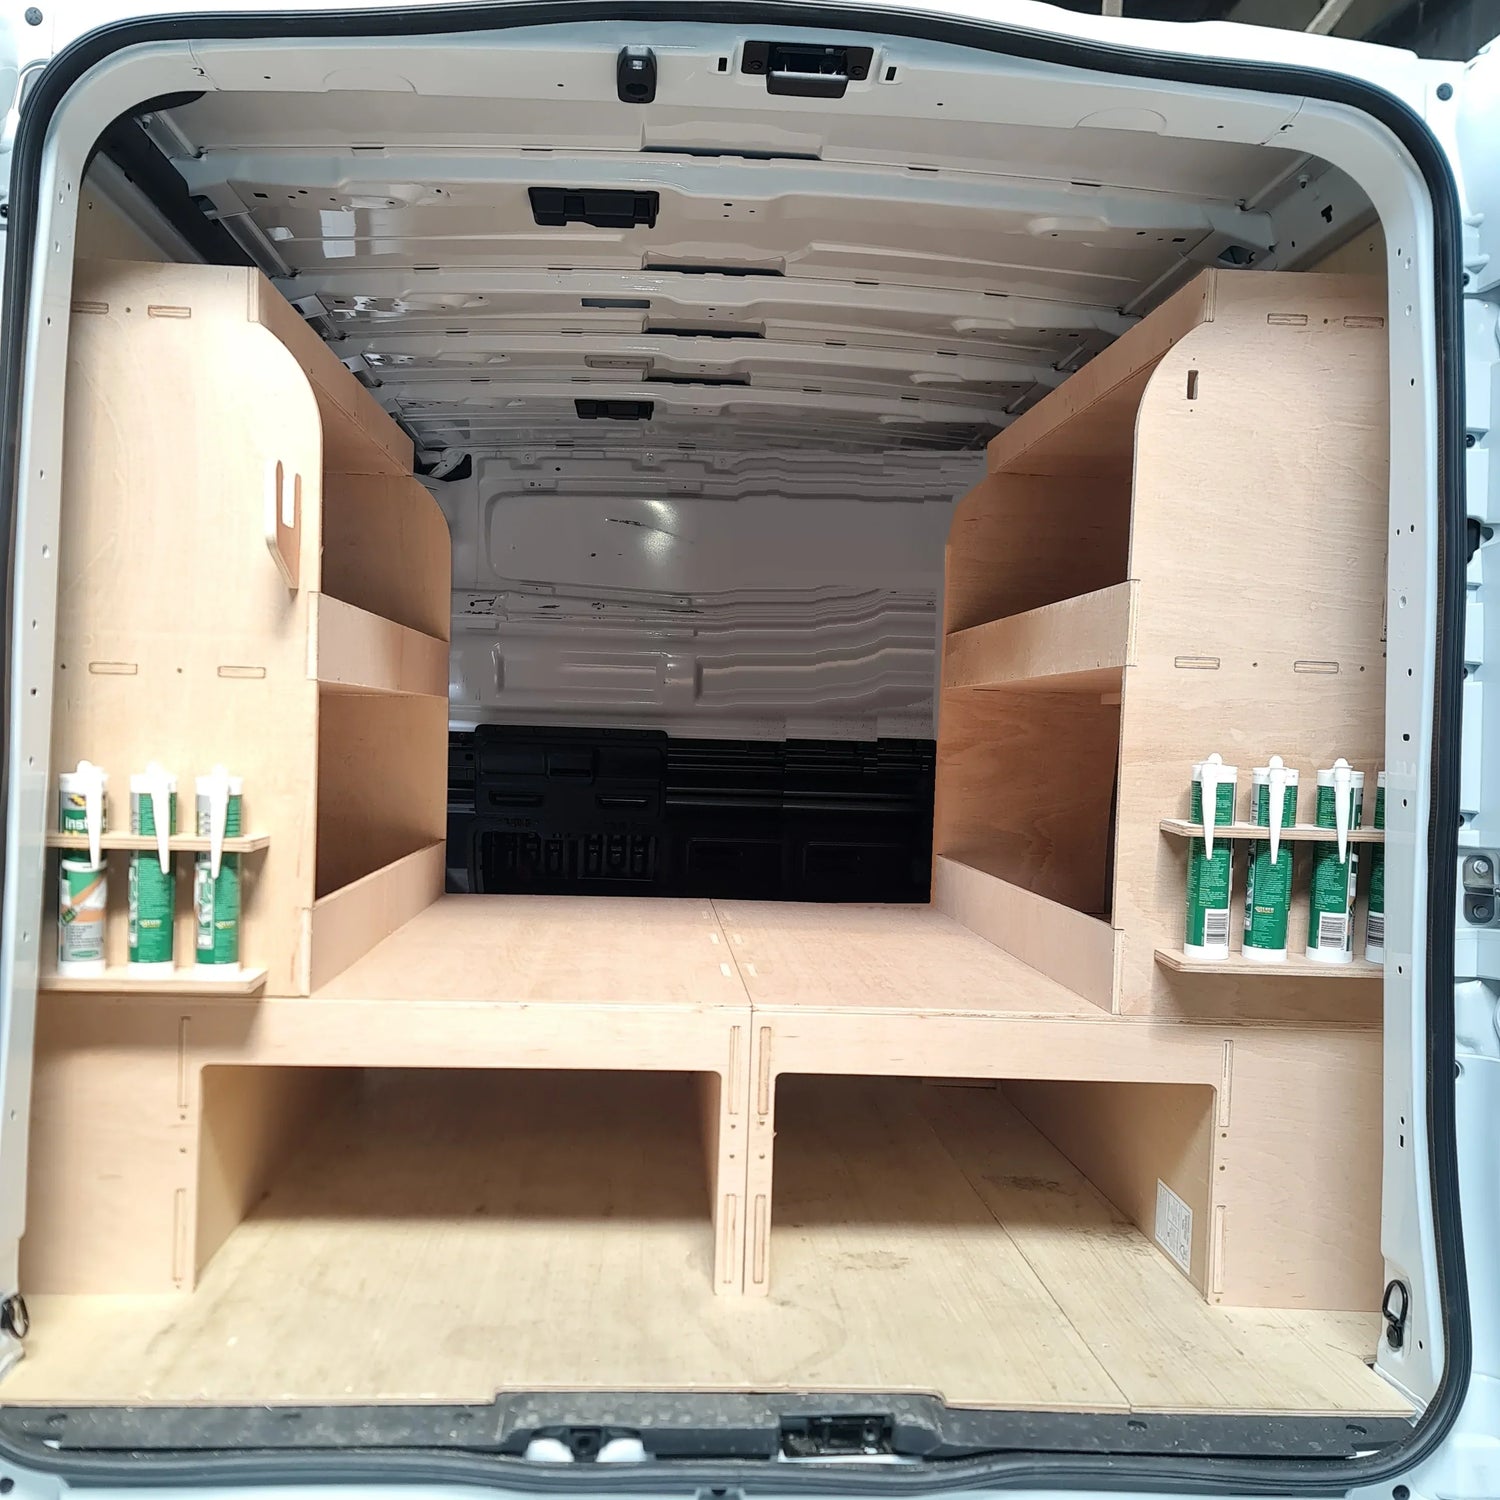
A practical layout normally combines a protected floor, side shelving for hand tools and consumables, and dedicated holders for items such as sealants, gloves and wipes. The right mix depends on the trade, the van dimensions and whether you regularly carry materials as well as tools.
A quick check before you commit
Before selecting any storage system, confirm these five points:
- The exact make, model, model year, wheelbase and roof height of your van.
- Floor length and width between the wheel arches after any existing lining is considered.
- Door openings and access routes for the tools you use most often.
- Your remaining payload after people, fuel, tools, stock and storage equipment.
- Whether the layout still leaves room for occasional larger loads.