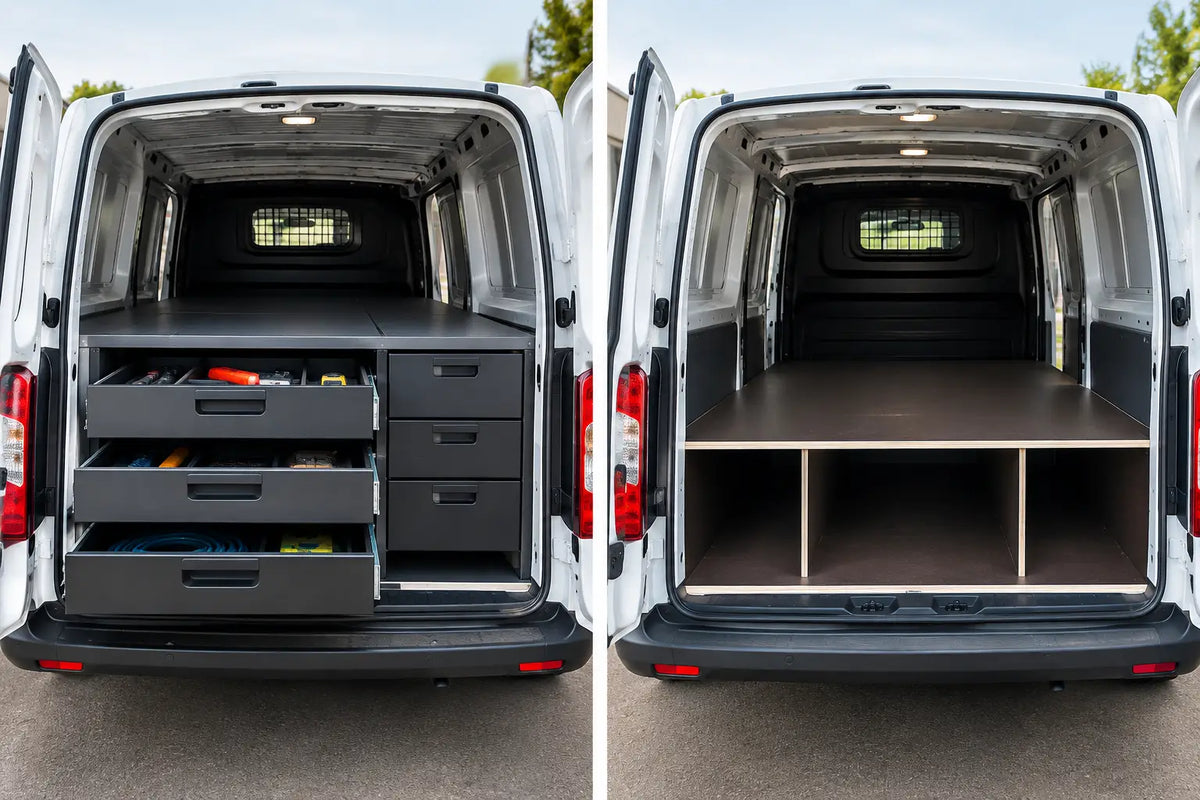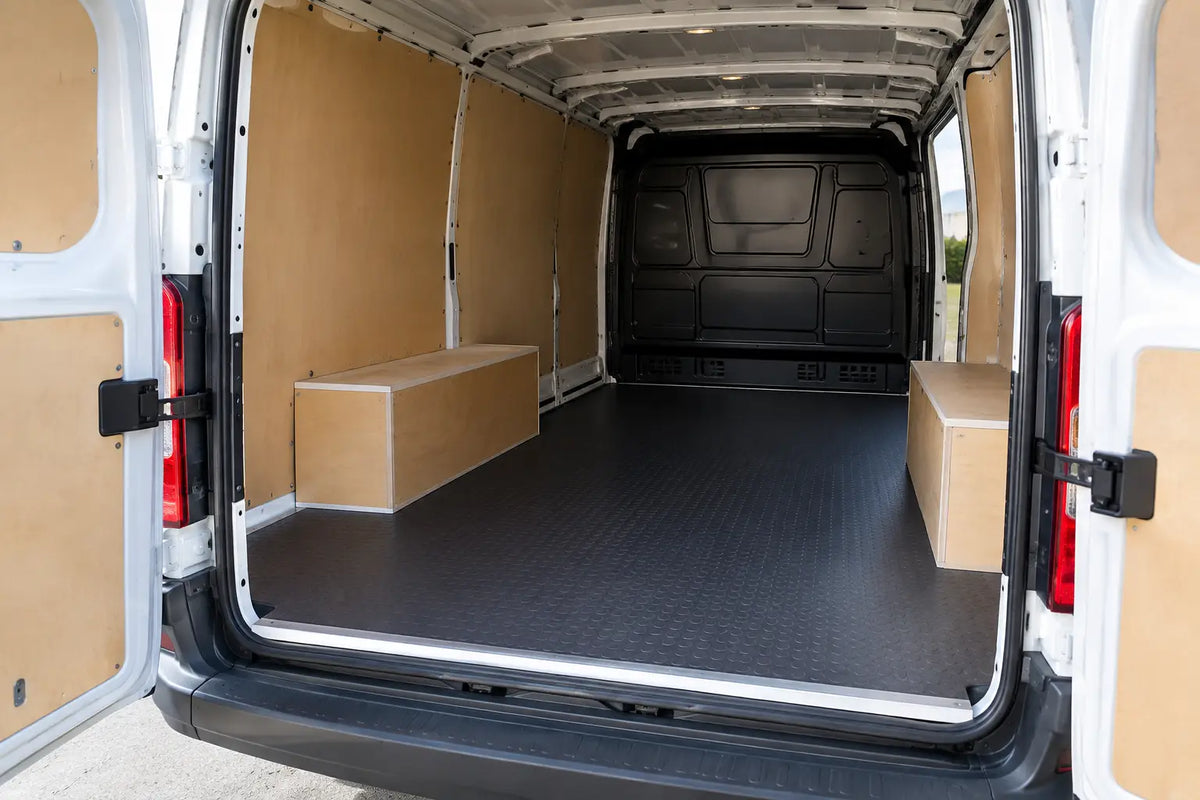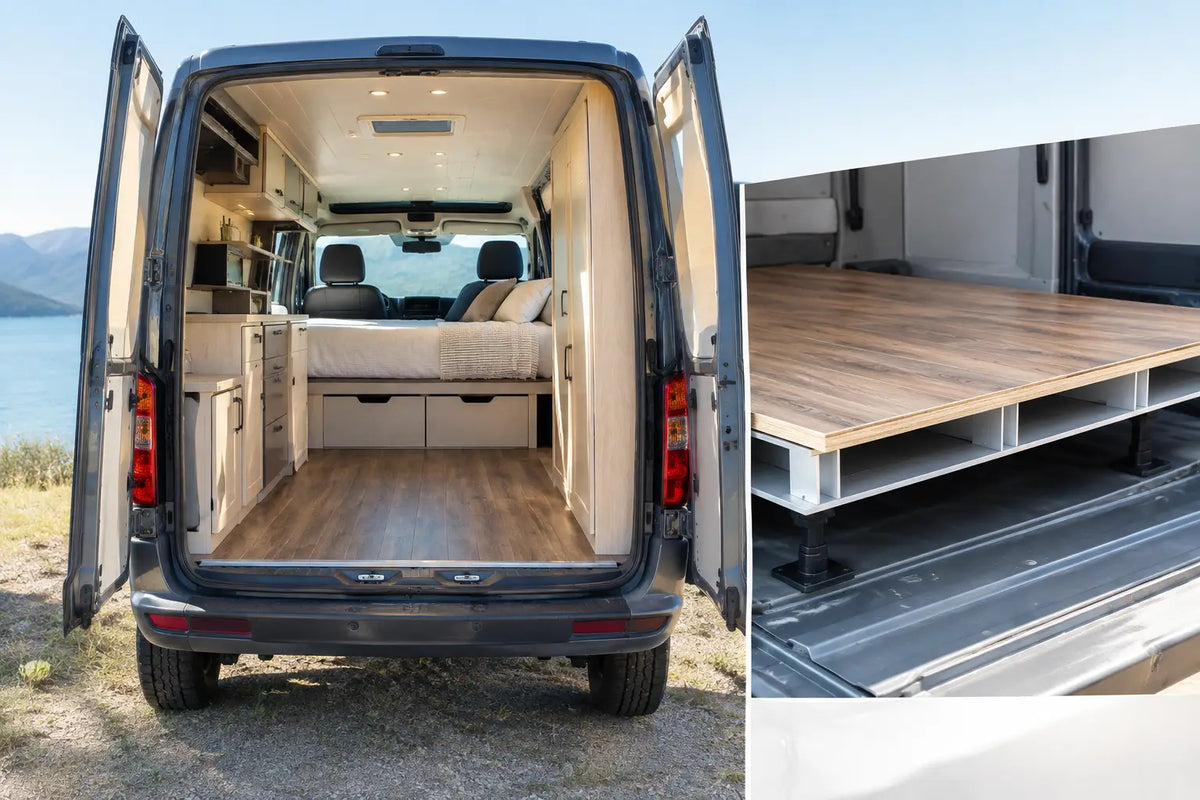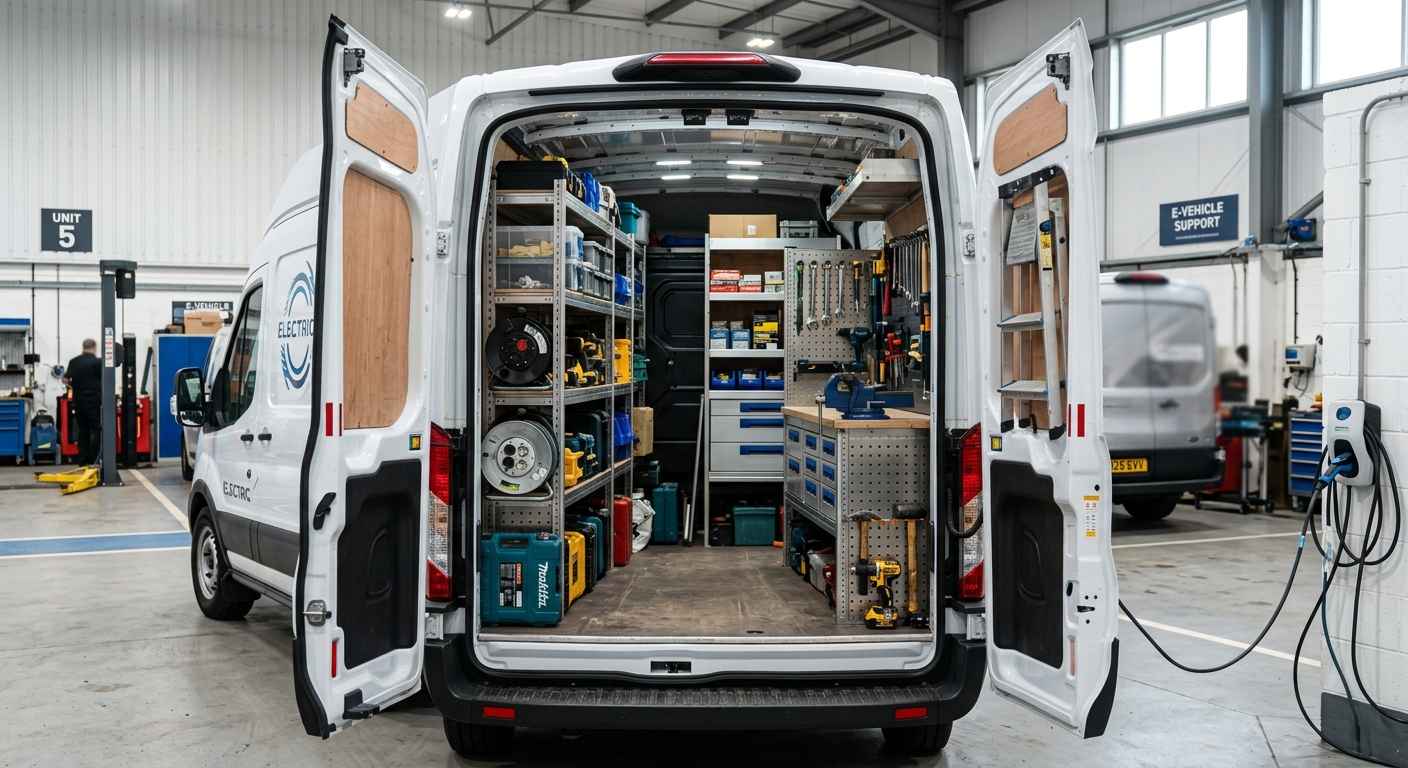









A shelving unit that is 20mm too wide can turn a straightforward fitting job into a wasted afternoon. This van shelving measurement guide helps you measure the areas that matter before ordering racking, false floors or storage accessories for your working van. The aim is simple: use the load space properly, keep tools secure and avoid buying around figures that do not reflect your actual vehicle.
Start with the exact van, not a similar one
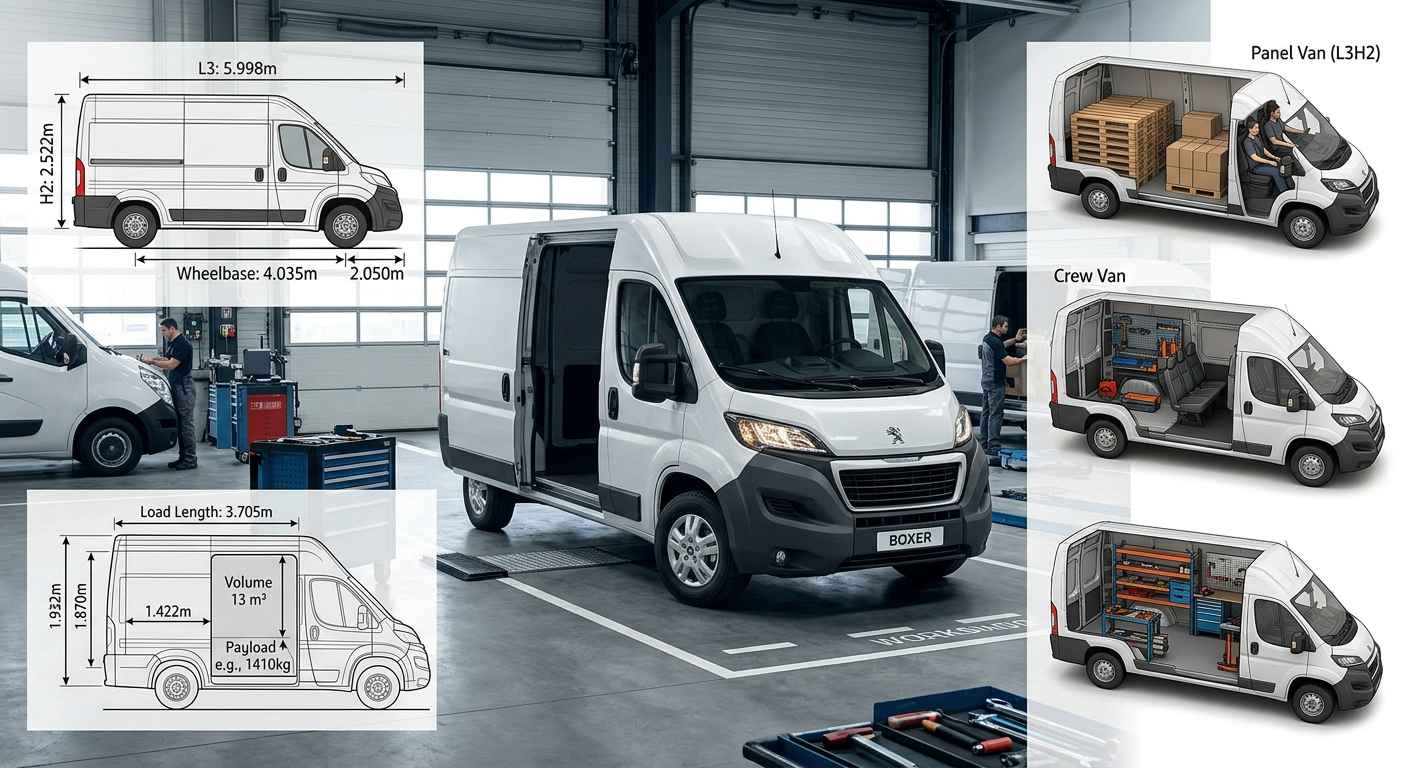
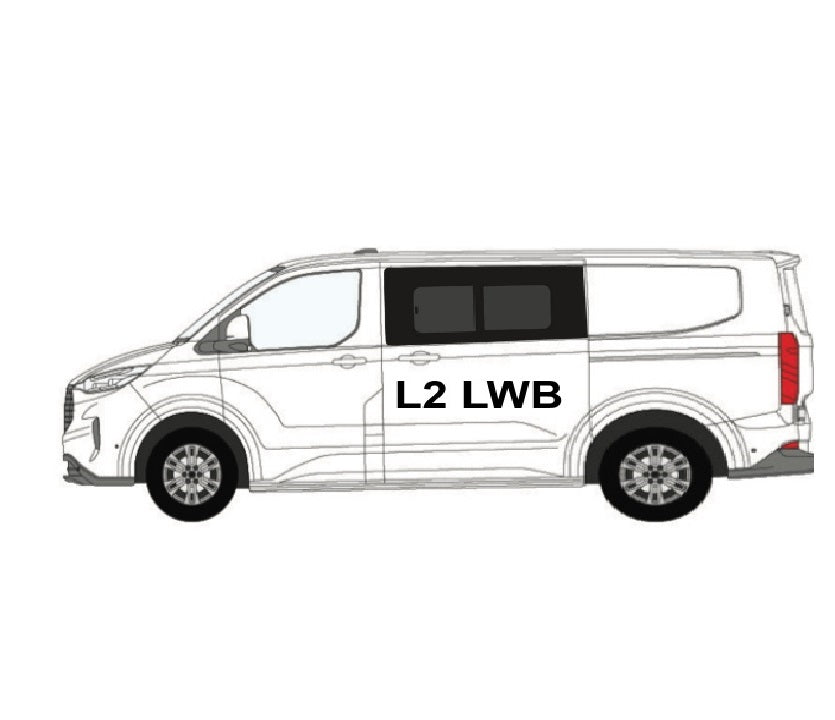
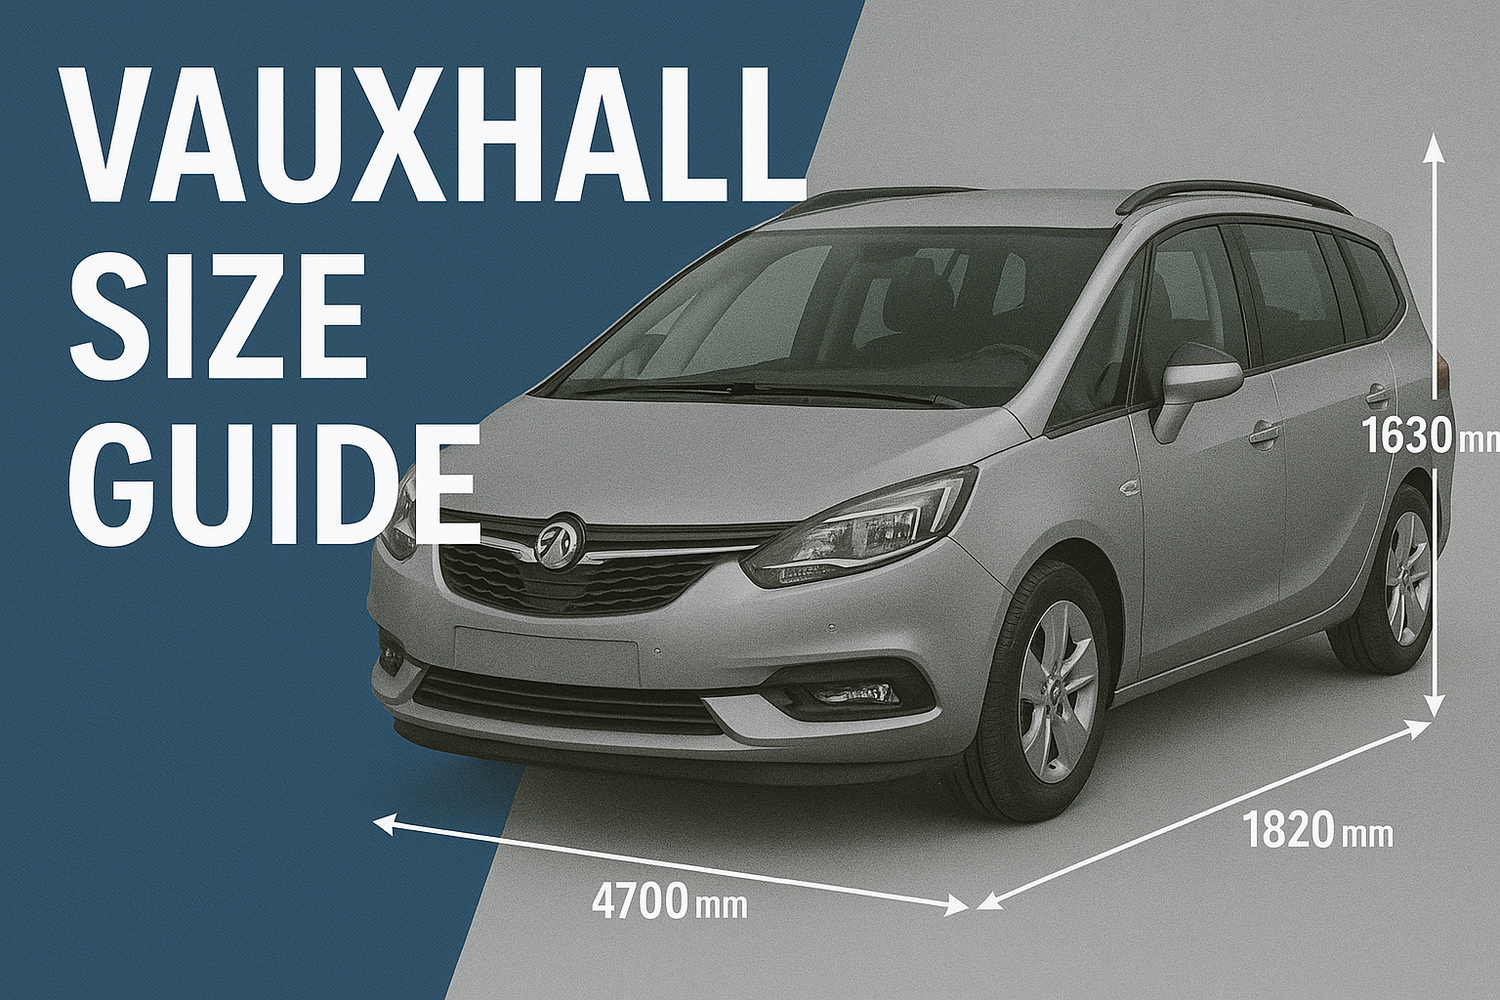
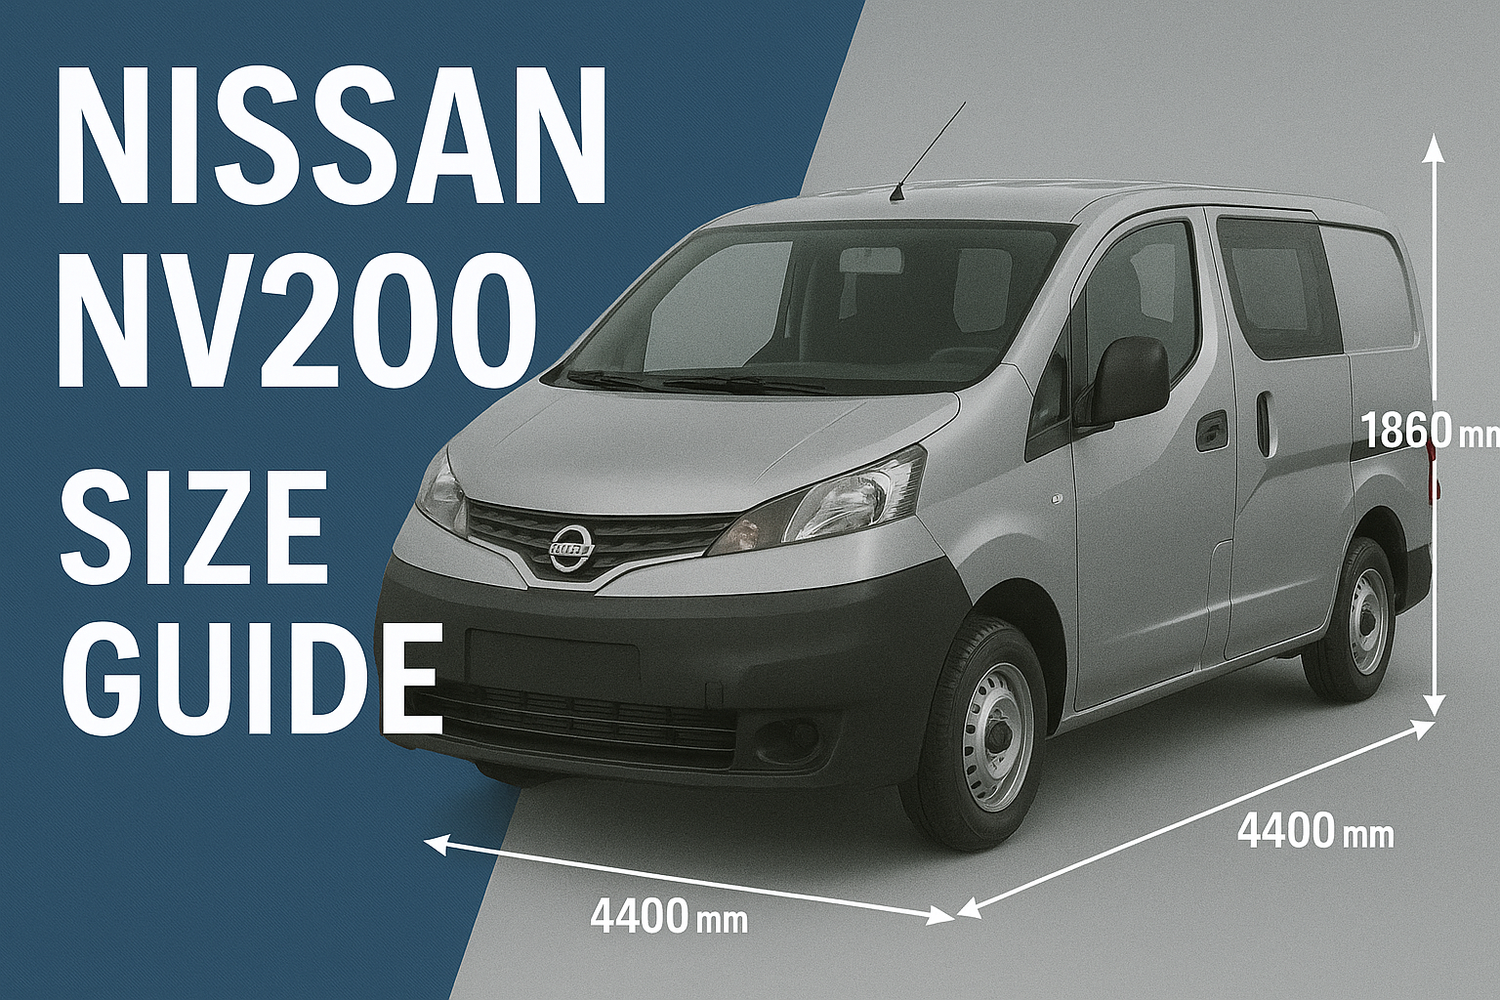
Van names are not enough on their own. A Ford Transit Custom, Volkswagen Transporter or Vauxhall Vivaro may have several wheelbases, roof heights, model years and body styles. A panel van and a crew van can also have very different usable load lengths, even when the badge on the back looks the same.
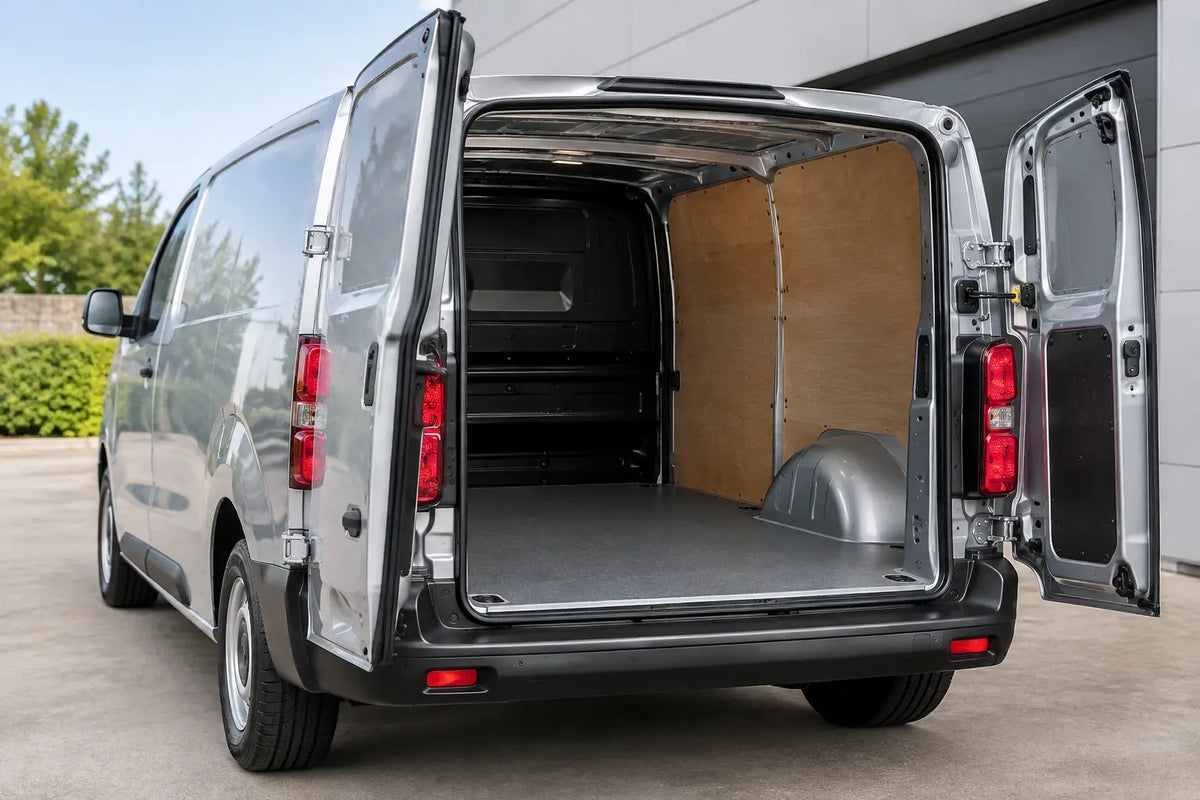
Before measuring, confirm the make, model, registration year, wheelbase and roof height where applicable. Check whether the van has factory lining, a bulkhead, ply lining, a false floor or any previous racking. Each of these can reduce the space available and affect where shelving can be fitted.
This matters particularly when buying vehicle-specific van shelving. Product dimensions may be designed around a particular version of the van, but your own additions inside the load area still need allowing for. Measure the van as it stands, not as it looked in a brochure.
The van shelving measurements that matter
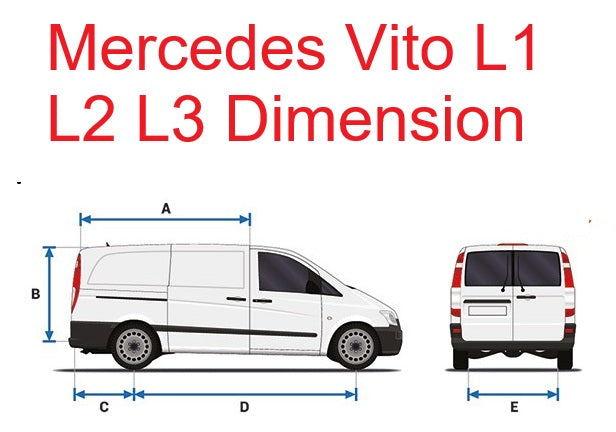
A tape measure, notebook and someone to hold the tape at the other end are normally all you need. Take measurements in millimetres for accuracy, and write down where each one was taken. Do not rely on one measurement across the van - load spaces are rarely perfectly square.
Load length
Measure from the rear door threshold to the bulkhead. Take the measurement along both sides of the floor, as mouldings and wheel arches may narrow the usable area. If you are fitting shelving on one side only, measure the floor length along that side rather than assuming the centre measurement will do.
The longest figure is not always the useful one. A bulkhead step, side-door aperture, factory trim or a curved panel near the rear can limit the length of a rack. Leave enough room at the back to close the doors without catching shelf edges, bins or stored materials.
Load width at three points
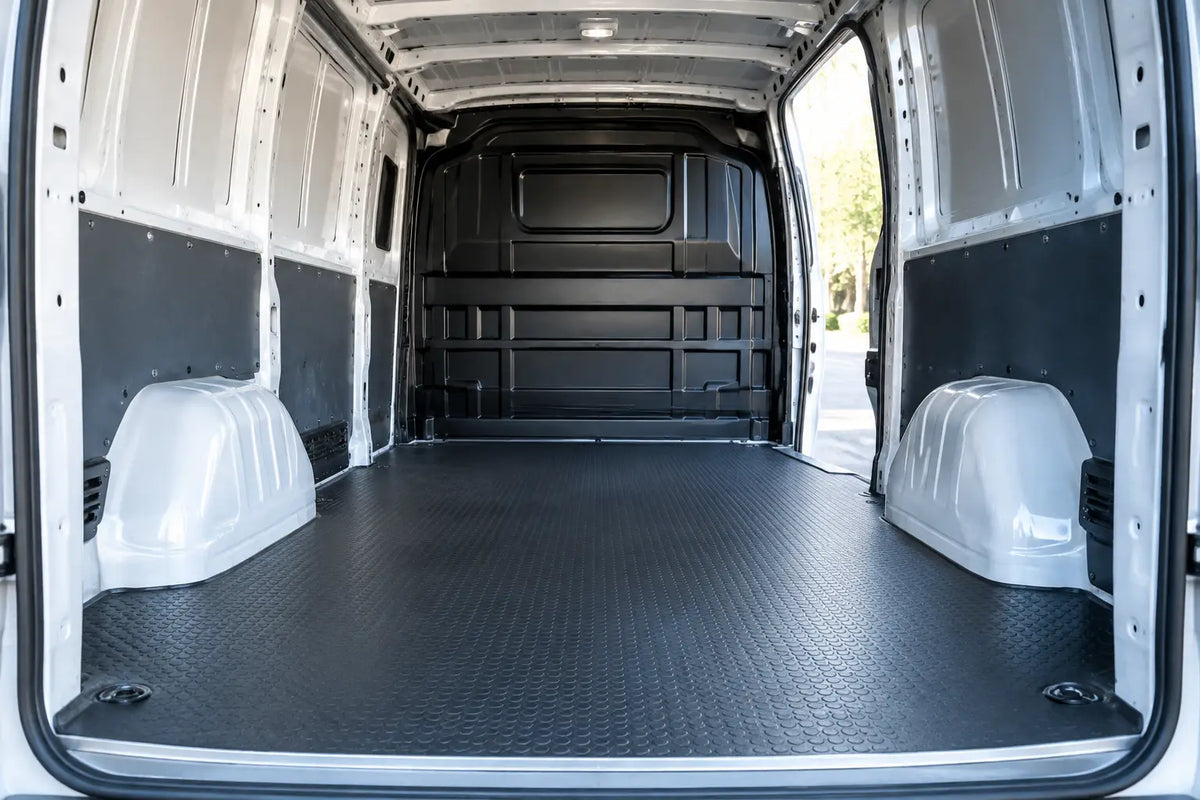
Measure the width just inside the rear doors, between the wheel arches and at the bulkhead. The wheel-arch width is often the tightest figure and is the one most likely to affect floor layouts, box storage and lower shelving sections.
For side shelving, also measure the distance from the vehicle side to the nearest point of the wheel arch. This tells you how deep a lower unit can be without losing a clear walkway or making it difficult to load larger items.
Internal height
Measure vertically from the finished floor to the lowest point of the roof or roof lining. Take one measurement at the rear and another nearer the bulkhead. Vans can taper slightly, while roof ribs, lights and lining panels can reduce clearance.
Internal height is vital when selecting tall racking or planning upright storage for cases, cable reels, trunking or sealant. If you intend to add a false floor, subtract its finished height before deciding what will fit above it.
Wheel arches, doors and awkward areas
Wheel arches are not uniform boxes. Measure their height, length and how far they project into the load space. Include their position from the rear doors, because this determines whether a shelving base can sit in front of, over or behind them.
Measure around the sliding side door too. A unit may fit neatly along the wall but obstruct access from the side if its front edge sits in the wrong place. Note the position of door catches, tie-down points, interior lights, trim panels and any exposed equipment that must remain accessible.
A useful measurement sheet should include:
- Finished load length on the left and right sides
- Width at the rear, wheel arches and bulkhead
- Height at the rear and front of the load area
- Wheel-arch size and position from the rear doors
- Depth available for shelving while retaining a safe walkway
- Clearance around side doors, rear doors, bulkhead and existing lining
Plan around the work you do
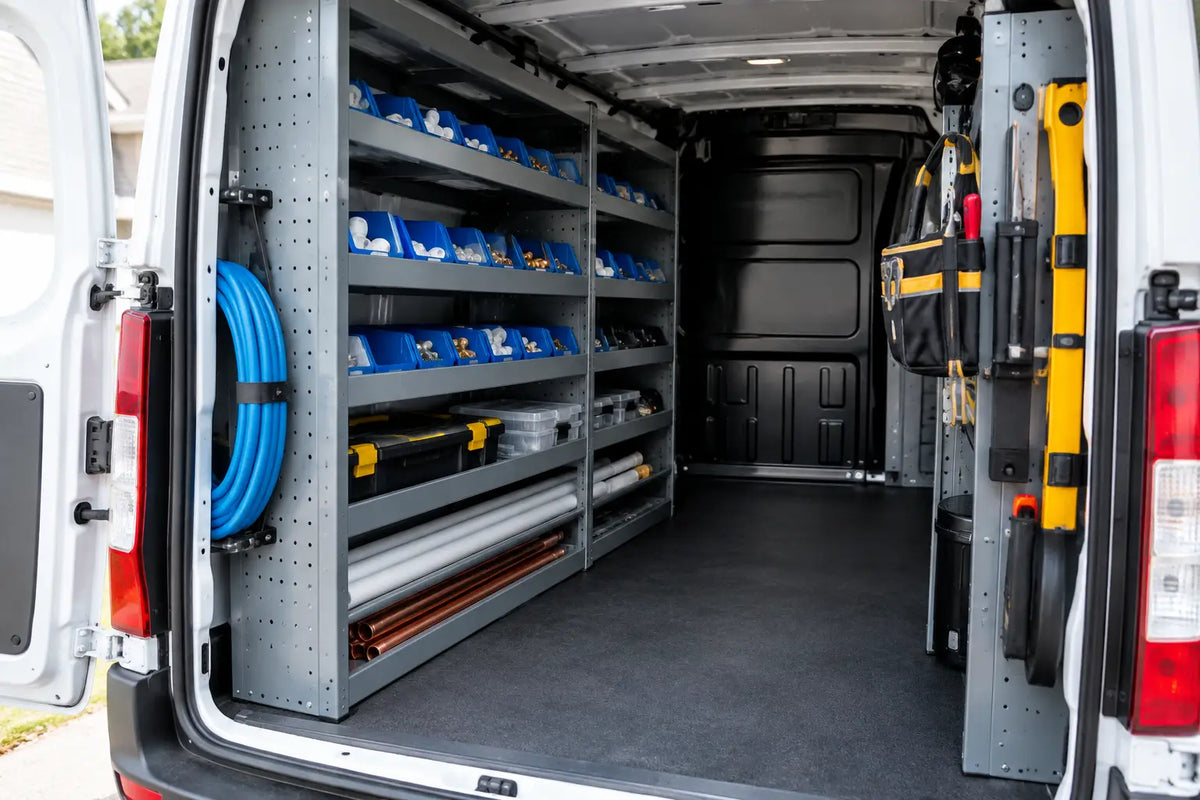
Dimensions tell you what can fit. Your work tells you what should fit. A plumber carrying pipe fittings, sealants and cases needs a different layout from an electrician storing cable, testers and small parts. A maintenance engineer with heavy toolboxes may need a lower centre of gravity and clearer access to frequently used equipment.
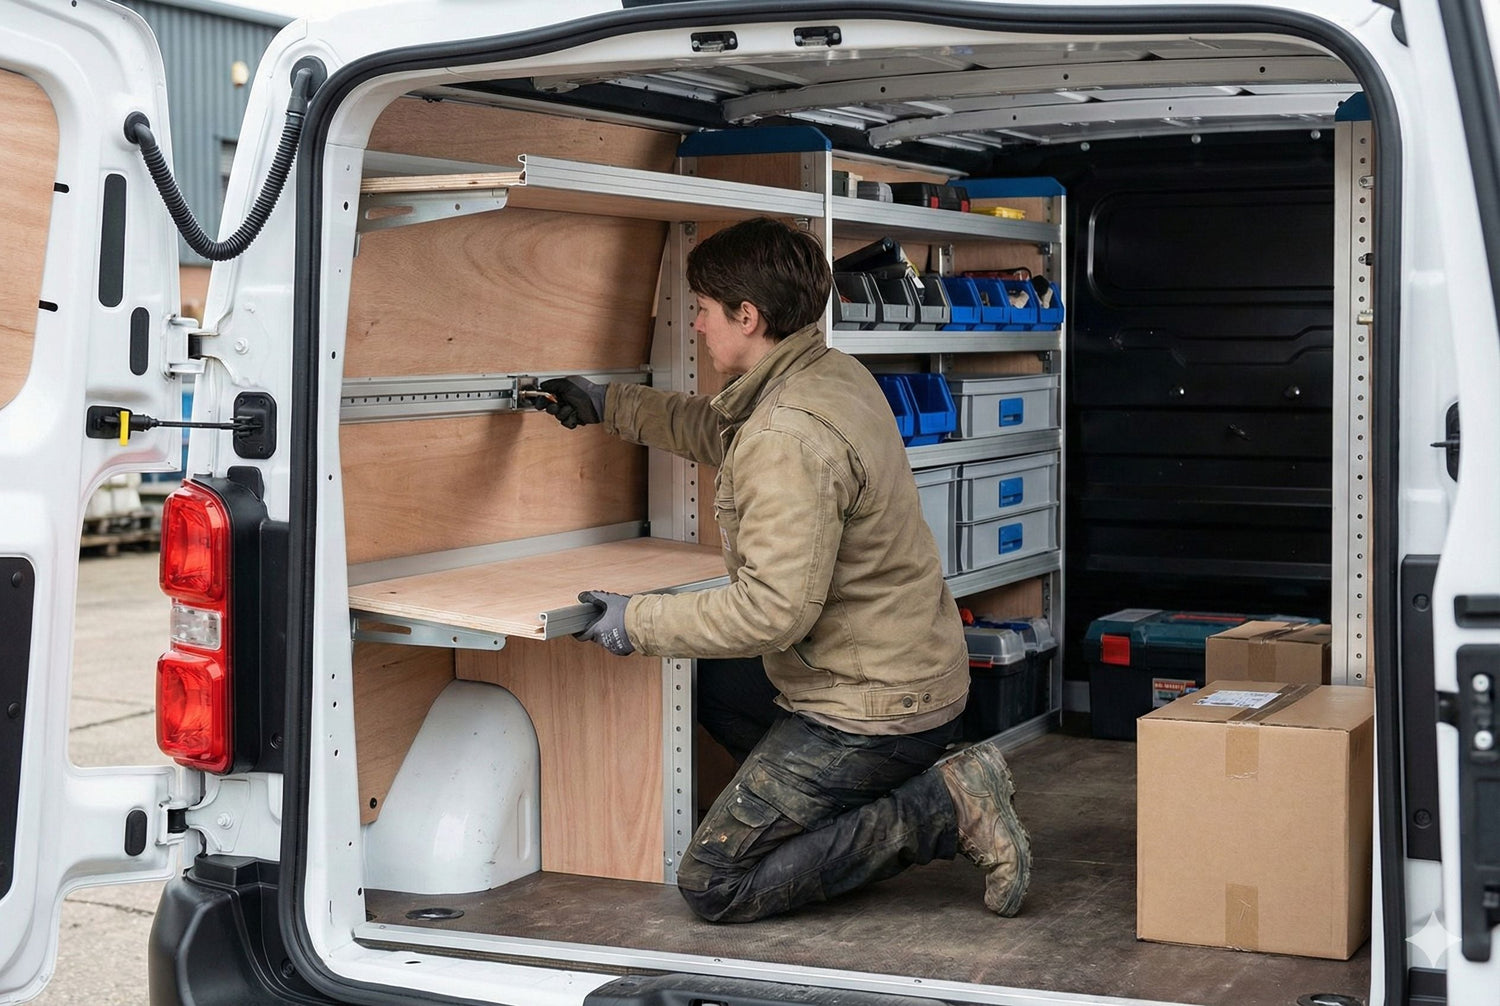
Start by separating equipment into three groups: items used on nearly every job, items used occasionally and bulk materials. Keep everyday tools near the side or rear door you use most. Place heavier cases low down and close to the bulkhead where practical. Longer materials need a clear route through the load space, so do not build a shelving plan that blocks them in.
This is where narrow shelving can be a better choice than the deepest possible unit. More shelf depth gives more storage volume, but it can reduce the room needed for step ladders, sheet materials, replacement parts or simply moving safely inside the van. The right answer depends on whether the van is mainly a mobile workshop, a materials carrier or a mixture of both.
Allow for lining, false floors and access
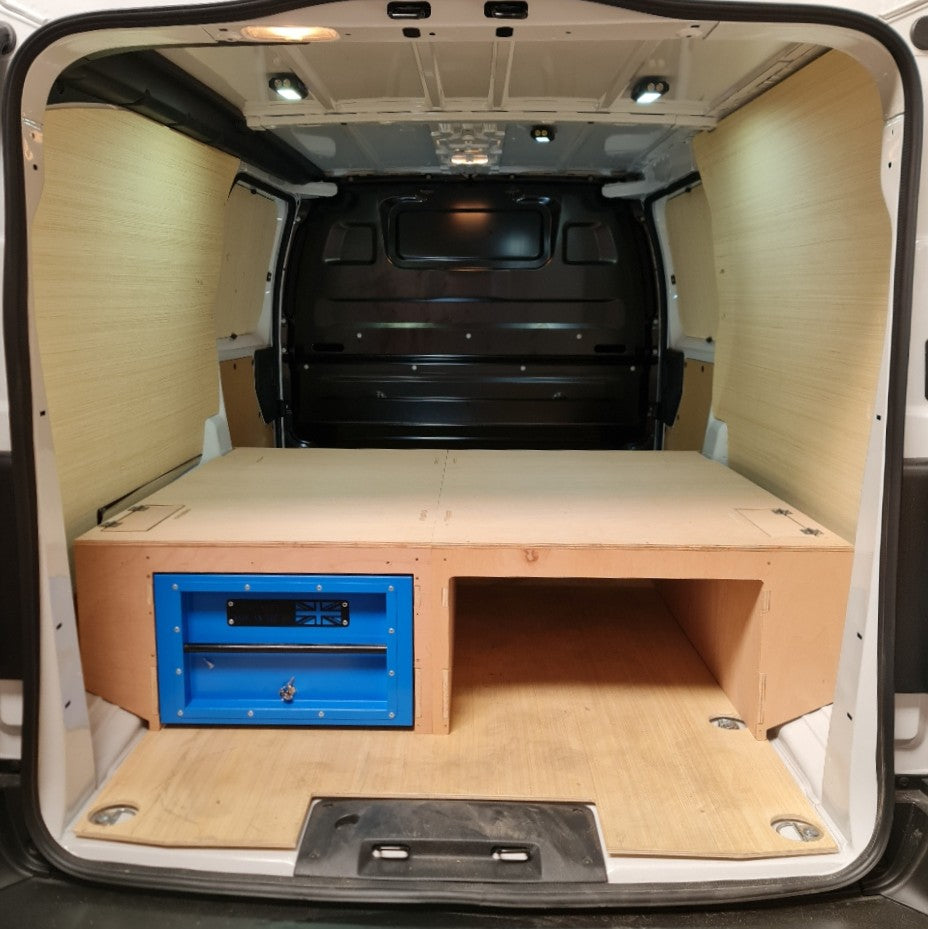
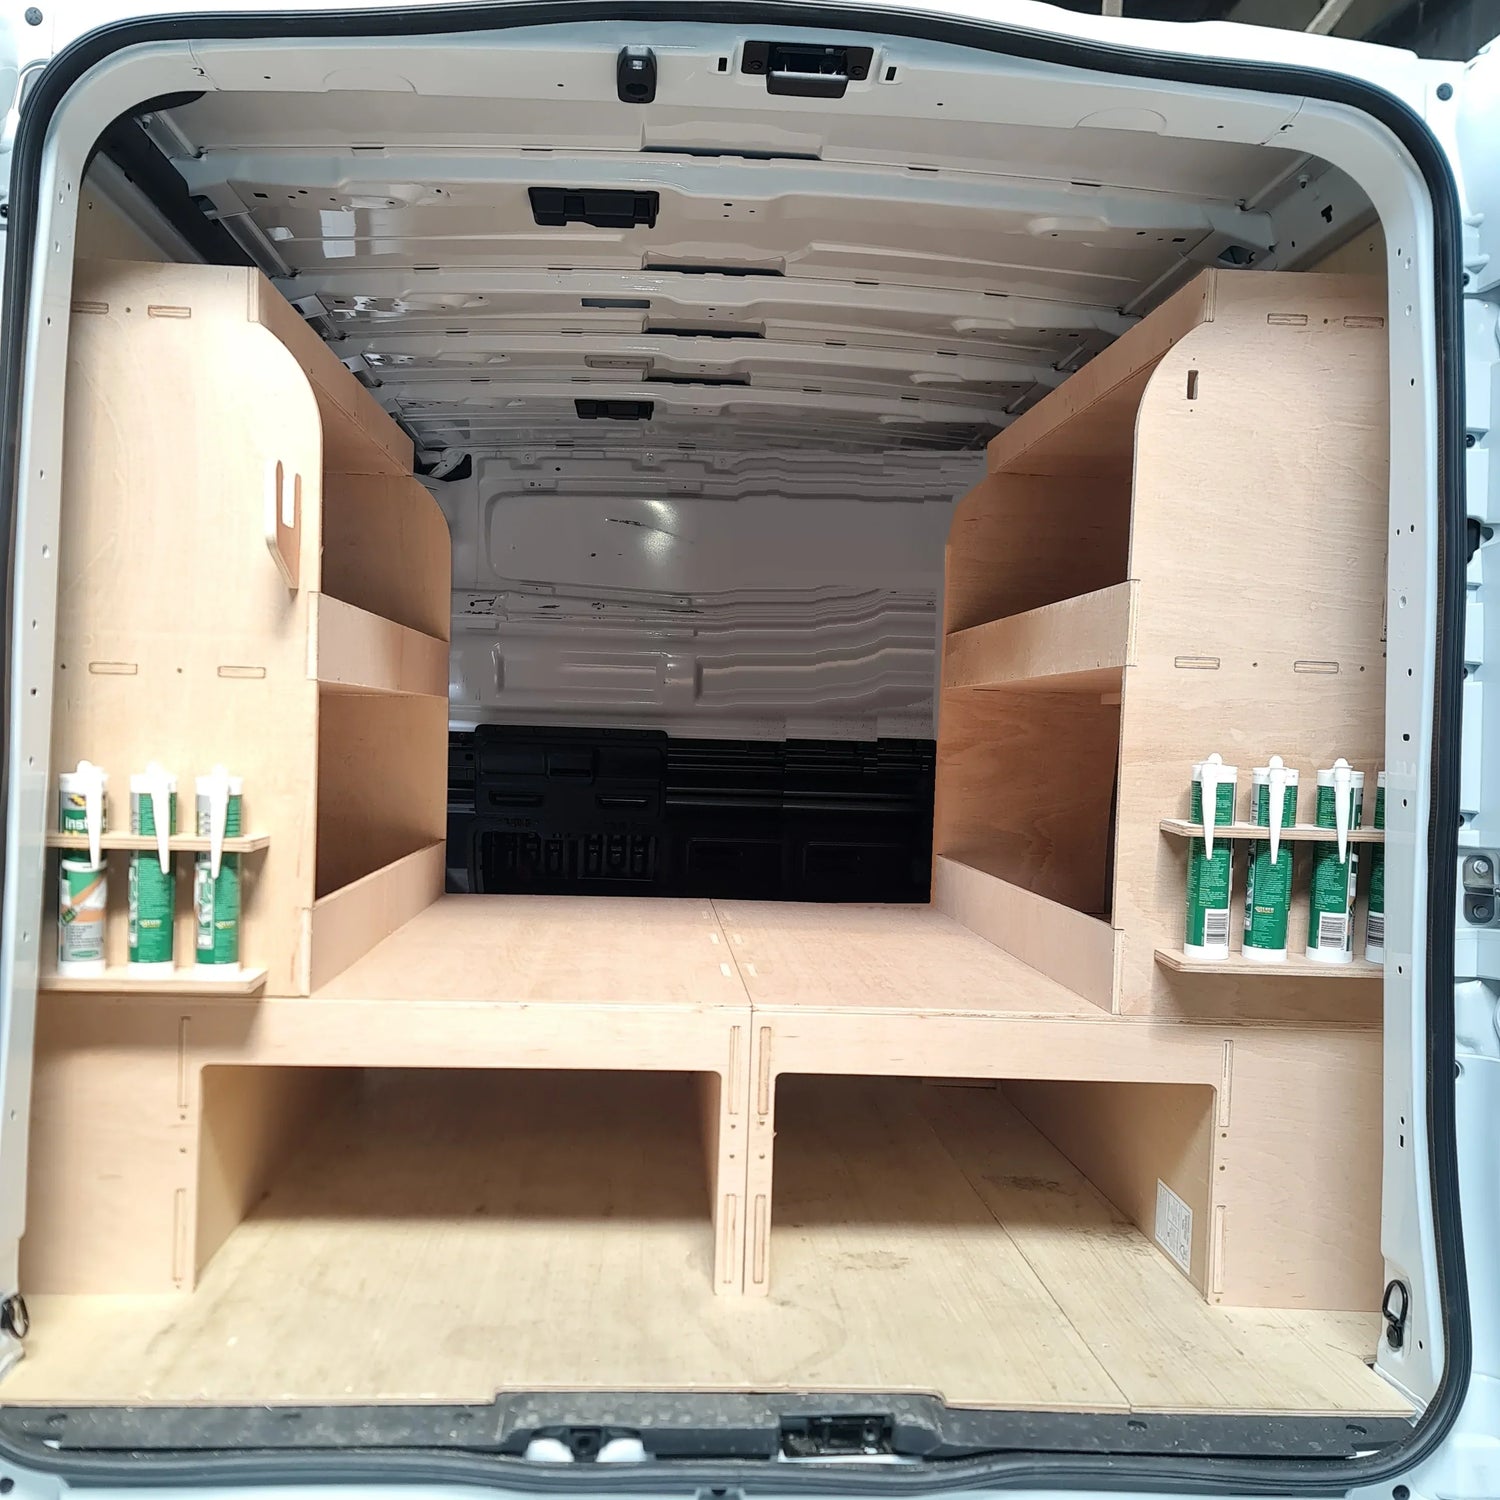
Ply lining can take several millimetres from each side wall, while a false floor raises every stored item closer to the roof. These are worthwhile additions for protection and organisation, but they must be included in your measurements from the outset.
If a false floor is planned but not yet fitted, establish its finished height before ordering tall racking. Also consider the floor thickness where bolts, fixings or tie-down points may be involved. Do not assume a fixing position is clear beneath the floor without checking what sits below it.
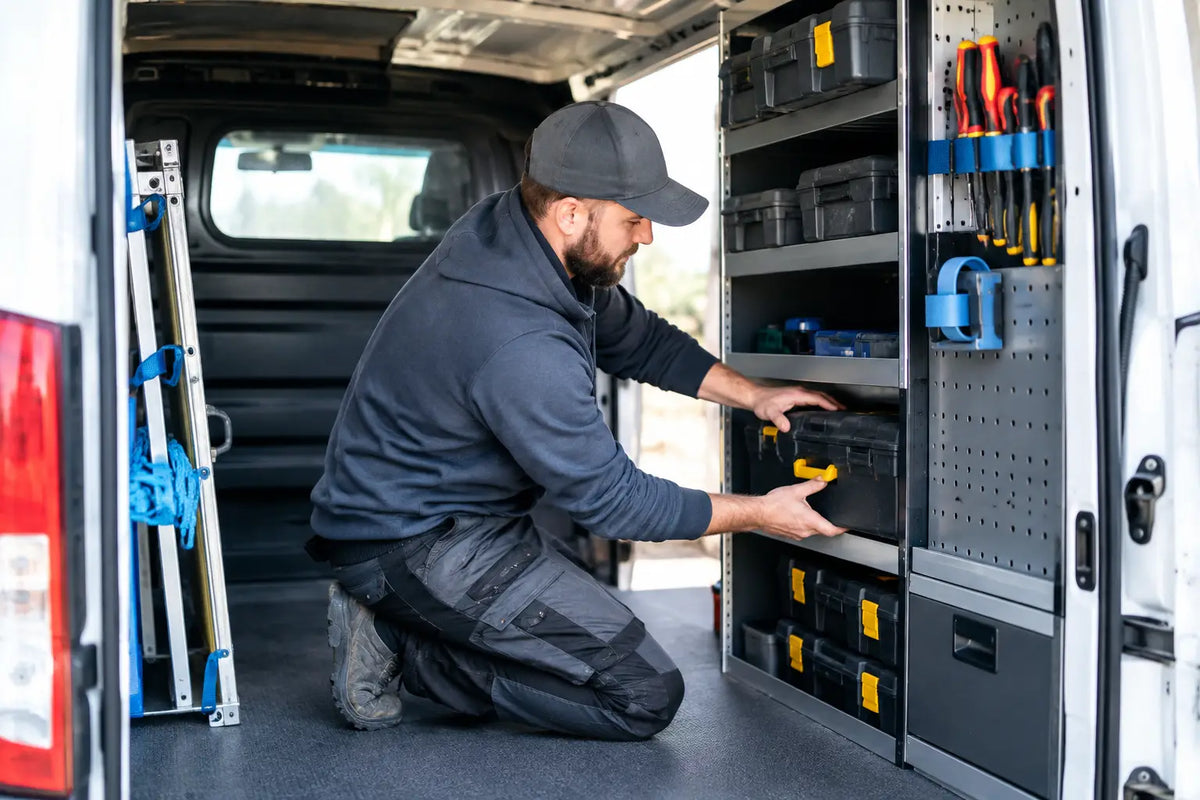
Access matters as much as physical fit. Open rear doors, then check how far you can comfortably reach into the first shelf. Open the sliding door and consider whether you can remove a tool case without twisting around a shelf upright. A layout that looks efficient on paper can become frustrating if the items you use most are trapped behind larger equipment.
Check measurements against product information carefully
When comparing shelving, look at the overall external width, height and depth of the unit, not just the shelf dimensions. Uprights, side panels, rear braces and fixings can all need space. Confirm which side of the van the system is intended for, and whether the product is listed for your exact model and generation.
Leave a sensible tolerance rather than designing to a perfect, zero-gap measurement. Vehicle lining can vary, panels can curve and a load space may be slightly different from one side to the other. A small clearance makes fitting easier and avoids pressure against the bodywork or doors.
It is also worth checking the practical capacity of the layout. Measure your largest regular tool case, organiser, cable reel and material pack. A shelf can fit within the van yet still be too shallow or too low for the equipment you need to store. Plan the shelves around real items, not vague assumptions.
Think about load, security and daily use
Shelving is not just about filling empty space. Weight needs to be distributed sensibly, with heavier equipment stored low and secured properly. Avoid loading one side heavily while leaving the other side almost empty, particularly if the van carries a substantial amount of tools every day.
Keep load restraints, access to emergency equipment and visibility through any required rear windows in mind. Do not cover vehicle features or use fixing points in a way that creates damage or compromises safe operation. If you are unsure about mounting, compatibility or the safest layout for a particular vehicle, ask before ordering rather than forcing a near-fit solution.
Measure once, order with a workable plan
Take photographs of the empty load space alongside your written dimensions. They are useful when comparing layouts later and make it easier to spot obstructions you may have missed. Mark out the footprint of proposed shelving on the floor with masking tape if you want a quick sense of the remaining walkway and loading room.
CNC Work’s vehicle-led ranges make it easier to narrow down suitable storage, but careful measuring is still the step that turns a product choice into a practical workspace. A well-measured van gives you room for the tools you need, a clearer working day and fewer compromises once the shelving is in place.