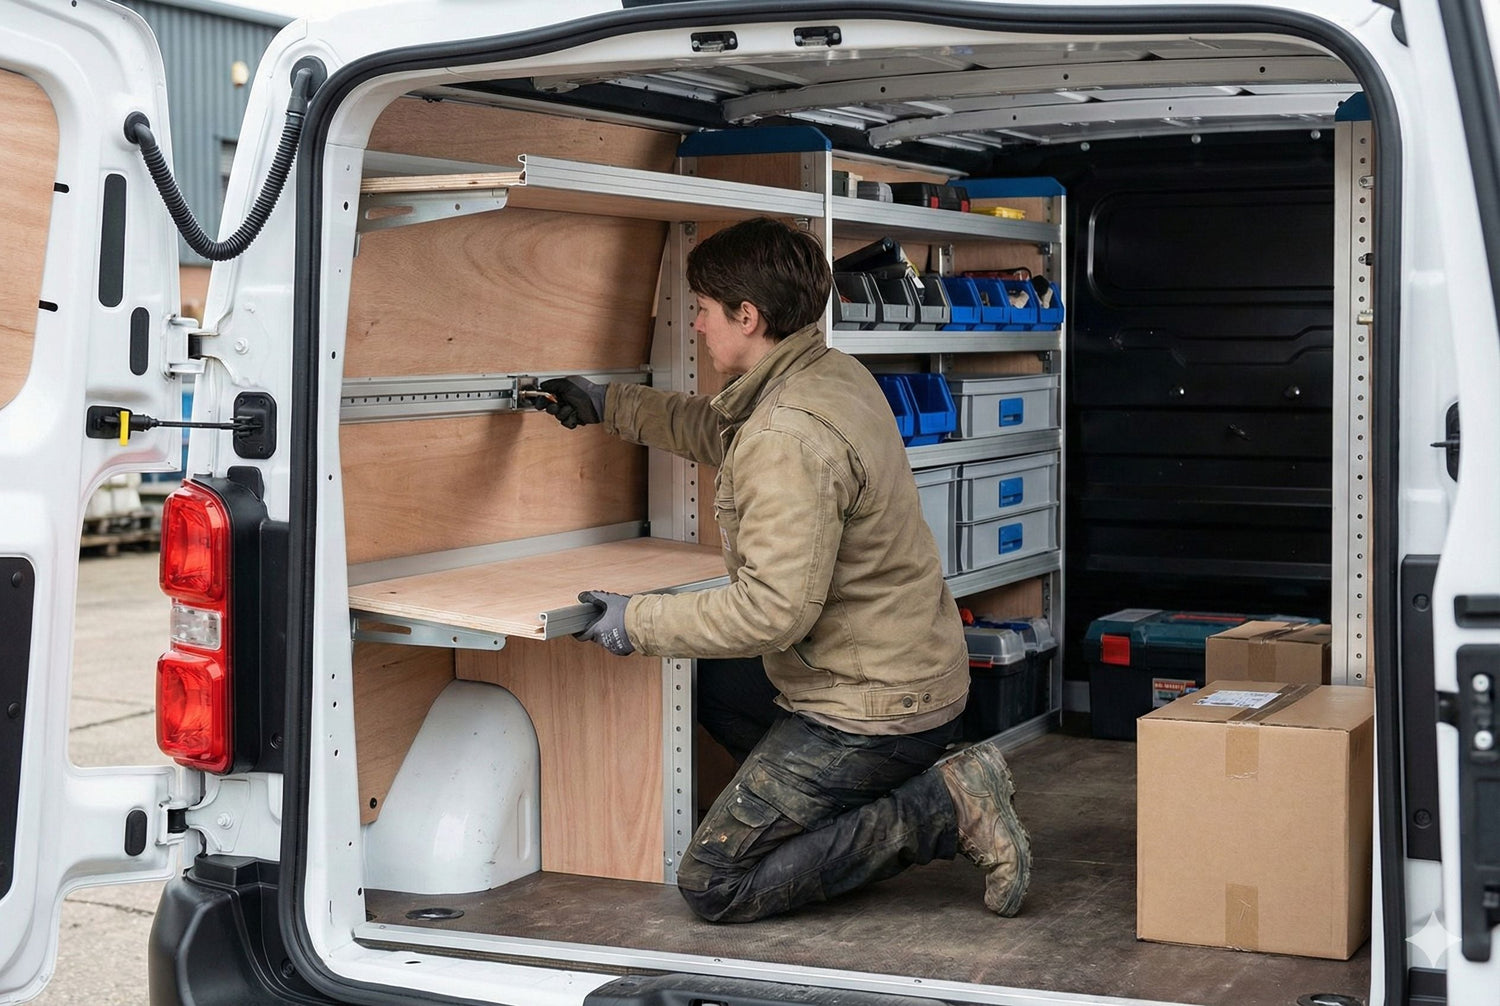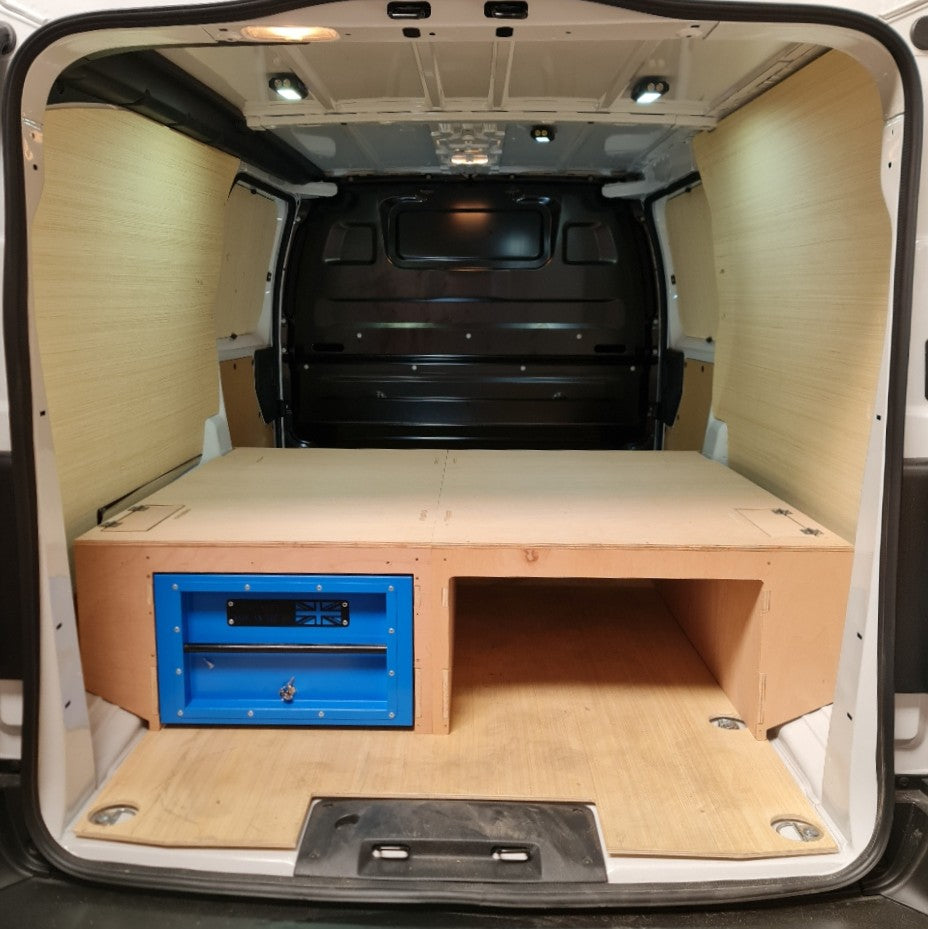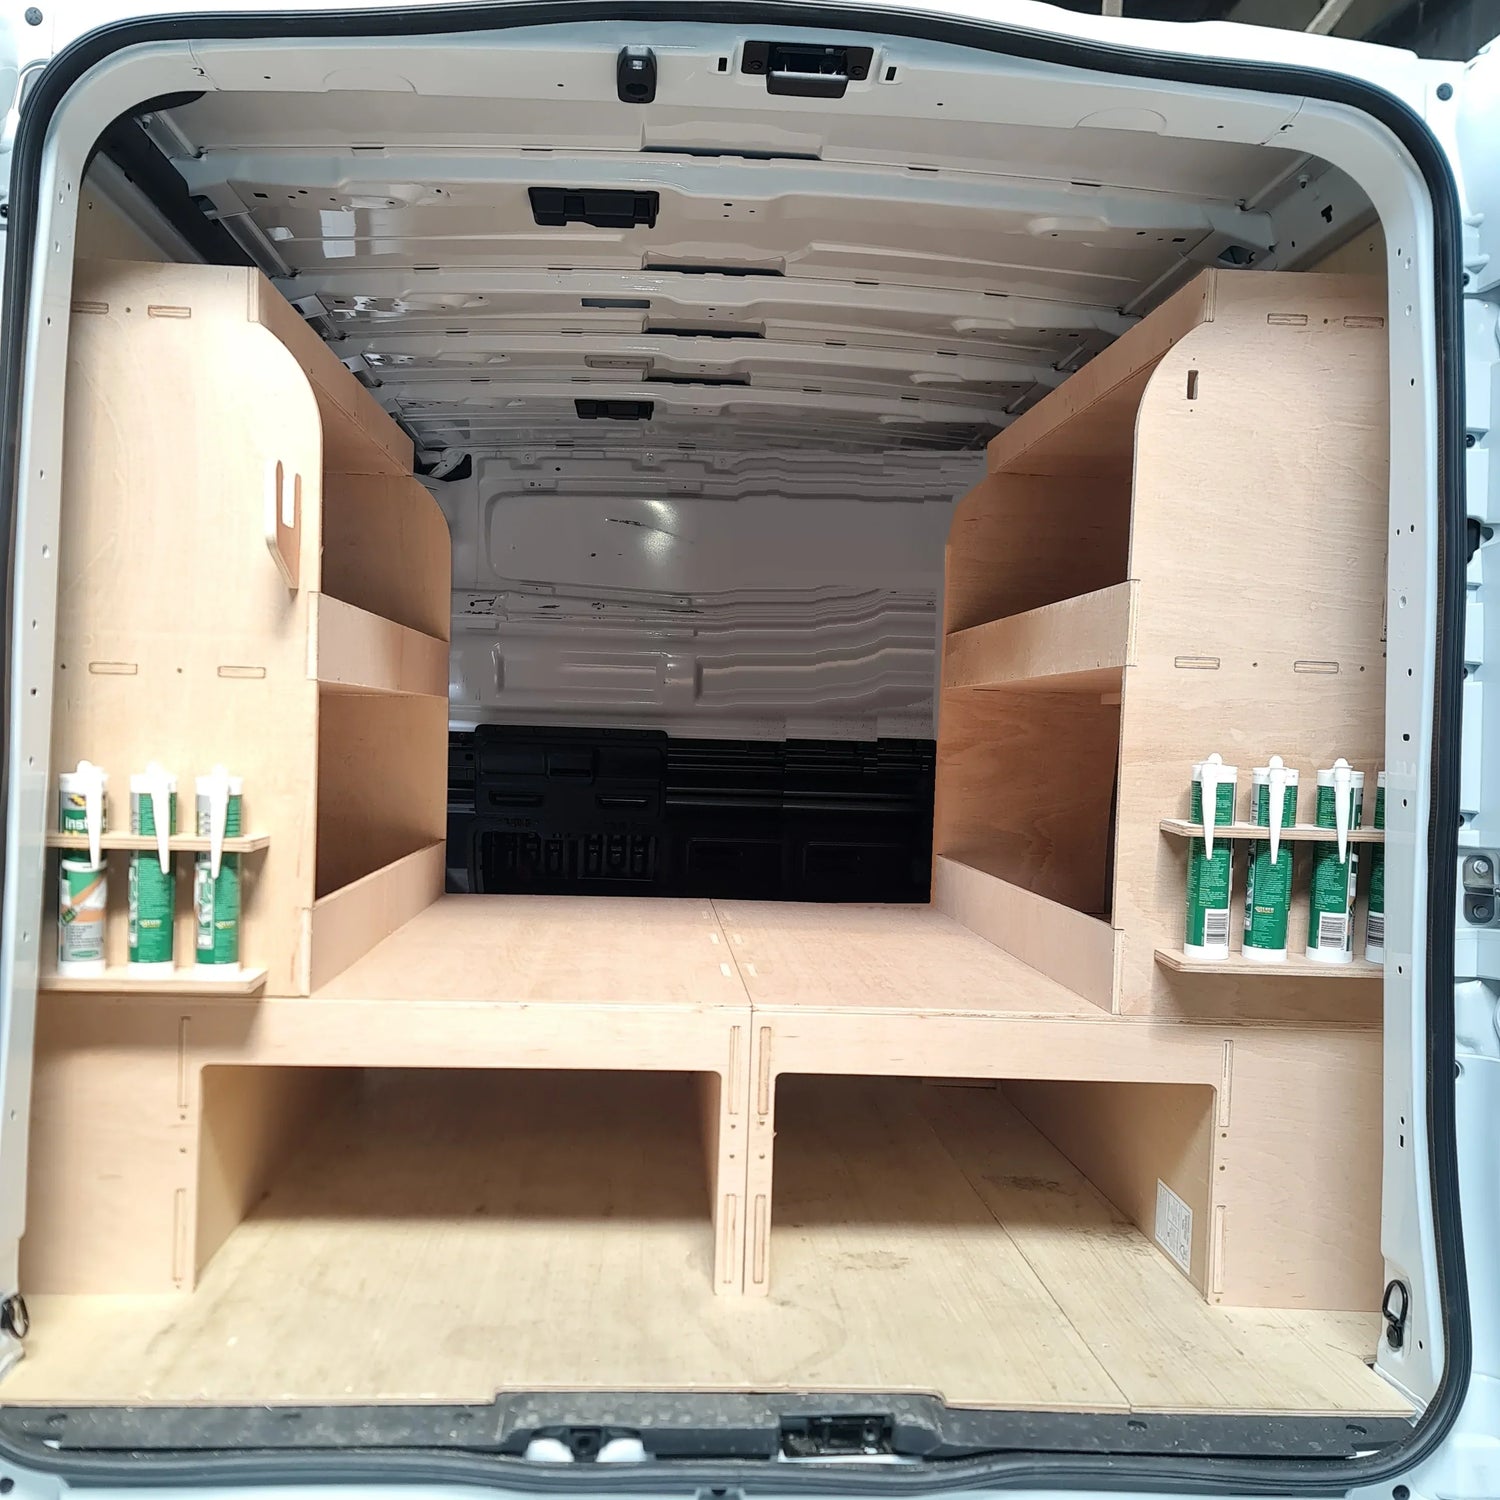











A plumber's van can lose time before the first tap is turned. A missing isolation valve, a box of fittings sliding behind the pipe bender, or a sealant tube buried under power tools all add minutes to a job. The best van layout for plumbers gives every item a fixed, accessible place, so the most-used tools and consumables are ready when you open the door.
There is no single setup that suits every plumber. A domestic installer carrying boilers and copper will work differently from a maintenance engineer handling reactive call-outs, or a bathroom fitter transporting bulkier materials. The principle is the same: build the van around the order you use your equipment, not simply around what fits on a shelf.
Start with the plumber's daily workflow
Before choosing racking or shelving, take stock of what is actually in the van at the end of a normal week. Most plumbers carry a mixture of hand tools, cordless tools, pipework, fittings, consumables, test equipment and job-specific materials. Those categories need different types of storage.
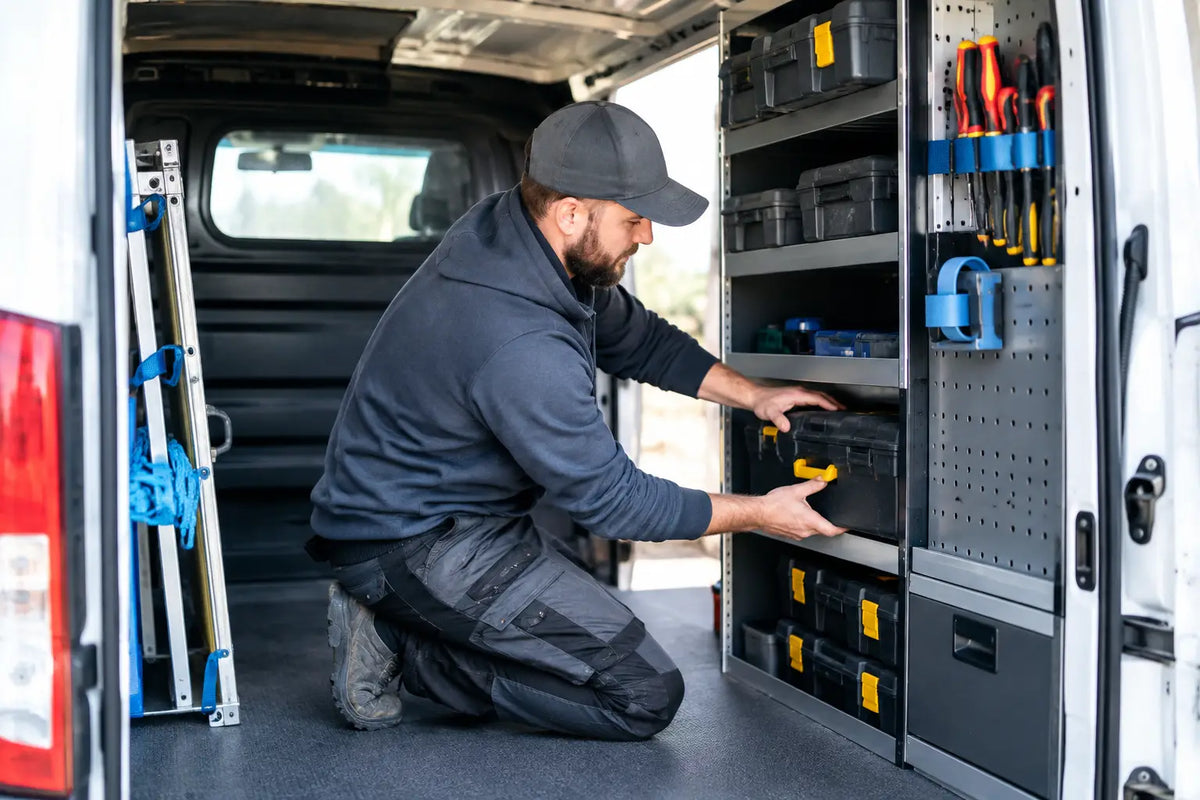
Think about the first items you reach for on a job. For many plumbers, that means a tool bag, drill, pipe cutter, grips, tape measure, tester and a small fitting selection. These should be close to the rear doors or side loading door, depending on how you normally park and unload. Equipment used several times each day should not be behind stock that only comes out once a week.
Then consider the awkward items. Long lengths of copper pipe, plastic waste pipe, conduit, ladders and larger equipment can quickly take over the load area if they are not planned for. A good layout protects a clear route through the van and stops long materials from blocking drawers, shelves or doors.
Use two working sides, not one storage pile
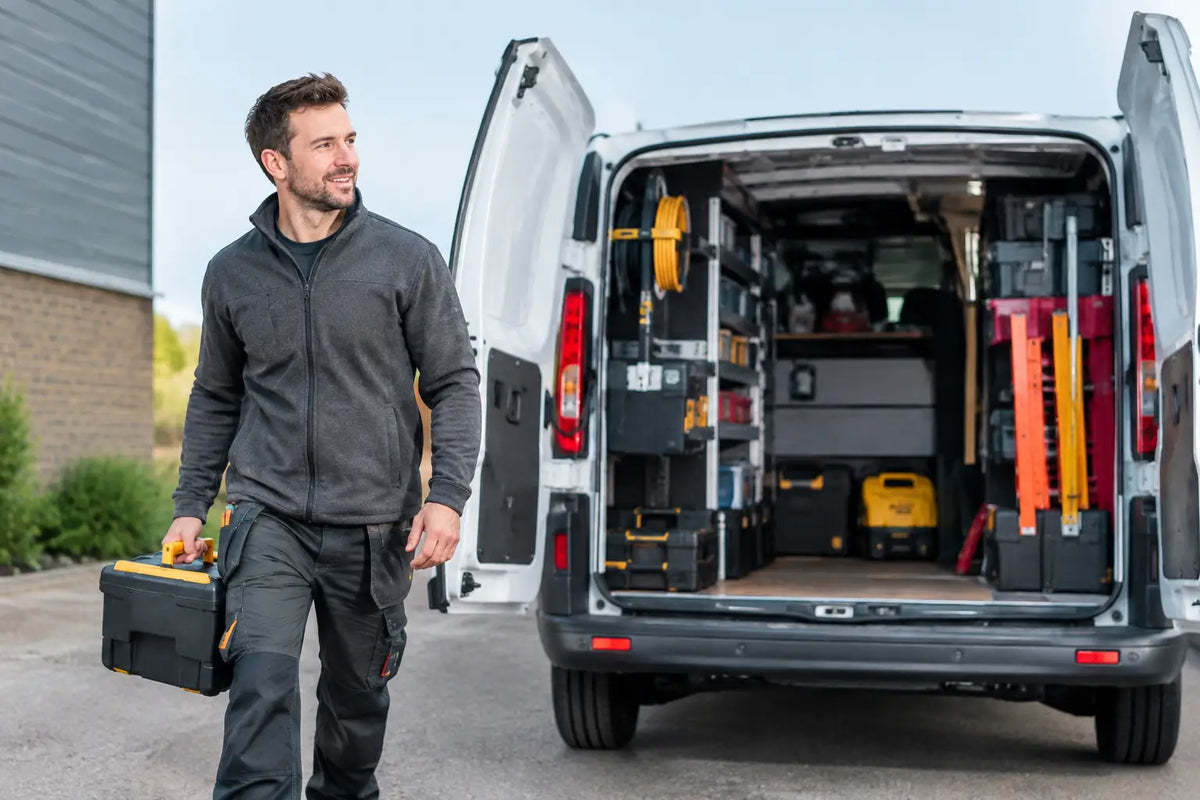
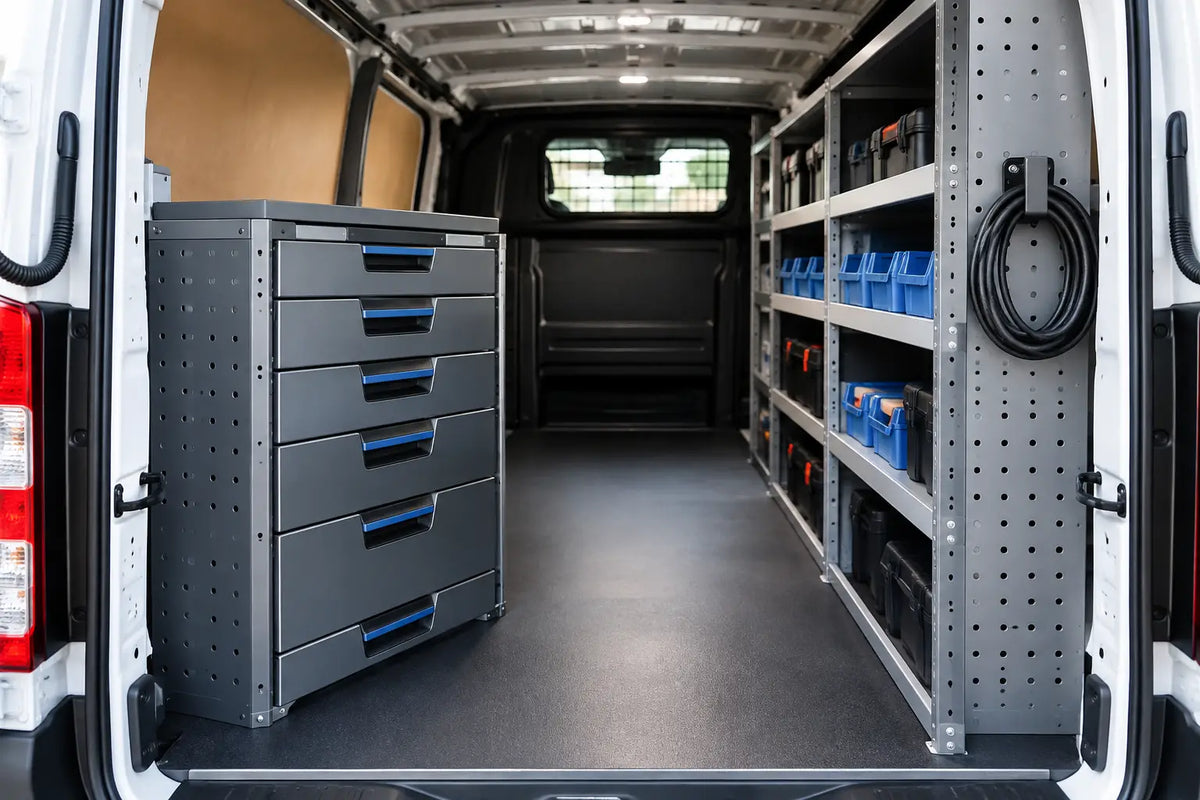
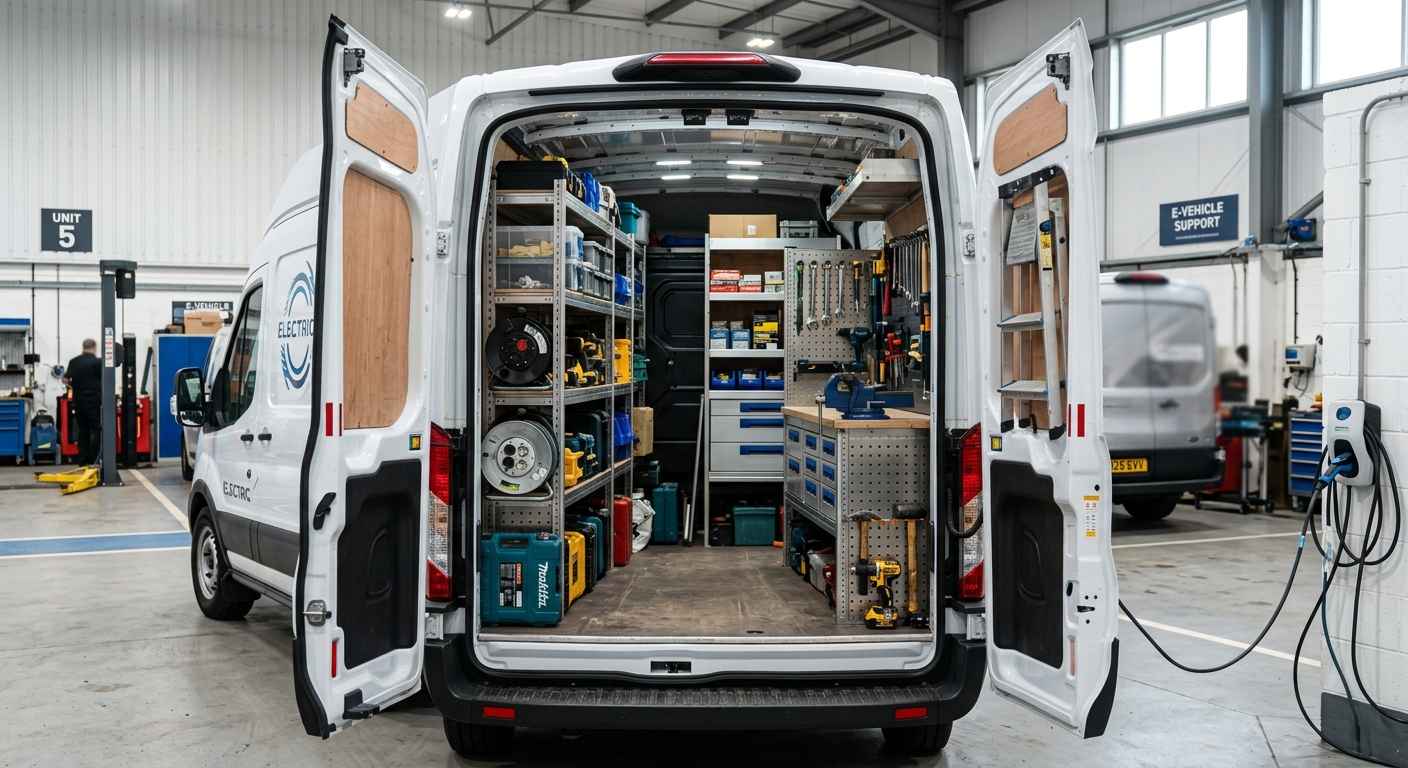
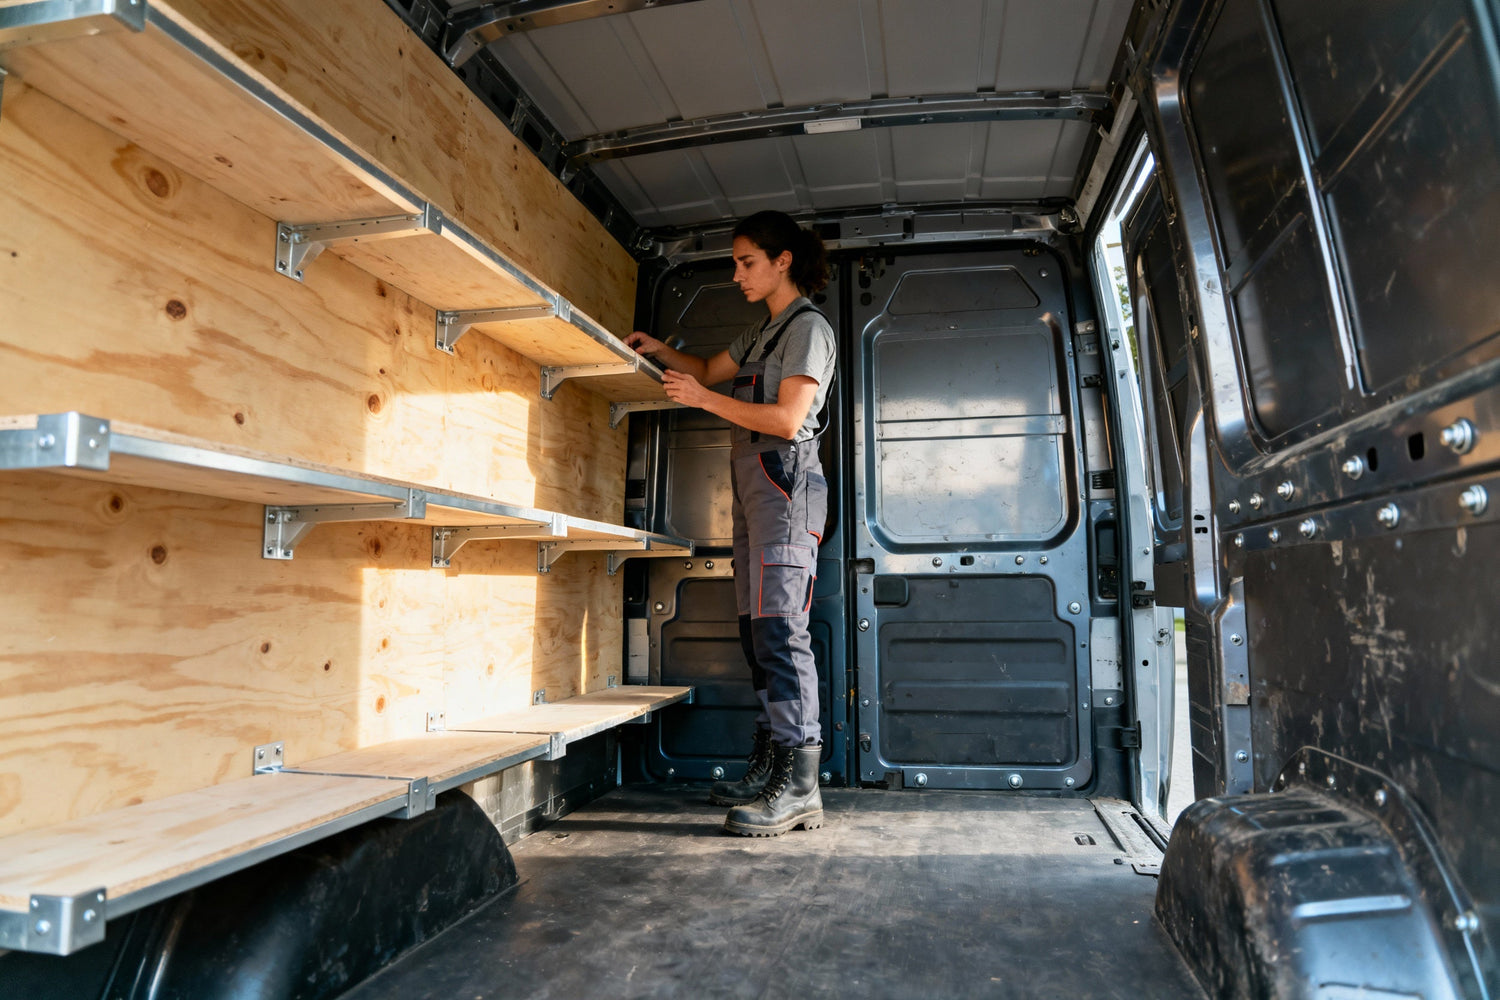
For most medium-sized and larger vans, a two-sided layout is usually the most efficient approach. Fit van shelving or racking along both side walls while keeping a clear central aisle. This gives you accessible storage from the rear and allows you to carry larger items down the middle when required.
One side can be dedicated to tools and regularly used consumables. The other can hold fittings, stock and less frequently used equipment. Keeping these roles separate makes stock checks quicker and reduces the temptation to fill every open space with loose boxes.
The exact balance depends on your work. A service plumber may want more small-part storage for valves, washers, traps and connectors. An installer may give more room to pipework, power tools and larger boxes. If you regularly carry a boiler, cylinder components or bathroom fittings, leave a flexible floor area rather than fitting storage so tightly that each new job becomes a loading problem.
Put heavy equipment low down
Toolboxes, drain machines, power tools, press tools and heavy cases belong low in the van, ideally close to an axle line where practical. This helps keep the vehicle stable and makes lifting safer. It also prevents lighter stock from being crushed when braking or cornering.
Avoid loading heavy items on high shelves simply because there is an empty space. High-level shelving is better reserved for lightweight consumables, cleaning products, rolls of tape, work gloves and spare PPE. Every stored item should be secured appropriately so it stays put in normal road use.
Keep the centre aisle clear
The central aisle is working space, not overflow storage. A clear route lets you reach stock without climbing into the van, move longer materials through the load area and load a last-minute collection without rearranging everything.
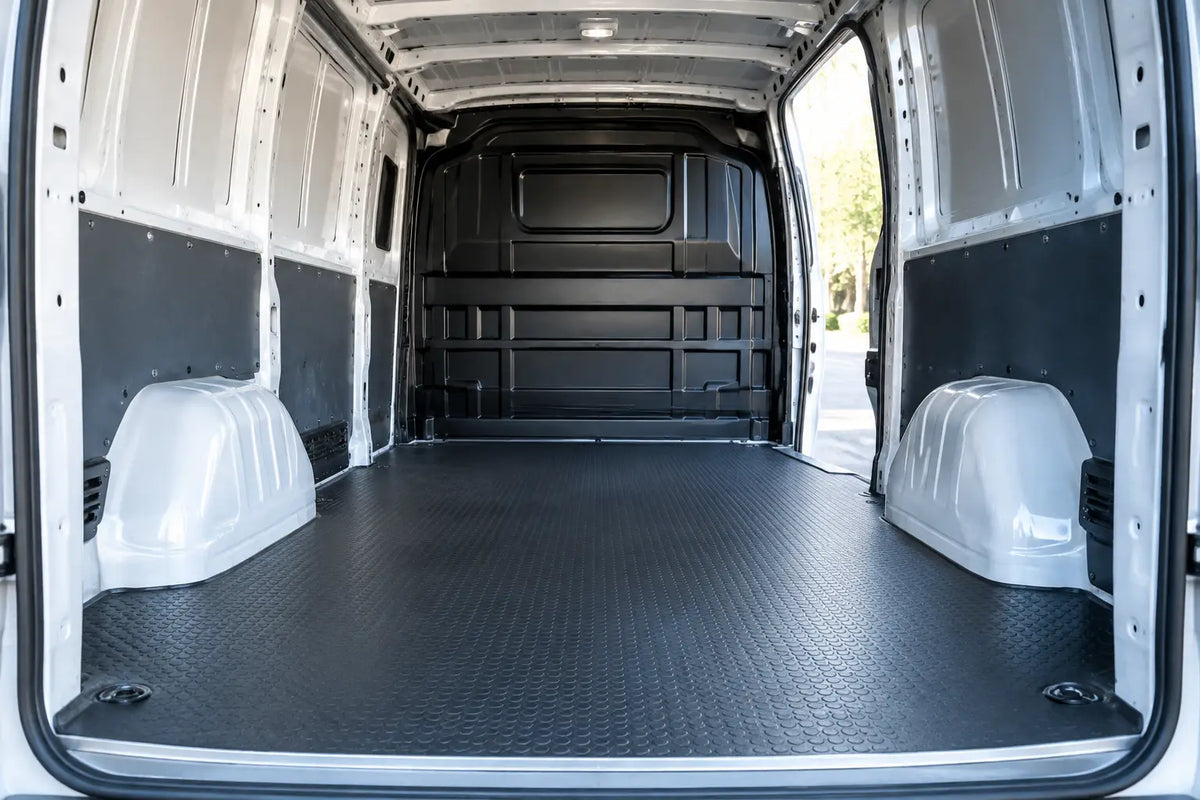
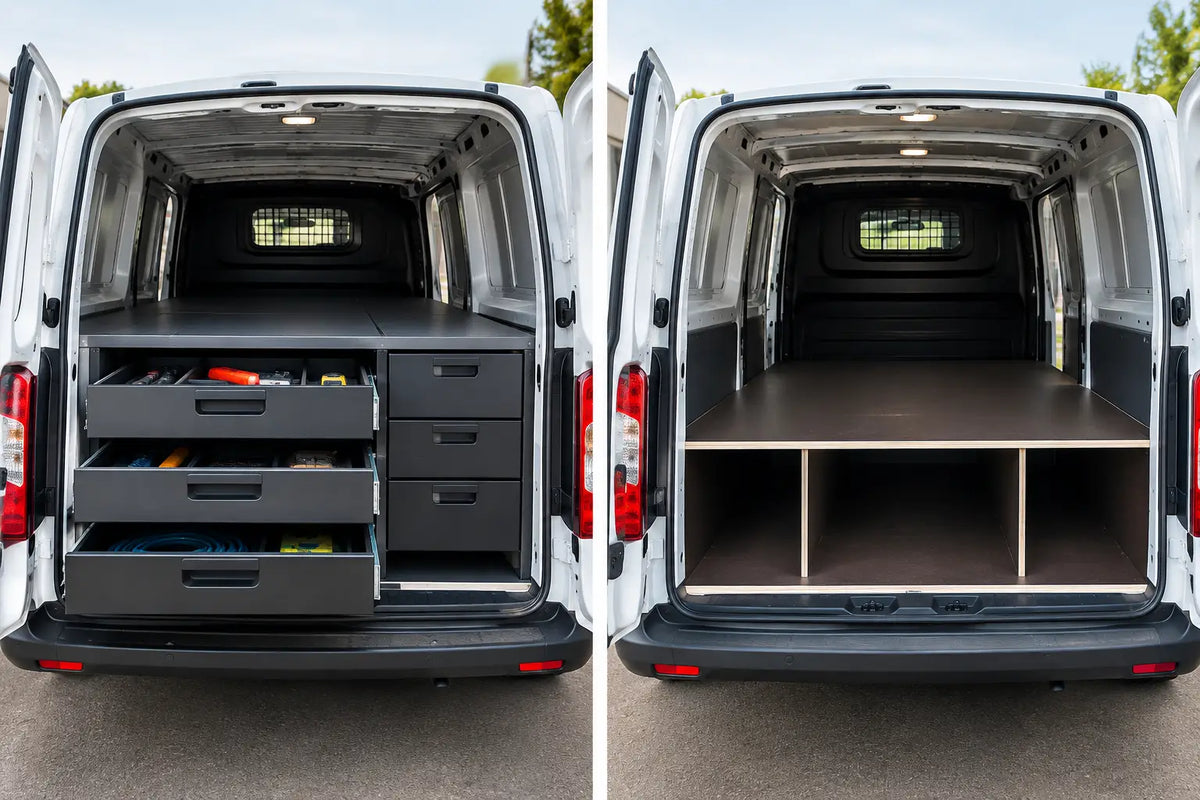
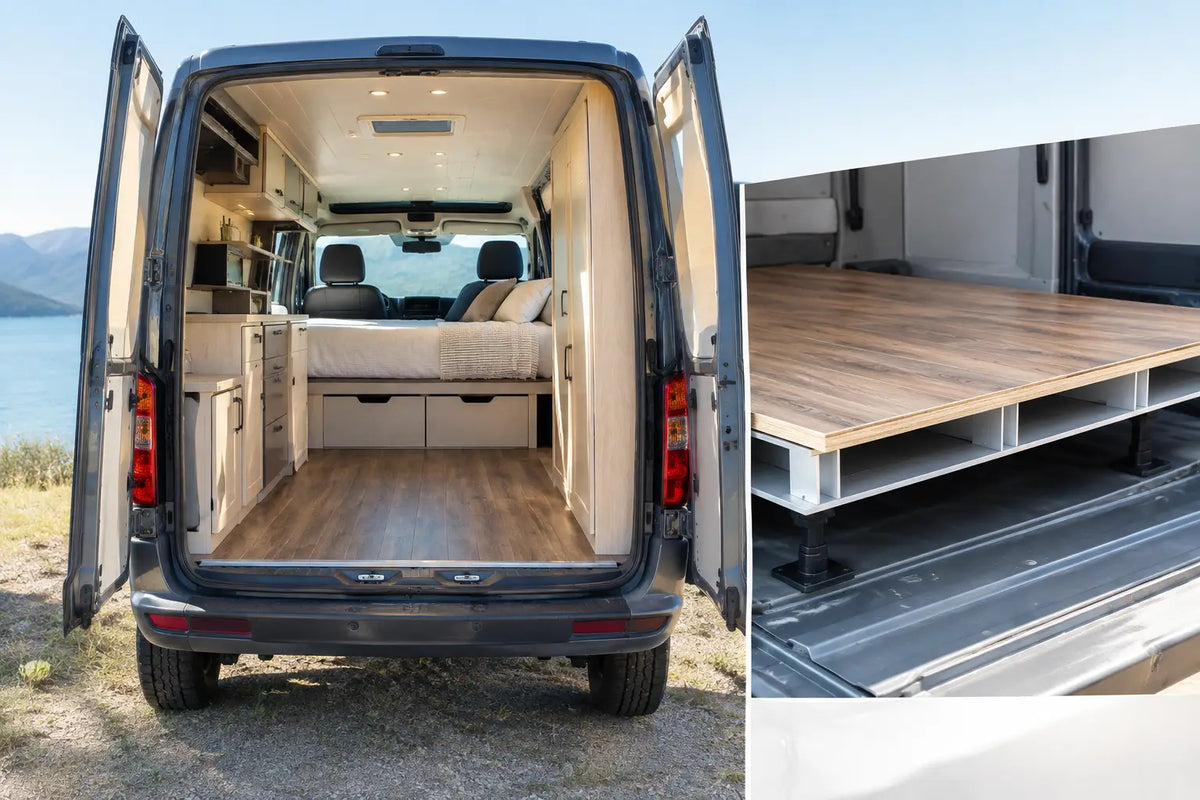
That does not mean leaving the whole floor bare. A false floor can create useful underfloor storage for pipe lengths, rods, levels or other long, slim items. It also gives the main load area a flatter, more organised base. Check the available height in your particular van before choosing this option, especially if you regularly carry tall equipment or need to stand inside.
Build storage zones around what you carry
The best layouts are easy to understand at a glance. Instead of storing items wherever there happens to be room, establish clear zones that remain the same from job to job.
A rear-door zone should hold the equipment you need immediately: your main tool bag, commonly used cordless tools and a grab box for everyday fittings. This reduces repeated trips into the van and is particularly useful on short maintenance calls.
A fittings zone needs adjustable shelves, bins or compartmented boxes. Separate fittings by type and size, and label the containers clearly. Compression fittings, push-fit connectors, waste fittings, valves, washers and consumables are easier to replenish when they are visible. Open shelves can be quick to access, while lidded organisers make more sense for small loose items that would otherwise spill during travel.
Create a dedicated area for sealants, adhesives and cleaners. Tubes of silicone, expanding foam, jointing compound, wipes and sprays are easy to lose in general tool storage and can make a mess if they leak. Purpose-made holders and wipe dispensers keep these daily-use items to hand and help maintain a cleaner workspace.
Keep electrical test equipment, paperwork, customer handover documents and smaller valuables in a protected compartment or cab organiser rather than loose on the passenger seat. A glove box organiser can be useful for the items that are needed often but should not be mixed with tools and materials.
Make room for pipework without sacrificing access
Pipe storage is often what makes or breaks a plumber's van layout. Copper and plastic pipe are awkward to carry loose, and even short offcuts become a nuisance when they slide around the floor. The right approach depends on the lengths you normally transport.
For shorter lengths and offcuts, a false floor or enclosed low-level channel can keep material tidy and out of the way. For full lengths, plan a dedicated run along the floor or roof space where the material can be restrained securely. Do not use the centre aisle as permanent pipe storage if it stops you opening drawers or reaching shelving.
It is worth separating reusable offcuts from scrap. A small, labelled section for usable lengths stops good material being thrown away, but it needs a limit. Once the space is full, sort it. Otherwise, the offcut area becomes clutter that takes up room needed for the next job.
Choose shelving that suits the van, not a generic plan
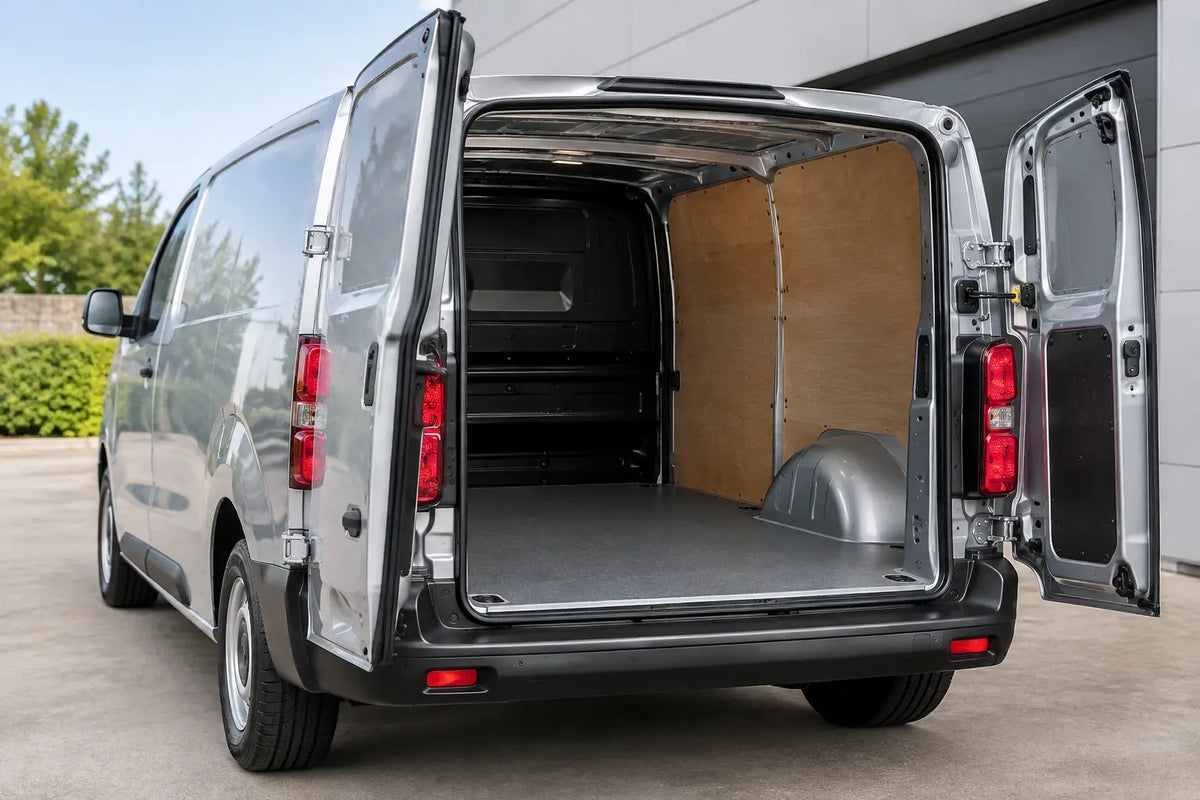
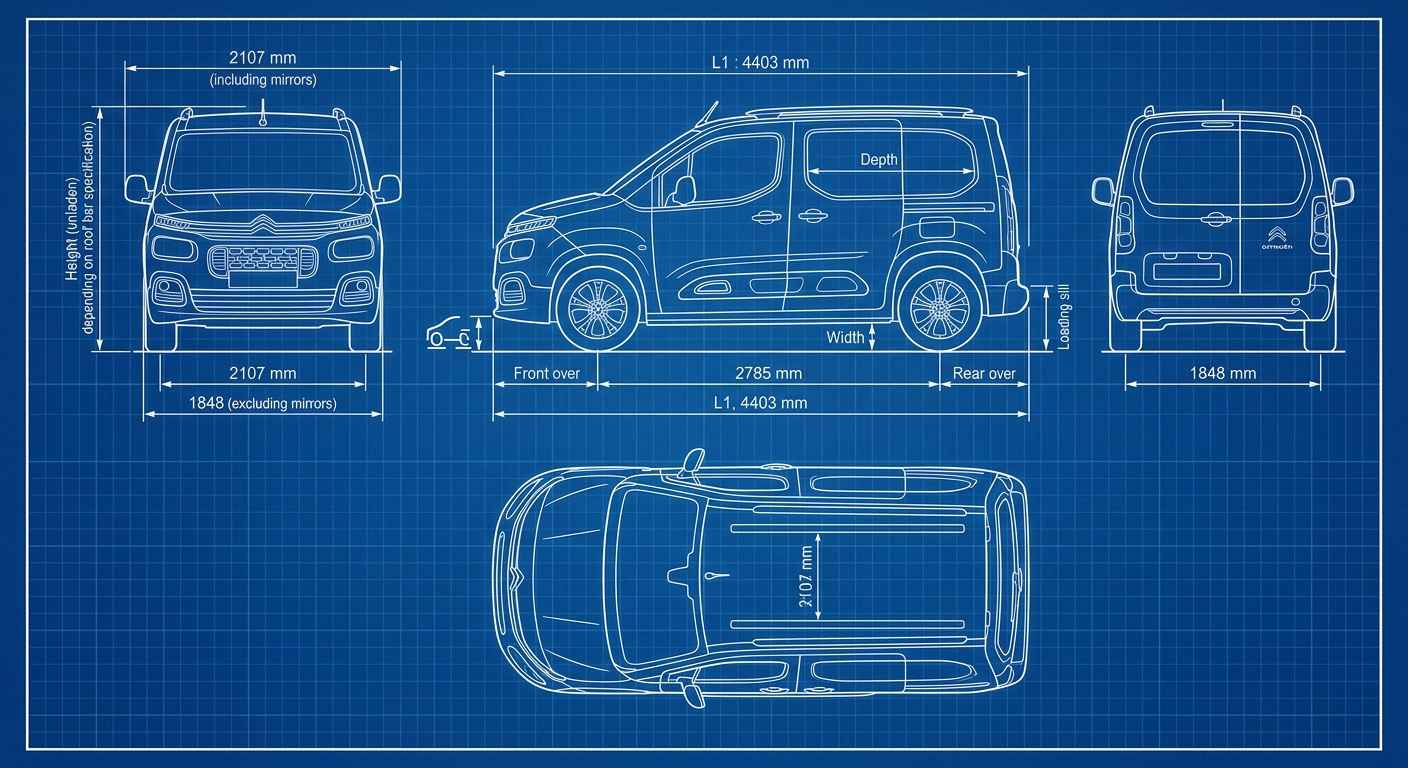
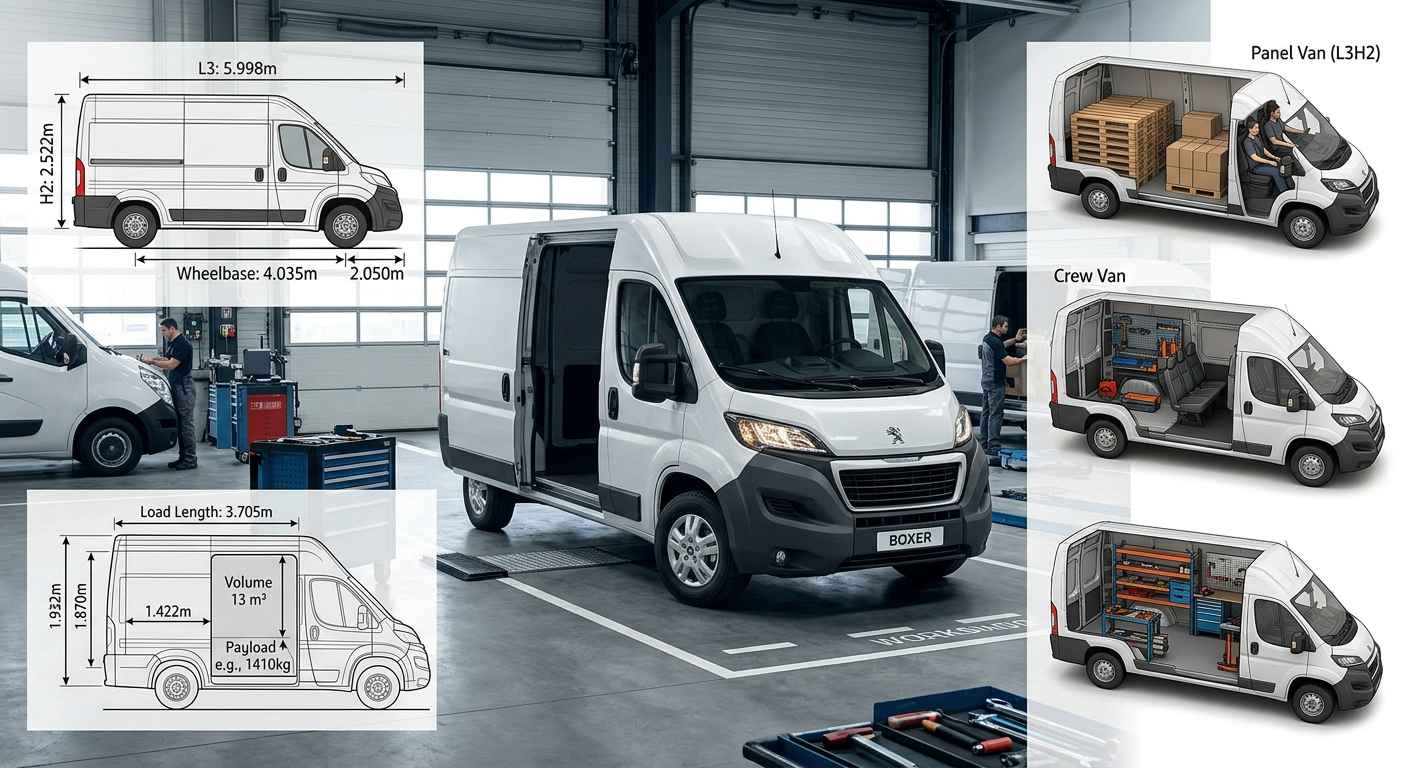
Vehicle-specific shelving matters because side-wall shapes, wheel arches, door openings and load dimensions differ between vans. A system designed around the relevant make, model and wheelbase makes better use of the available space and reduces guesswork when planning the fit.
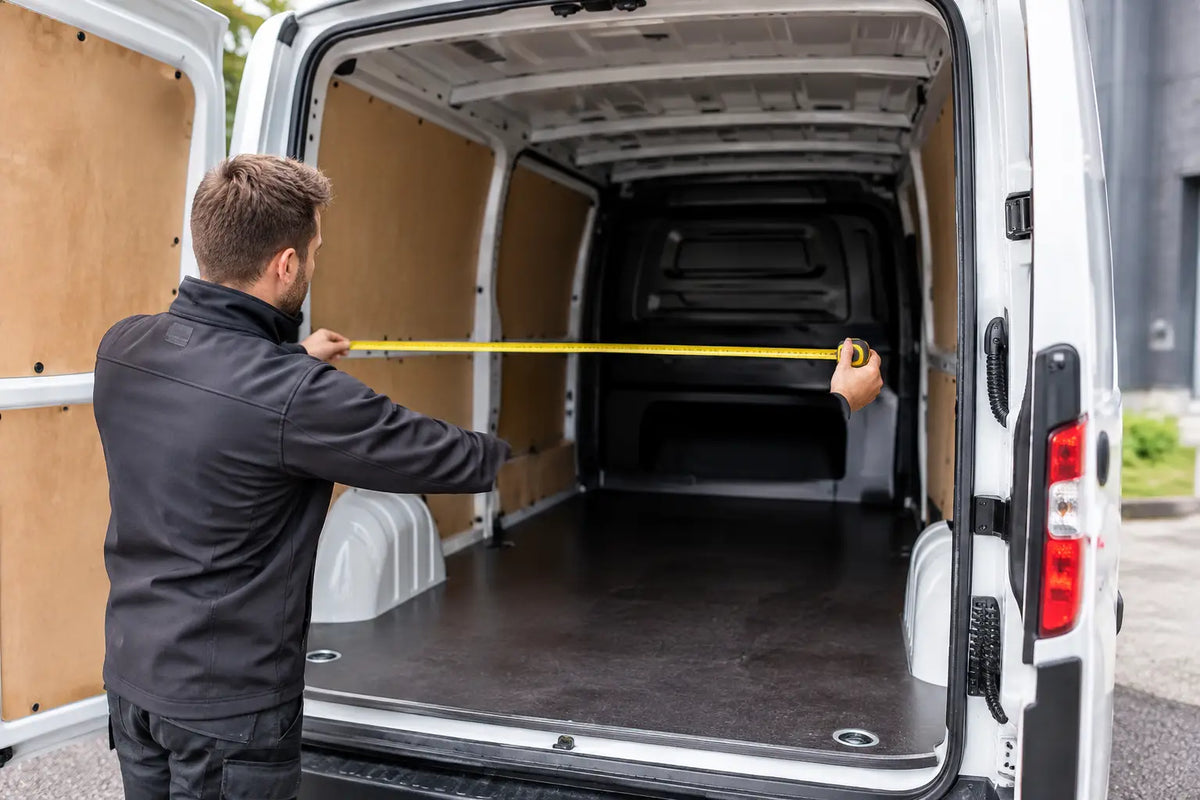
Measure your own working requirements before ordering. Check rear-door access, side-door clearance, the height of your largest cases and the width needed for pipe or materials. If you use a bulkhead, consider how close the shelving can sit without affecting load access. If your van has a second sliding door, plan to benefit from it rather than blocking a useful loading point.
At Van Shelves, storage is grouped by vehicle type to help tradespeople choose a practical starting point. Still, it is sensible to check the product details against your exact vehicle and the equipment you carry. A layout that works well in a Transit Custom may need a different balance of shelving and floor space in a longer-wheelbase van.
Plan for restocking and end-of-day reset
A van stays organised only when the layout makes organisation easy. Stock that is hard to see will run out. Tools without a designated position will end up on the floor. The best setup should allow a quick reset at the end of the day: return tools to their spaces, remove rubbish, check fast-moving fittings and put tomorrow's job materials where they can be loaded without disrupting everything else.
Labels are simple but effective, particularly if more than one person uses the van. They also make it easier to spot an empty bin or a missing tool. Keep a small waste container or designated bag inside the load area for packaging, used wipes and offcuts. It prevents rubbish spreading across shelves and protects the professional appearance of the vehicle when customers can see inside.
Do not try to carry every possible fitting and tool. Excess stock adds weight, takes up working space and makes stock control harder. Carry the parts that support your regular work, then create a clear temporary area for job-specific materials.
A practical layout that earns its space
A well-planned plumber's van should feel less like a cupboard on wheels and more like a compact workshop. Heavy equipment stays low, everyday tools are near the doors, fittings are visible, pipework is restrained and the central aisle remains usable. That arrangement saves time on every call-out, helps protect tools and materials, and makes the van easier to restock at the end of a long day.
Start with the work you do most often, choose storage that suits your specific van, and leave enough flexible space for the jobs that never go exactly to plan.