










The best mobile workshop van setup is not the one with the most storage. It is the one that lets you find the right tool, fitting or consumable without stopping the job to search through loose boxes. For a working plumber, electrician, fitter or maintenance engineer, that organisation saves time at every call-out and helps the van stay professional in front of customers.
A productive layout starts with how you actually work. Think about what comes out of the van first, what you use most often and what needs protecting in transit. Then build the storage around that order rather than filling every available gap with shelving.
Start With Your Daily Workflow
Before choosing racking, shelves or a false floor, spend a few days noticing how you use the load area. Which cases are lifted out at nearly every job? Which parts are needed only once a week? Where do sealants, fixings, cables, PPE and cleaning materials end up when the day gets busy?
Your most-used items should be available from the rear or side door with minimal reaching and no unloading of other equipment. Heavier tools belong low down, close to the van’s floor. Lighter stock and items used less often can sit higher up, provided they are safely retained.
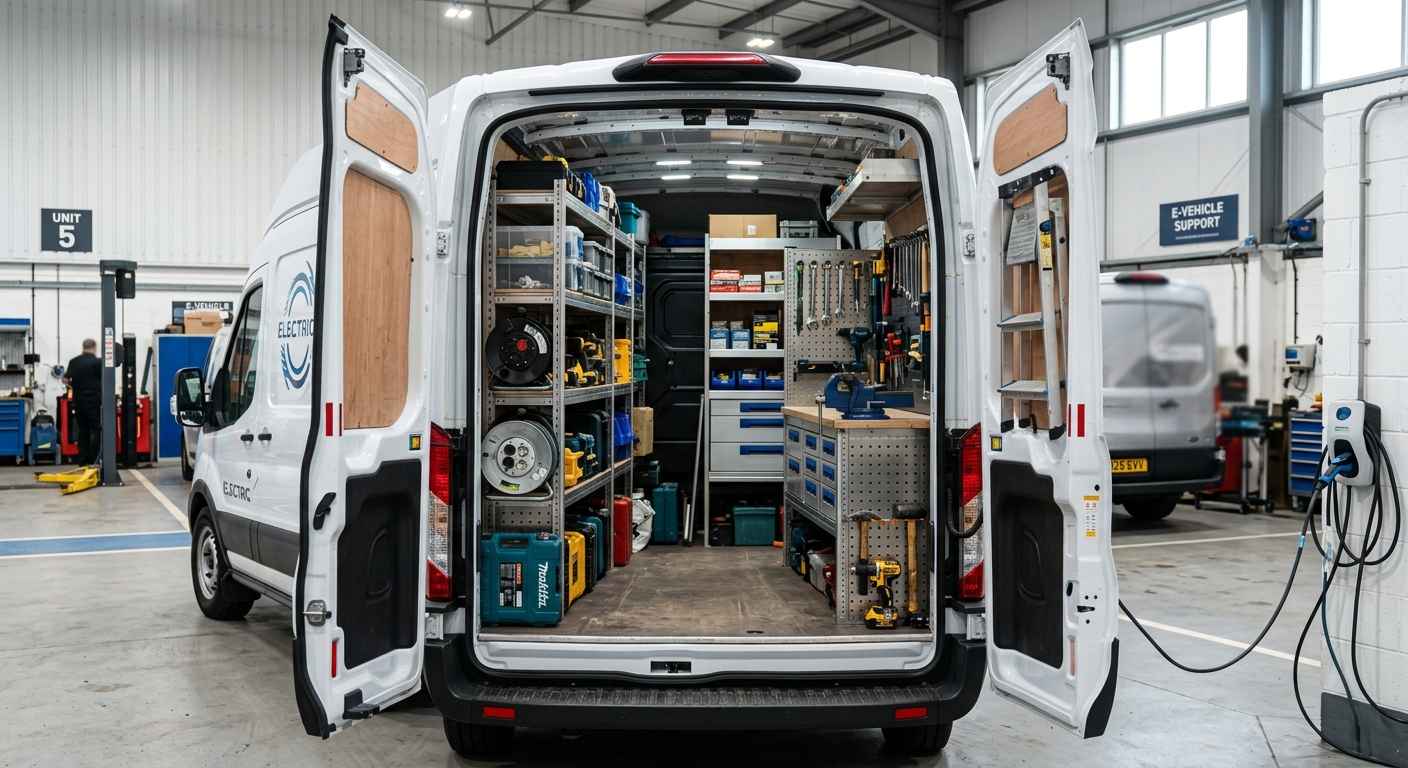
This approach matters more than copying another tradesperson’s layout. An electrician carrying testers, cable reels and small fixings will need a different arrangement from a heating engineer carrying pipework, power tools and a larger range of consumables. Even two people in the same trade may work differently depending on whether they focus on domestic repairs, site work or planned maintenance.
Build the Mobile Workshop Van Setup in Zones
The simplest way to plan a mobile workshop van setup is to divide the load space into practical zones. Each zone should have one clear job, so stock does not spread across the van over time.
The quick-access zone
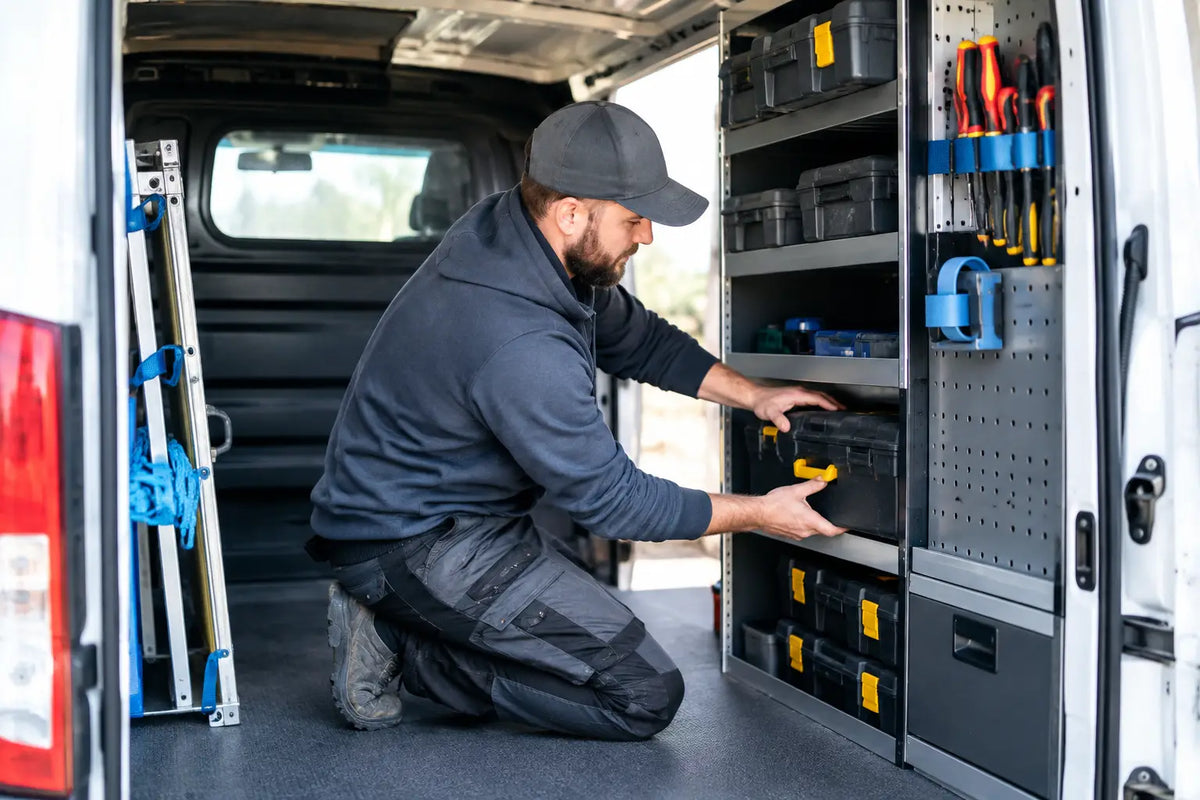
Use the rear doors or sliding side door for the tools and materials you reach for repeatedly. This may include a drill case, hand-tool bag, first-aid kit, PPE, cable ties, common fittings or a wipe dispenser. Keeping these essentials together cuts the small delays that add up across several jobs.
Avoid putting loose items on the floor in this area. It may seem convenient at first, but it quickly becomes the point where stock gets buried, damaged or left behind after a job.
The main tool zone
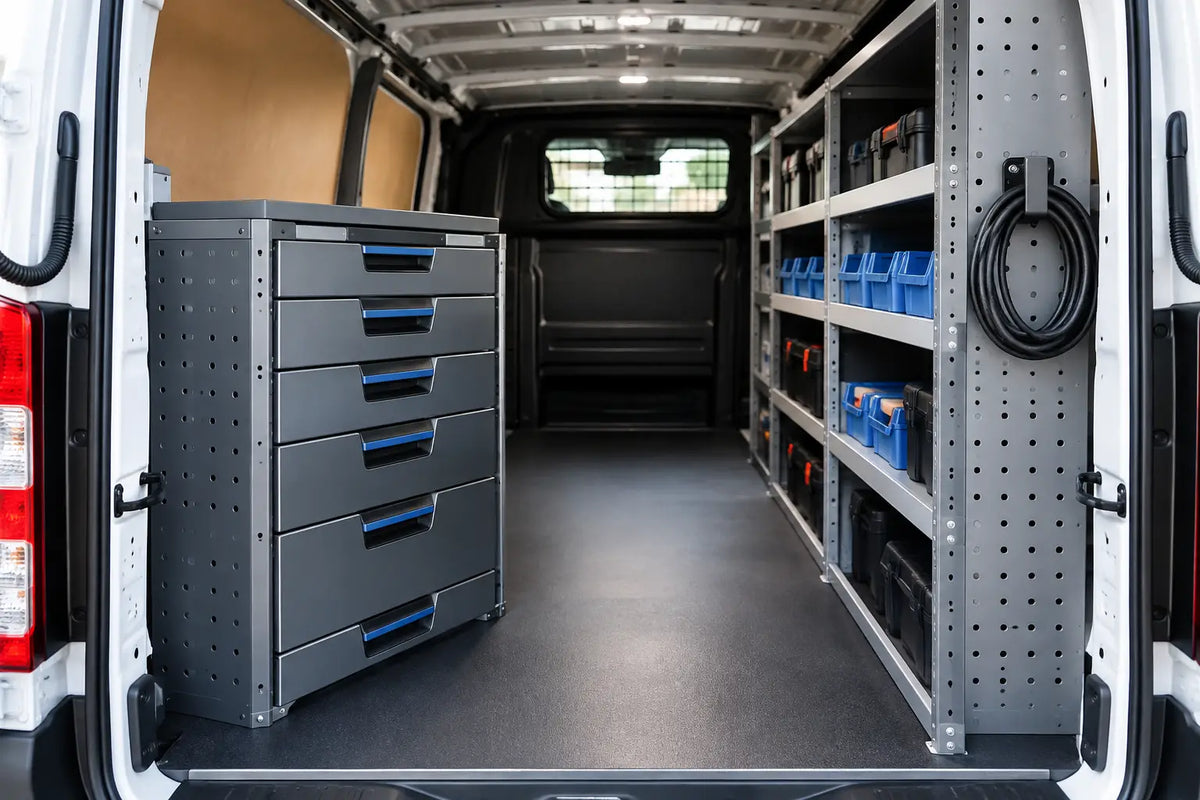
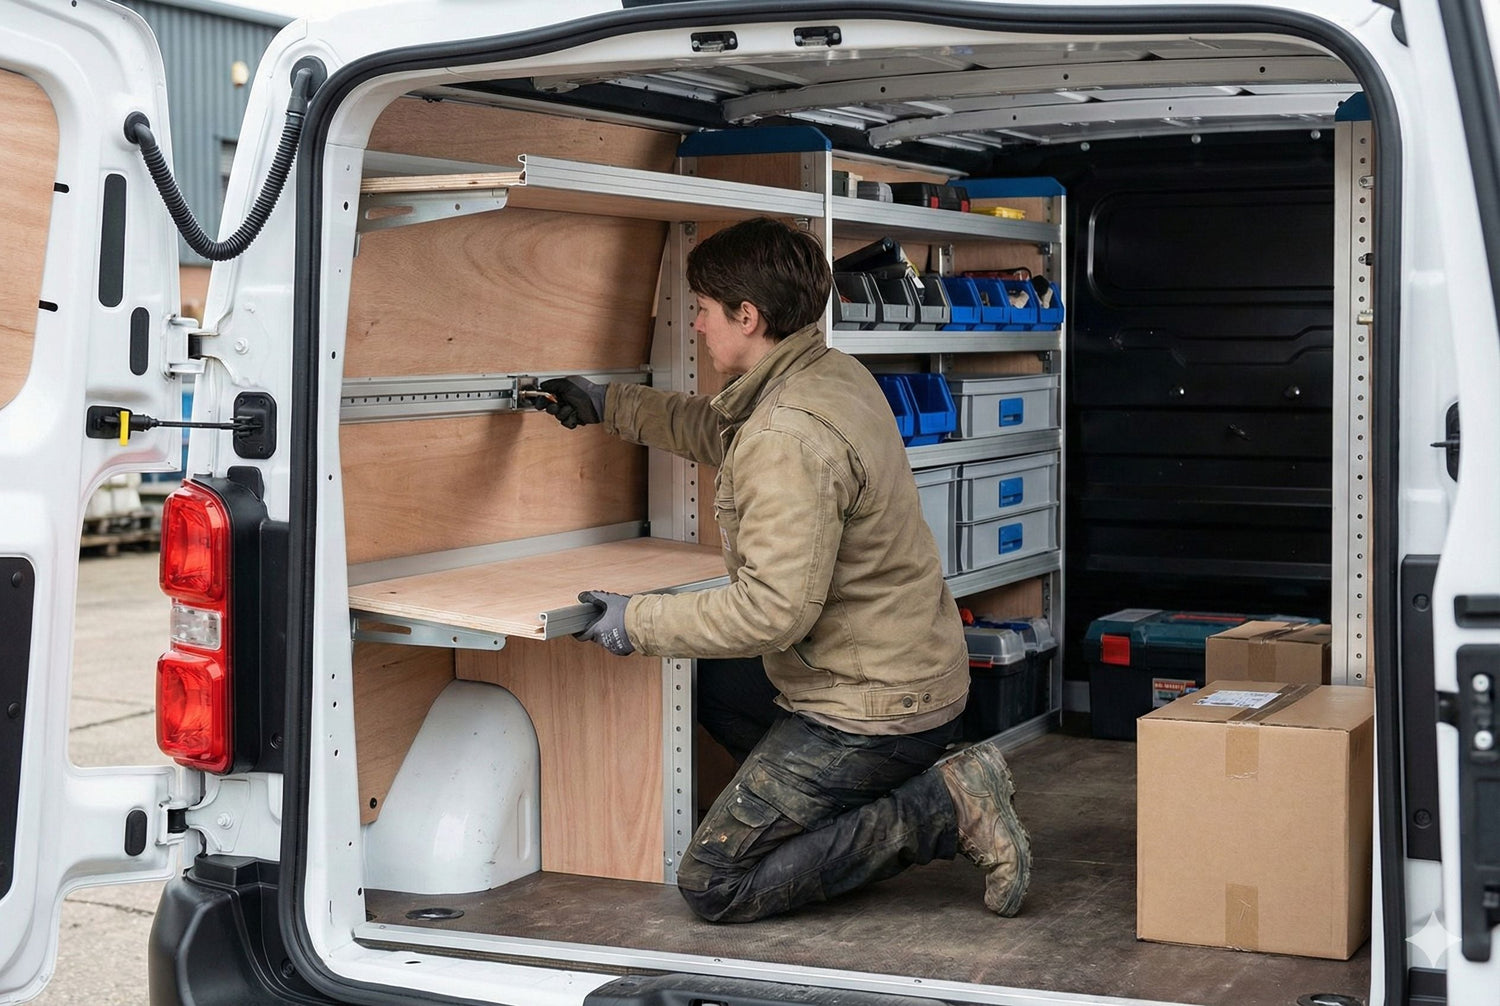
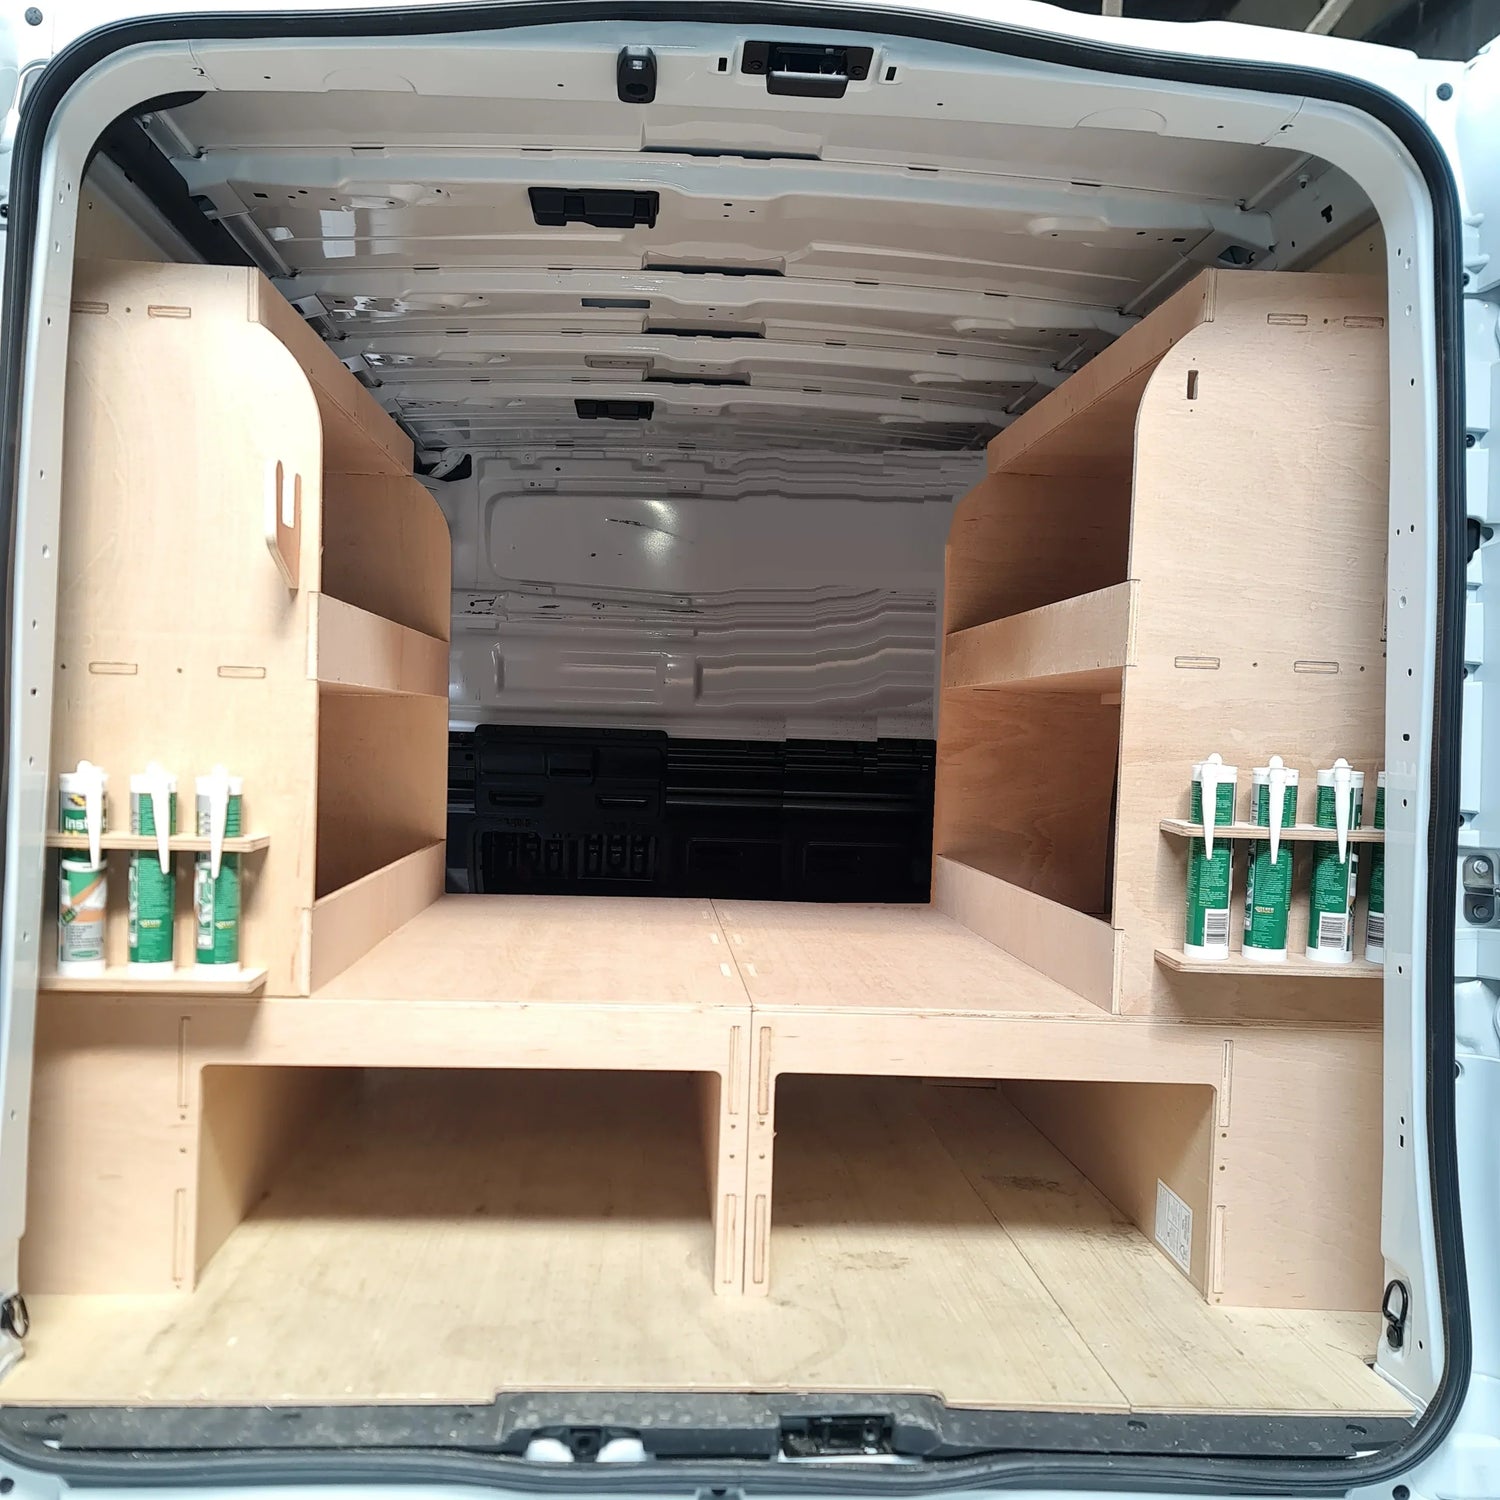
Shelving and racking along one or both sides create a defined home for cases, boxes and trade equipment. Choose shelf spacing around the height of the equipment you own, not just the maximum amount you can stack. A shelf that is too tall encourages unstable piles. One that is too shallow can waste useful vertical space.
For many trades, it helps to keep tool cases in one section and consumables in another. That way, a replenishment run does not mean moving the equipment you need for the next job. Retaining lips, dividers and suitable storage accessories can also help prevent items moving around while travelling.
The stock and consumables zone
Small parts are often the biggest source of wasted time. Screws, connectors, fixings, clips, blades, tapes and sealants need a fixed position where they can be checked at a glance. Use trays, organisers and purpose-made holders for items that would otherwise roll around or disappear behind larger kit.
Store stock by job frequency and type. For example, place everyday fittings within easy reach, then keep specialist parts and reserve materials further back. Labelling shelves or containers is worthwhile when more than one person uses the van, or when the vehicle is part of a fleet.
The floor and long-load zone
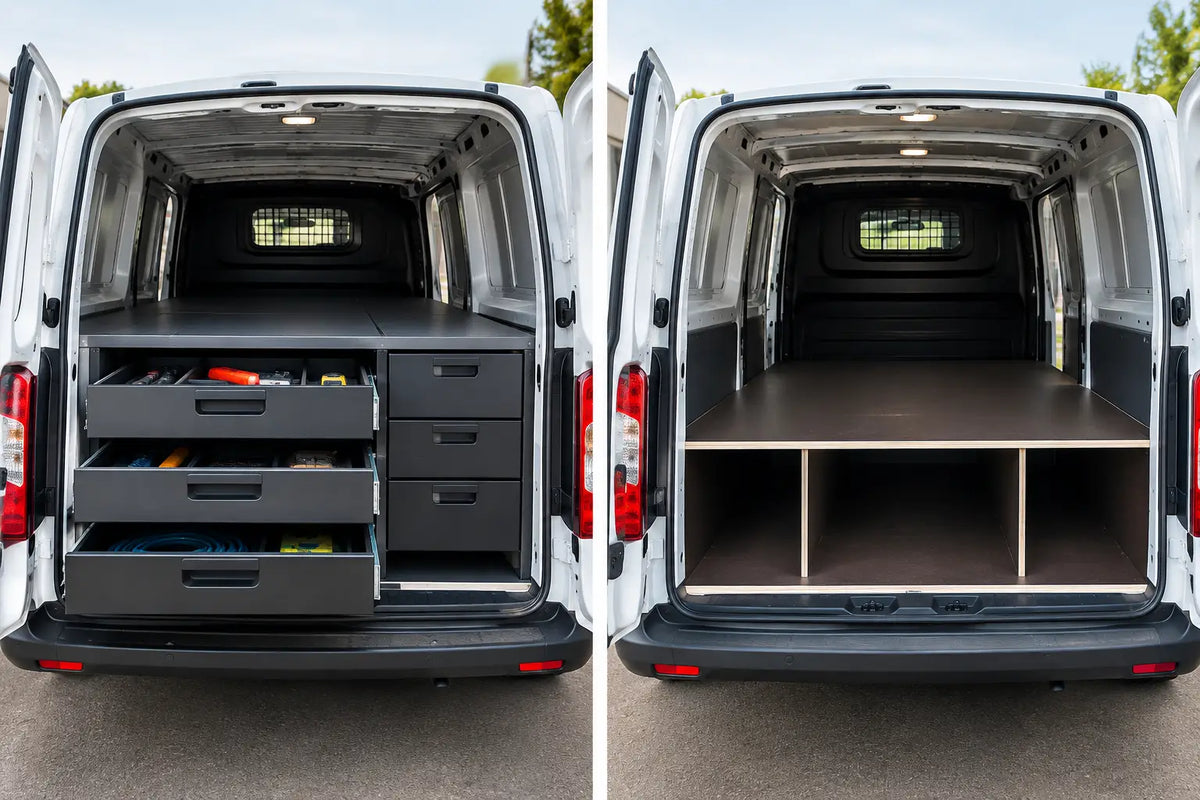
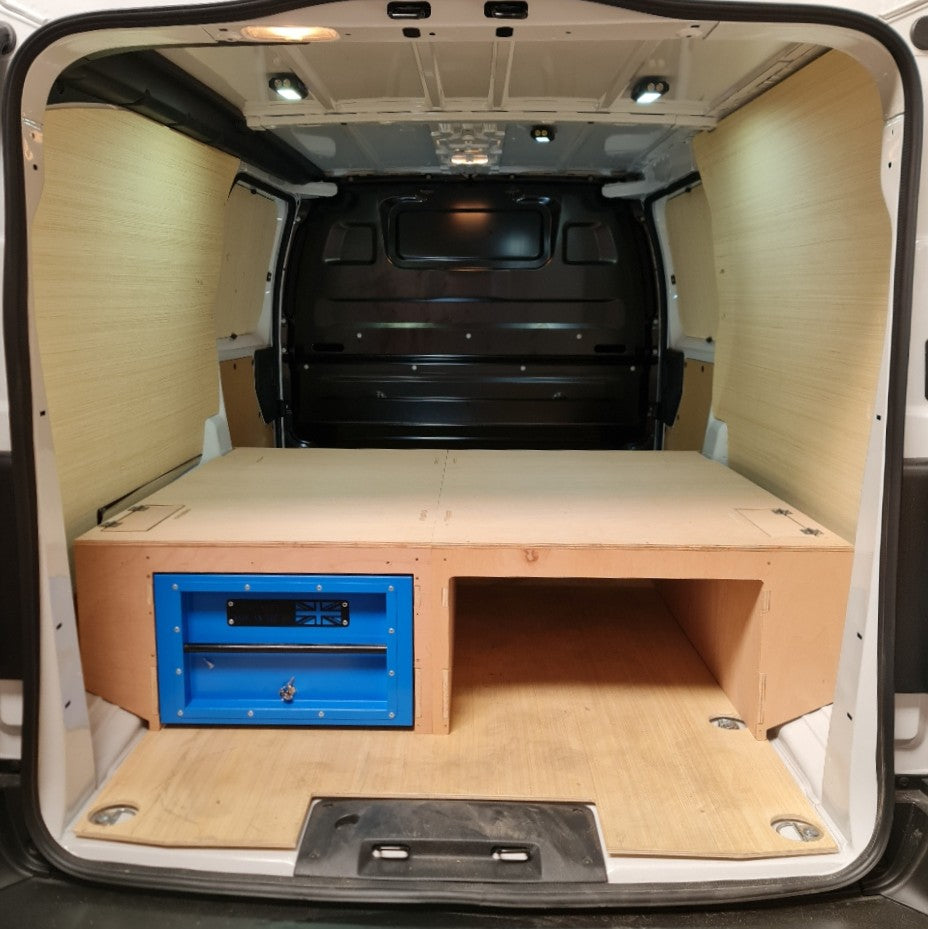
The floor needs attention too. A false floor can provide a level, durable base for the rest of the setup while allowing suitable storage beneath the main load area. It can be especially useful where you carry long tools, trim, conduit or other awkward items that do not sit well on open shelves.
Plan this area carefully. Long-load storage is useful, but it should not make daily access harder or create a trip hazard at the doors. If the van regularly carries bulky equipment, leave enough clear floor space to load it safely rather than trying to fill every inch with fixed storage.
Put Weight, Safety and Access First
A tidy van is safer, but only if the layout respects load weight and vehicle access. Keep heavier equipment low and distribute the load sensibly from side to side. Do not rely on an open shelf to secure a heavy case or machine during braking and cornering.
Check the van’s payload and account for the weight of racking, false floors, tools, materials, passengers and fuel. A fully stocked van can gain weight quickly, particularly for trades carrying fittings in bulk. If you are unsure about payload limits or the effect of equipment on your vehicle, check the manufacturer information for your exact model.
Door access deserves the same thought. Side-door storage is useful for kerbside jobs, while rear access can suit larger kit and jobs where the van is parked on a drive. Your usual working locations should influence the layout. A great workshop arrangement is no use if the item you need is always on the traffic-facing side of the van.
Choose Vehicle-Specific Storage Where It Matters
Commercial vans vary more than they first appear. Wheel arches, door openings, roof shape, load length and internal width can differ between makes, models and wheelbase options. A storage system should therefore be checked against the exact vehicle before purchase.
Measure your usable space, including any factory lining, bulkhead, floor covering or existing equipment. Pay attention to wheel-arch clearance and door operation, not just the advertised load length. This avoids ordering storage that looks right on paper but does not suit the real working space available.
At CNC Work, vehicle-specific categories make it easier to narrow down shelving, racking and workspace accessories for popular working vans. Still, it is sensible to confirm the model, year and body style before selecting a setup, particularly if the van has already been modified.
Make Replenishment Part of the Setup
A workshop van only stays organised when it is easy to reset. Build a simple end-of-day routine into the way you use the vehicle. Put tools back in their allocated place, remove rubbish, check commonly used stock and recharge equipment where required.
Keep a short replenishment list in the cab or on the inside of a door. It should cover the small items that can stop a job, such as drill bits, blades, fixings, batteries, gloves, sealant or cleaning wipes. This is more useful than a large stock list that never gets checked.
If several operatives share a vehicle, clear labels become even more valuable. They reduce arguments about where items belong and make it easier for one person to prepare the van for the next shift. The goal is not to create a showroom. It is to make the van usable at 7am on a wet weekday when work needs to start straight away.
Avoid the Common Layout Mistakes
The first mistake is overloading the van with storage before deciding what has to be carried. More shelves can mean less usable space if they force bulky equipment into awkward positions. Start with the core equipment and leave room for the work that changes from day to day.
The second is storing heavy items too high. It wastes effort, raises the risk of injury and makes the load less stable. The third is treating small consumables as an afterthought. A few well-placed organisers and holders often make a bigger difference to daily efficiency than another large shelf.
Finally, do not make the layout too permanent if your workload changes through the year. A joiner may need different capacity for a fitting job than for smaller repair work. Flexible shelves, accessible boxes and clear zones make it easier to adapt without turning the van back into a pile of loose equipment.
A well-planned van gives every item a place and every job a quicker start. Begin with the equipment you reach for most, choose storage that suits your exact vehicle, and leave enough clear space for the work you are paid to do.