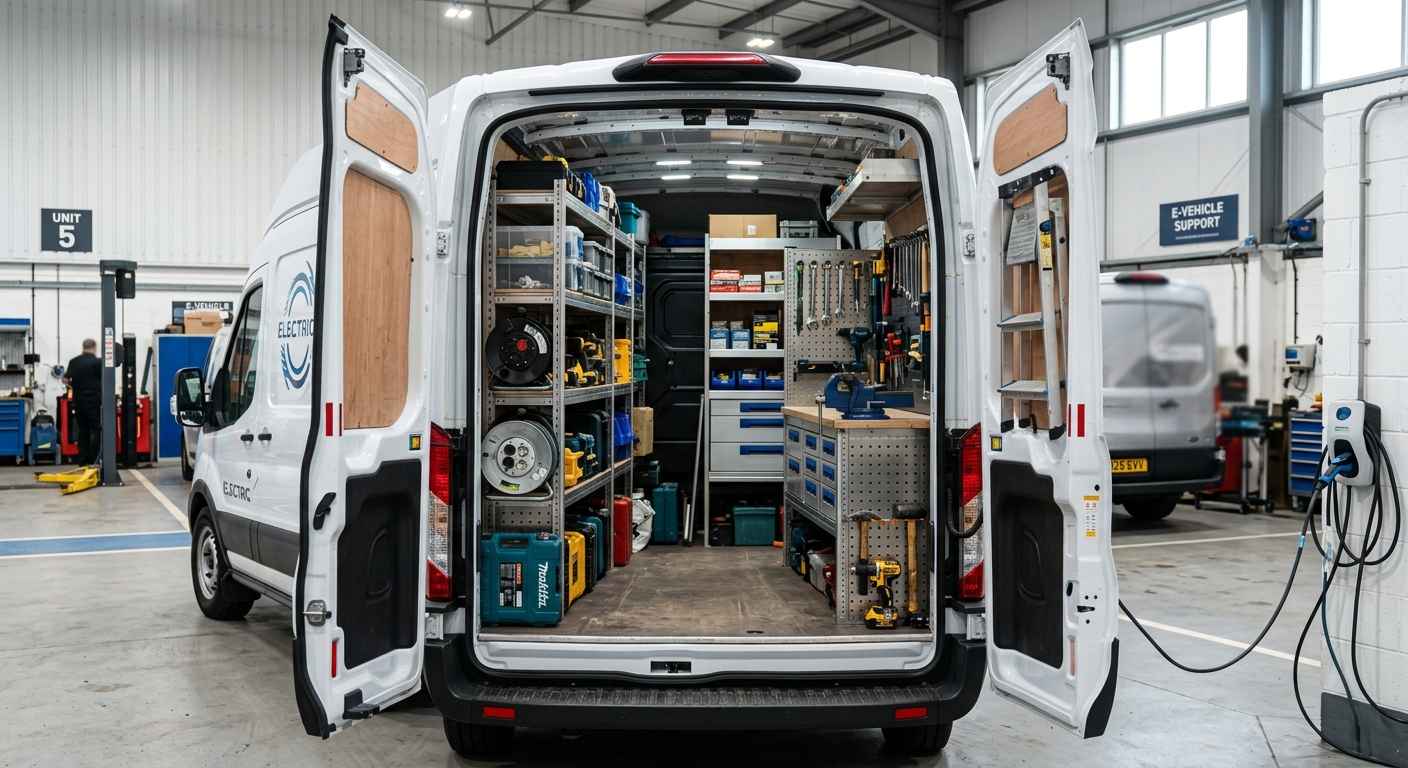






A Citroen Dispatch can carry a serious working load without becoming difficult to park, but the available space only pays off when it is planned properly. This Citroen Dispatch load space guide covers the key dimensions for current-generation vans and shows how to turn the rear into an organised workspace for tools, fittings and daily materials.
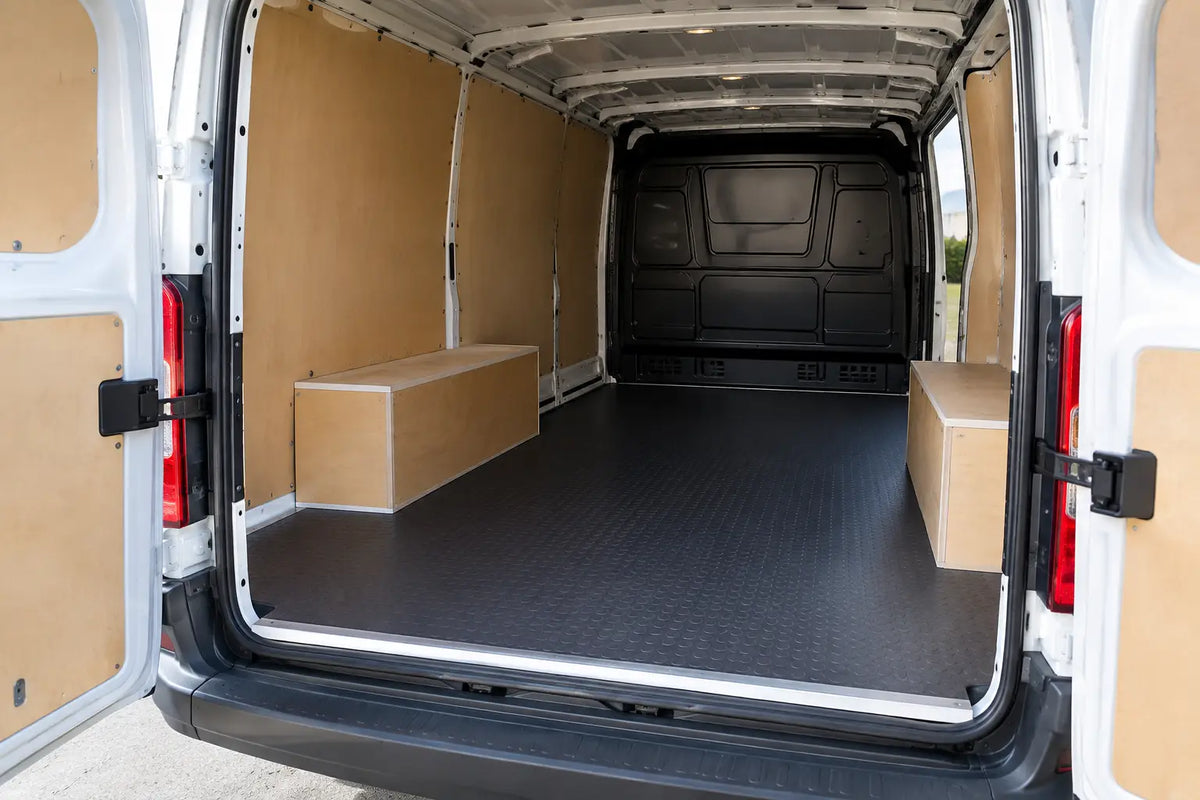
The Dispatch shares its basic layout with several medium vans, which gives it a square, usable load area rather than a long but awkward one. For plumbers, electricians, fitters and maintenance teams, that makes it a strong base for shelving, floor protection and storage accessories. The right setup depends on whether you need clear floor space for bulkier jobs, fast access to small parts, or a balance of both.
Citroen Dispatch load space dimensions
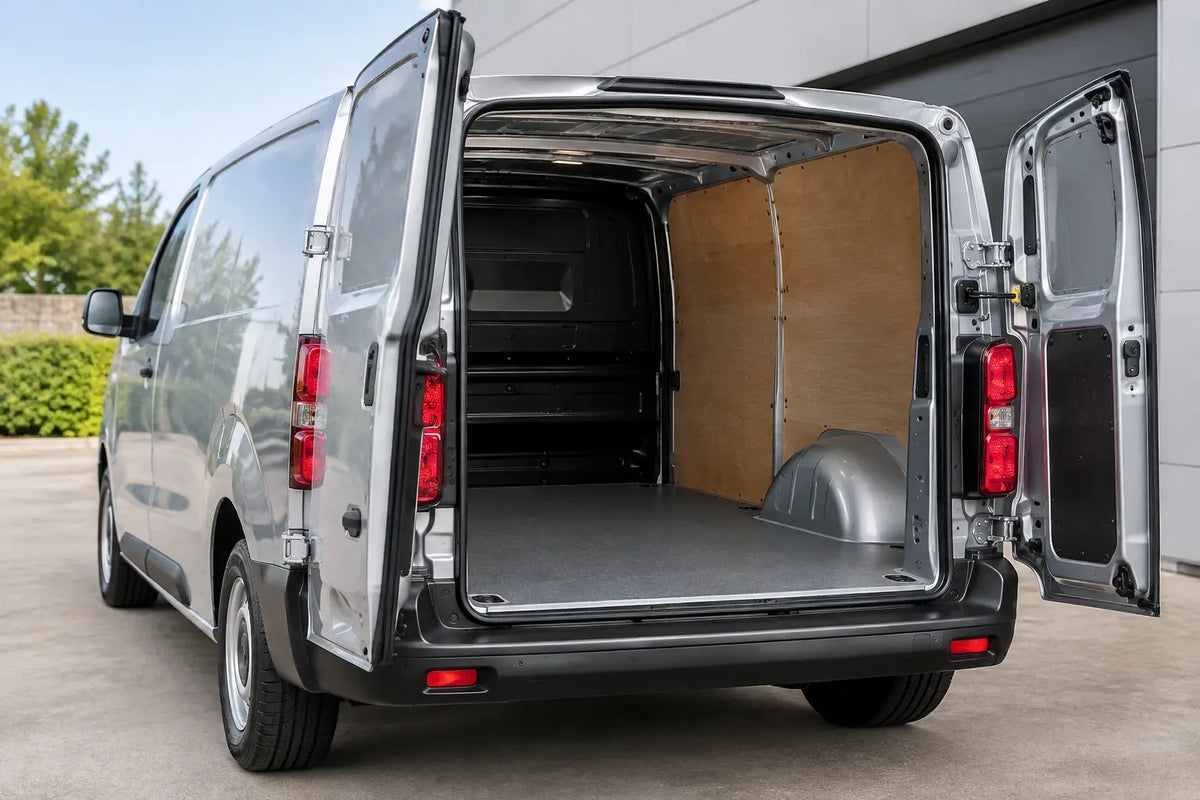
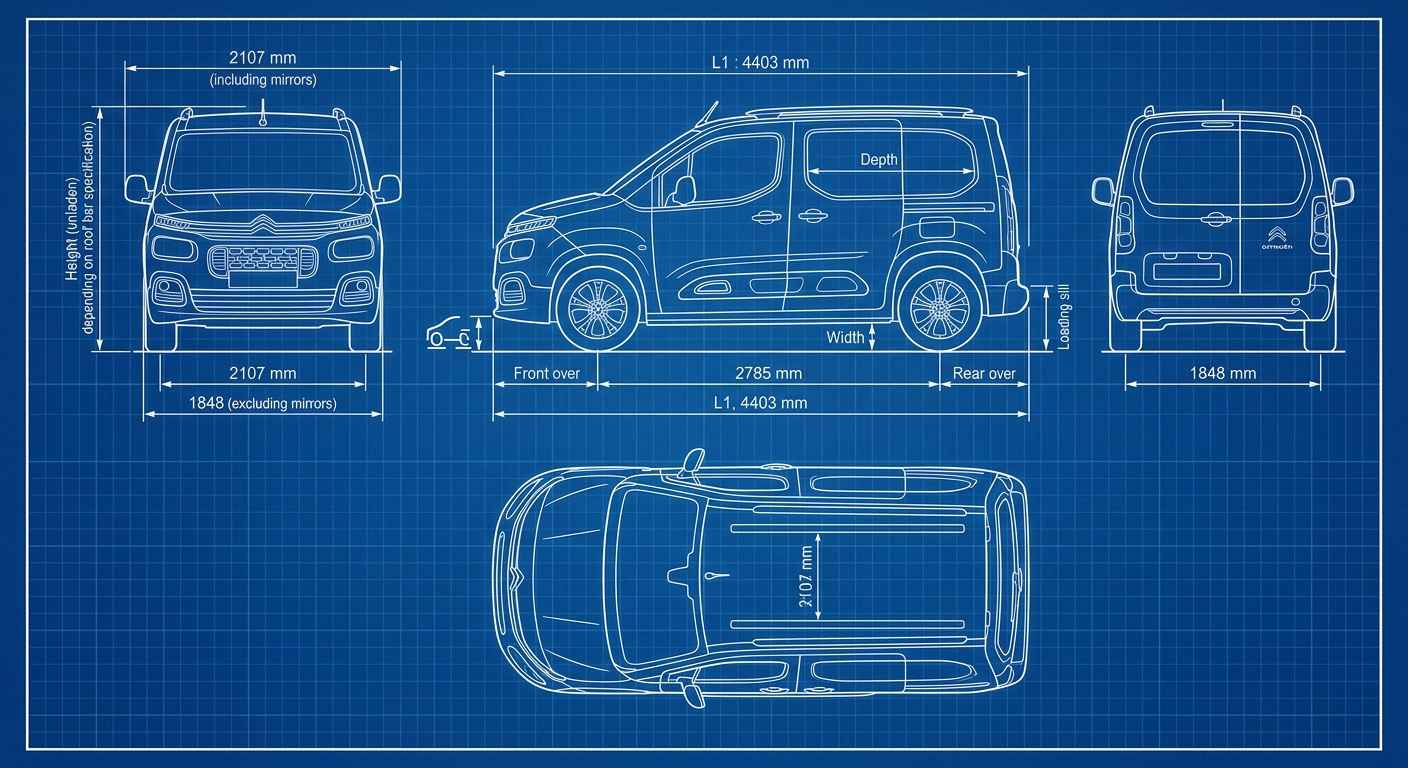
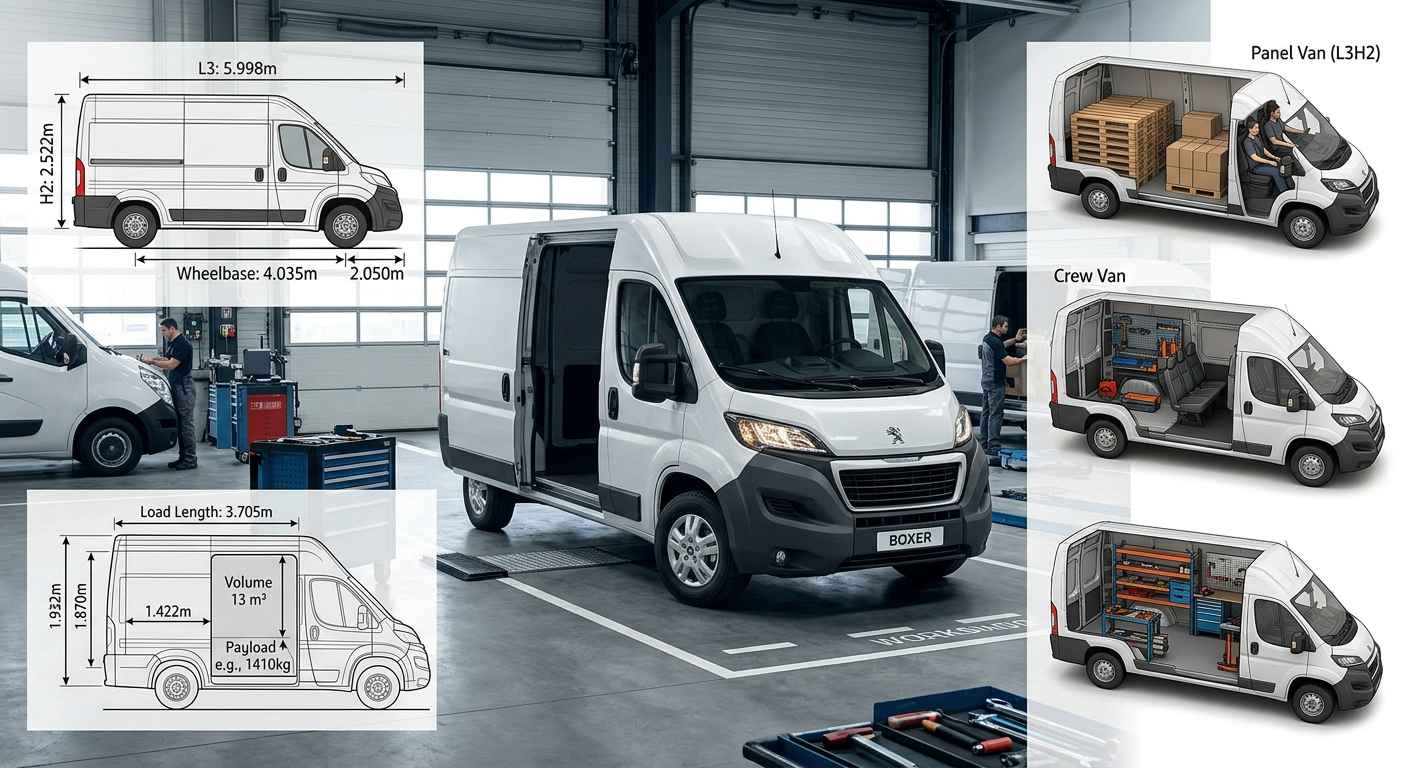
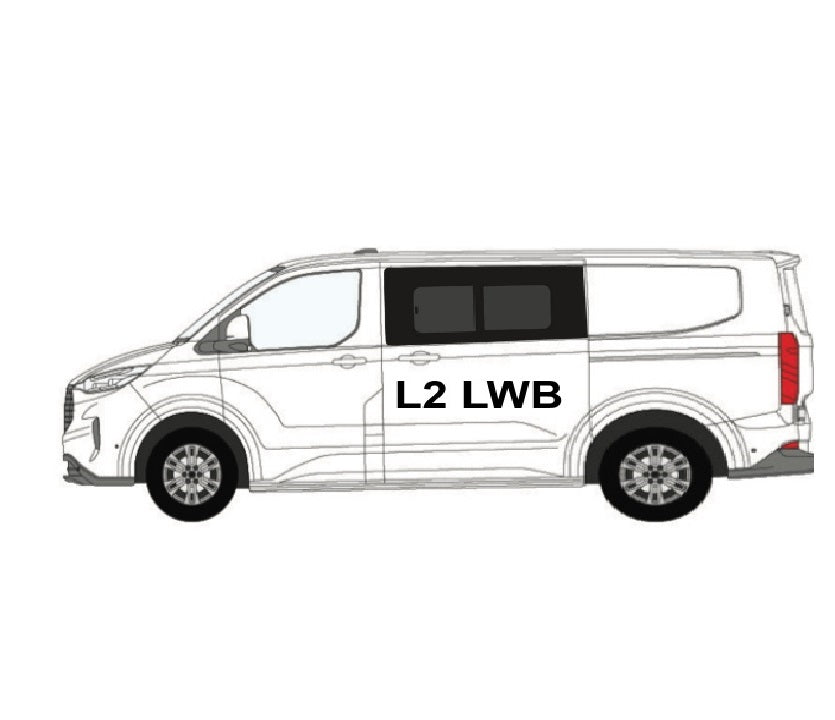
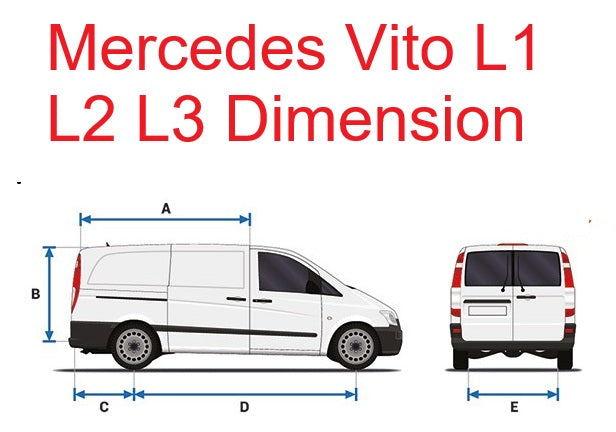
The figures below apply broadly to the third-generation Citroen Dispatch, introduced in 2016. There are two main body lengths: M, often referred to as standard length, and XL, the longer version. Always check your registration, wheelbase and specification before ordering van storage, as dimensions and interior trim can vary between model years and factory options.
| Measurement | Dispatch M | Dispatch XL |
|---|---:|---:|
| Approximate load length | 2,512 mm | 2,862 mm |
| Maximum load width | 1,628 mm | 1,628 mm |
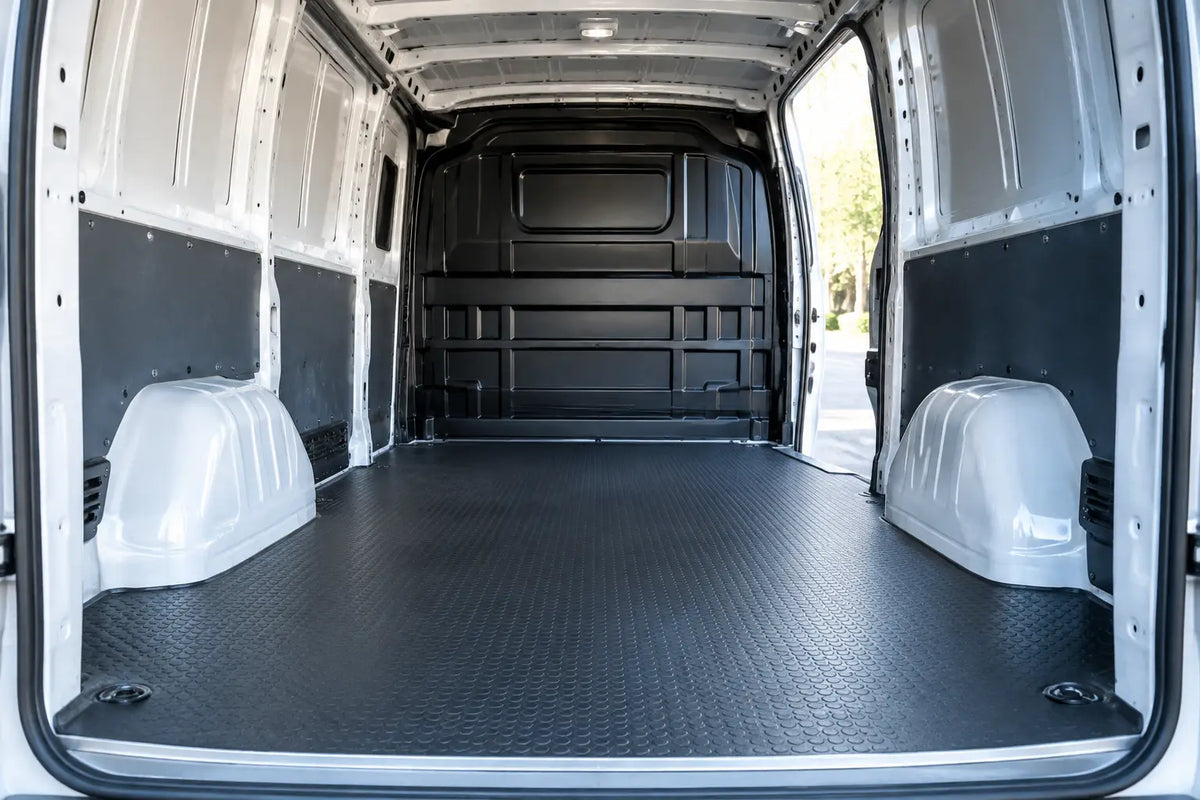
| Width between wheel arches | 1,258 mm | 1,258 mm |
| Approximate internal height | 1,397 mm | 1,397 mm |
| Approximate load volume | 5.3 m³ | 6.1 m³ |
The 1,258 mm width between the wheel arches is one of the most useful numbers when planning the van. It tells you whether a board, toolbox or piece of plant will sit flat on the floor between them. It also defines the central aisle once shelving is fitted along one or both sides.
Load length matters just as much. The standard M version gives most trades enough room for side shelving and a sensible working aisle. The XL gives you an extra 350 mm or so behind the cab, which can make a real difference if you carry long cases, ladders, trunking, pipe or boxed stock alongside your regular tools.
The load-through bulkhead hatch
Some Dispatch vans are fitted with a load-through hatch in the bulkhead. When open, it can extend the practical carrying length for items such as conduit, timber trim or longer pipe. This feature is useful, but it should not be the basis of your everyday storage plan.
First, confirm that your van actually has the hatch. Secondly, allow for how long items will be secured and whether they will obstruct access to stored tools. A well-organised rear load area is normally more valuable day to day than chasing maximum length for occasional loads.
What the dimensions mean for van shelving
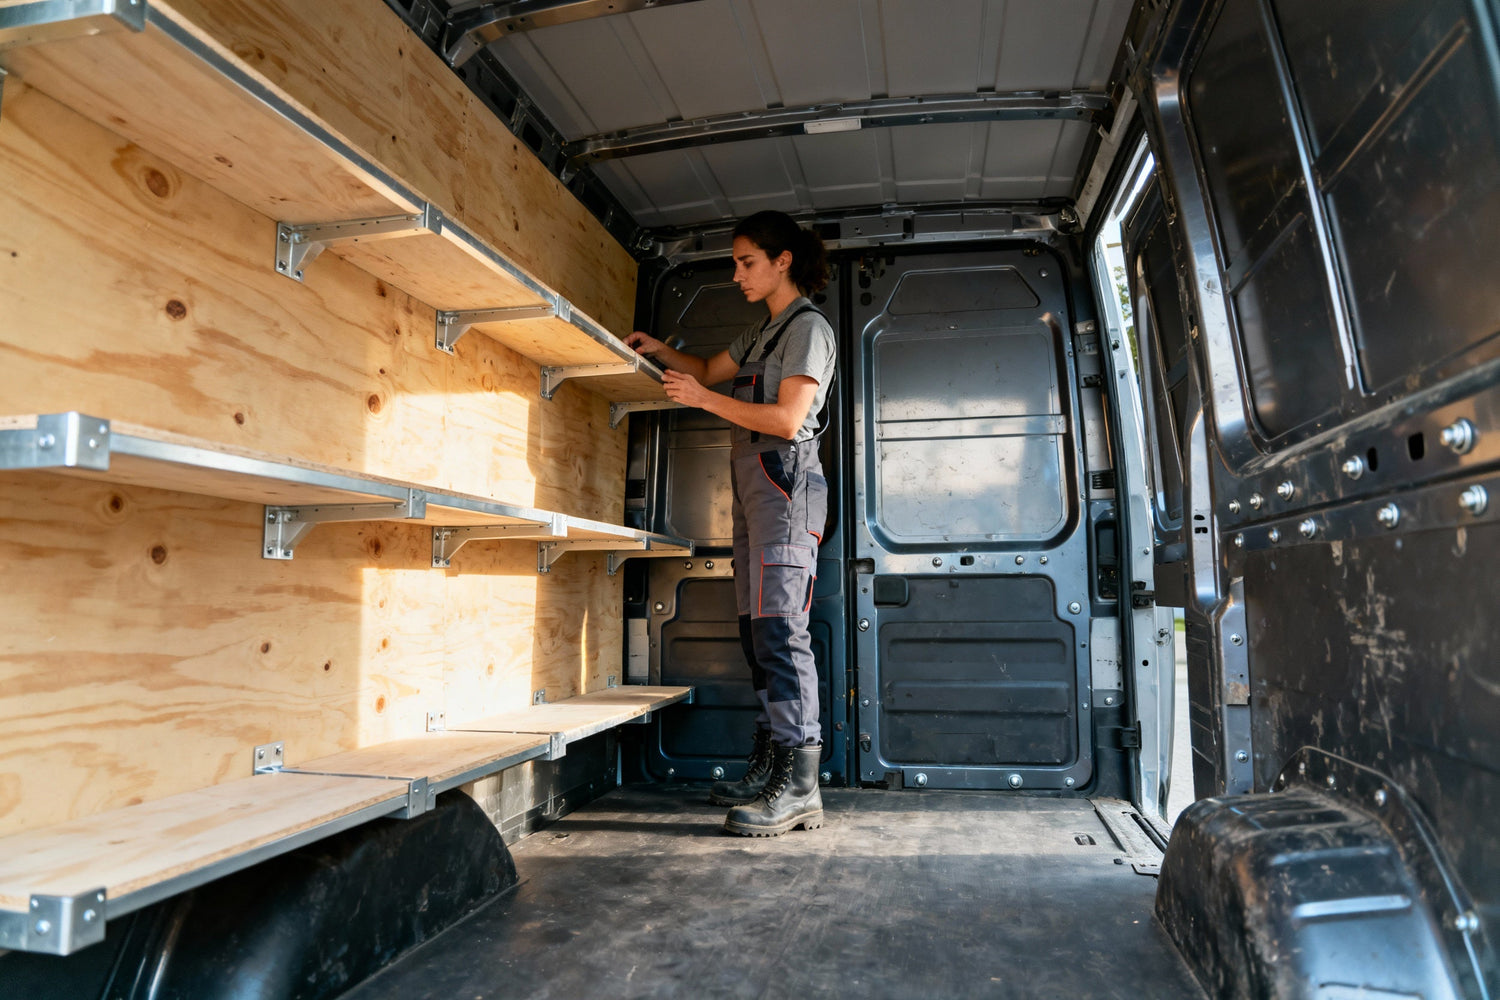
The Dispatch is wide enough for practical shelving layouts, but the best arrangement is rarely to fill every wall with racking. A van packed with shelves can hold plenty of stock, yet still waste time if there is no room to move, load larger items or reach cases at the back.
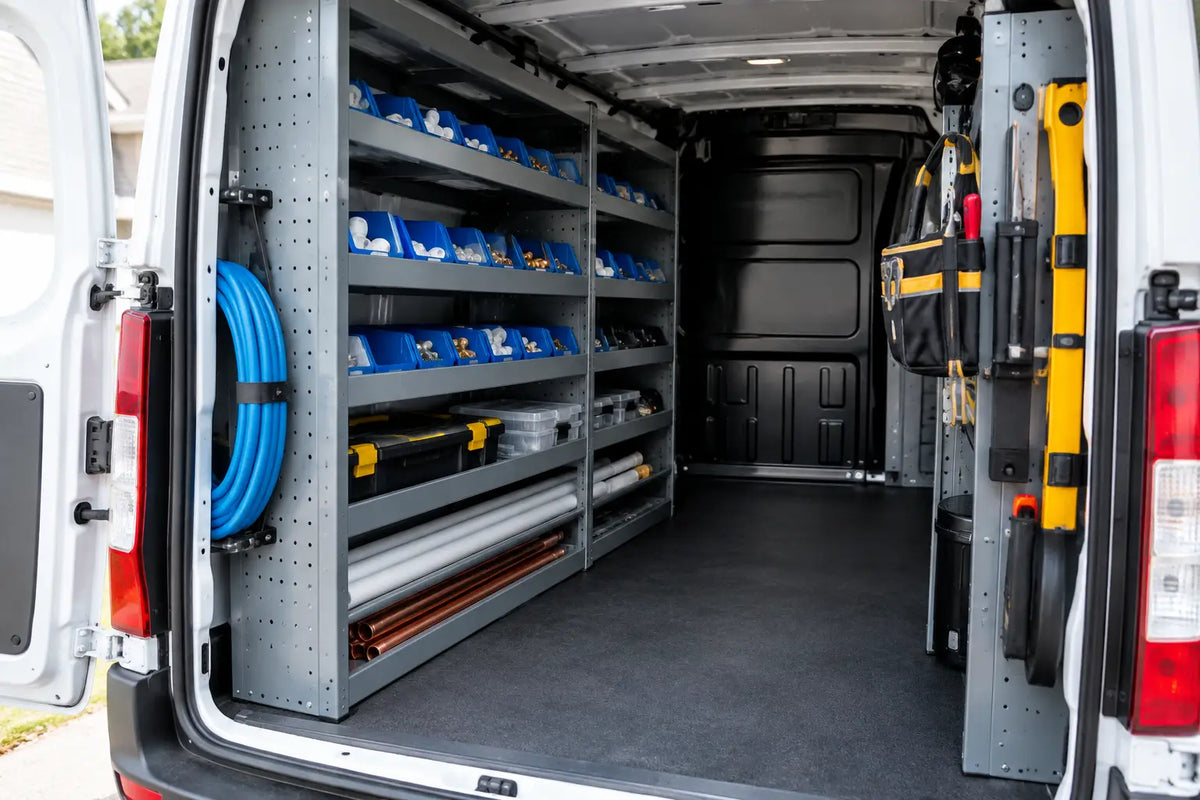
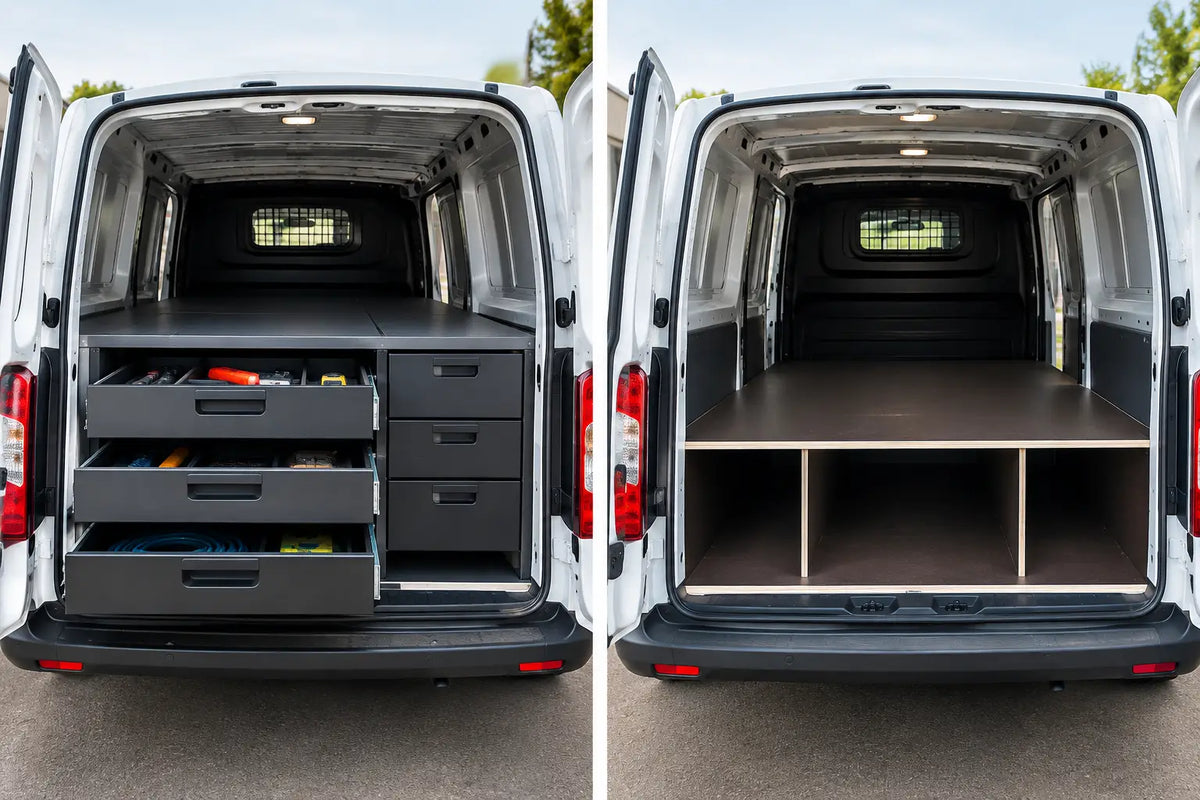
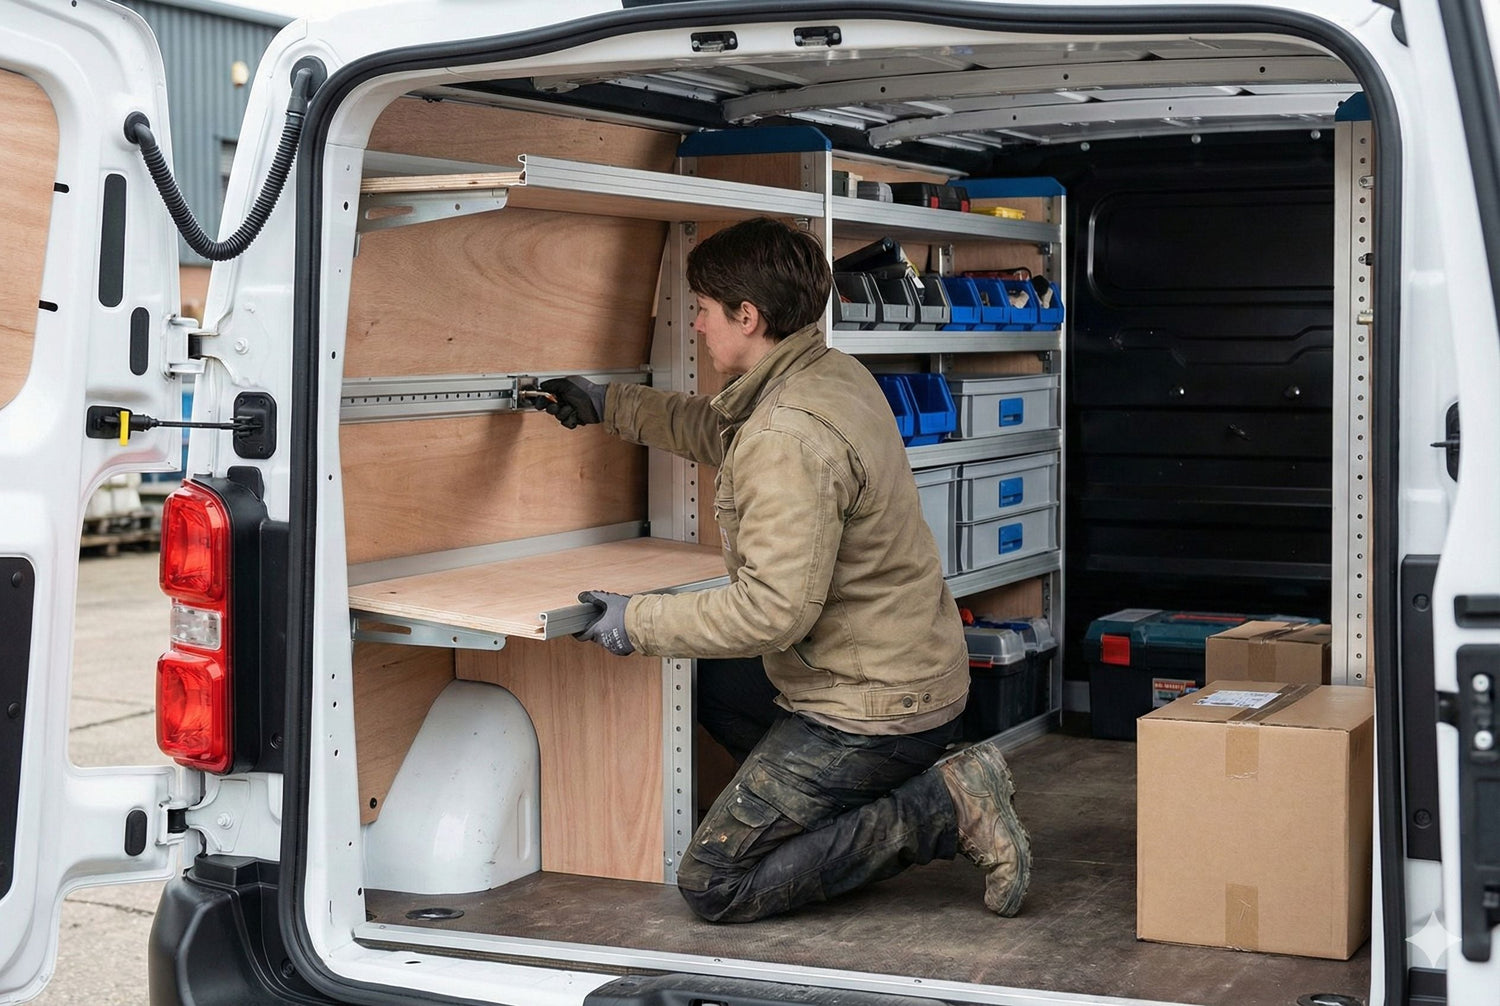
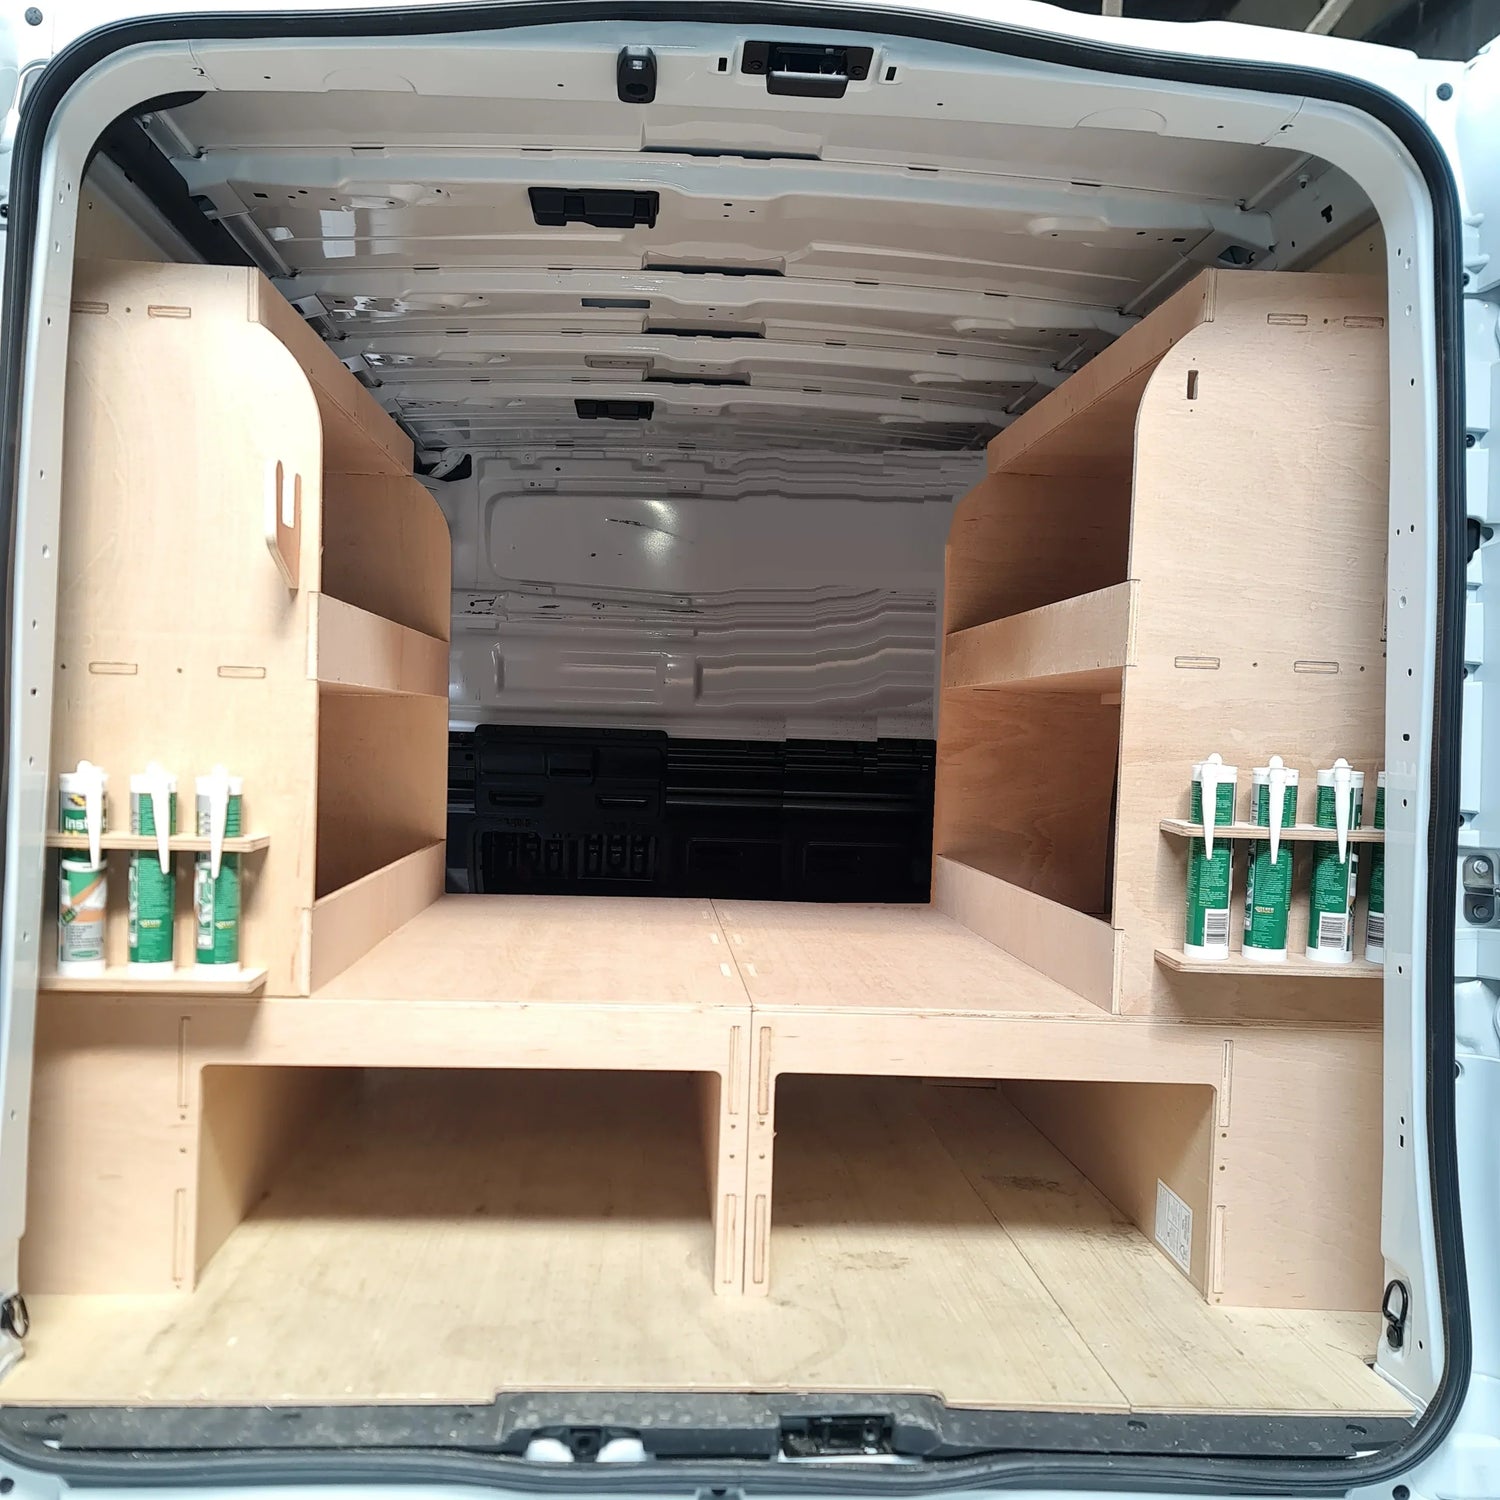
For a service engineer or electrician carrying lots of fixings, hand tools and consumables, a full-height shelving unit on the driver’s side can keep the highest-turnover items visible and close to the side door. A narrower unit opposite can hold cases, testers and boxed parts while retaining a useful central walkway.
A plumber, heating engineer or general builder may prefer one main shelving run and more protected floor space. That leaves room for pipe, tools in stackable cases, cylinders where appropriate and job-specific materials. The XL body gives more flexibility here, but the standard van can still work well when storage is selected around the equipment you actually use each week.
Avoid assuming every Dispatch setup is identical. A crew cab, a different bulkhead arrangement, glazing, trim panels and existing lining can affect what will fit and where it can be fixed. Check the product description against your exact Dispatch body style before buying.
Protect the floor before loading the walls
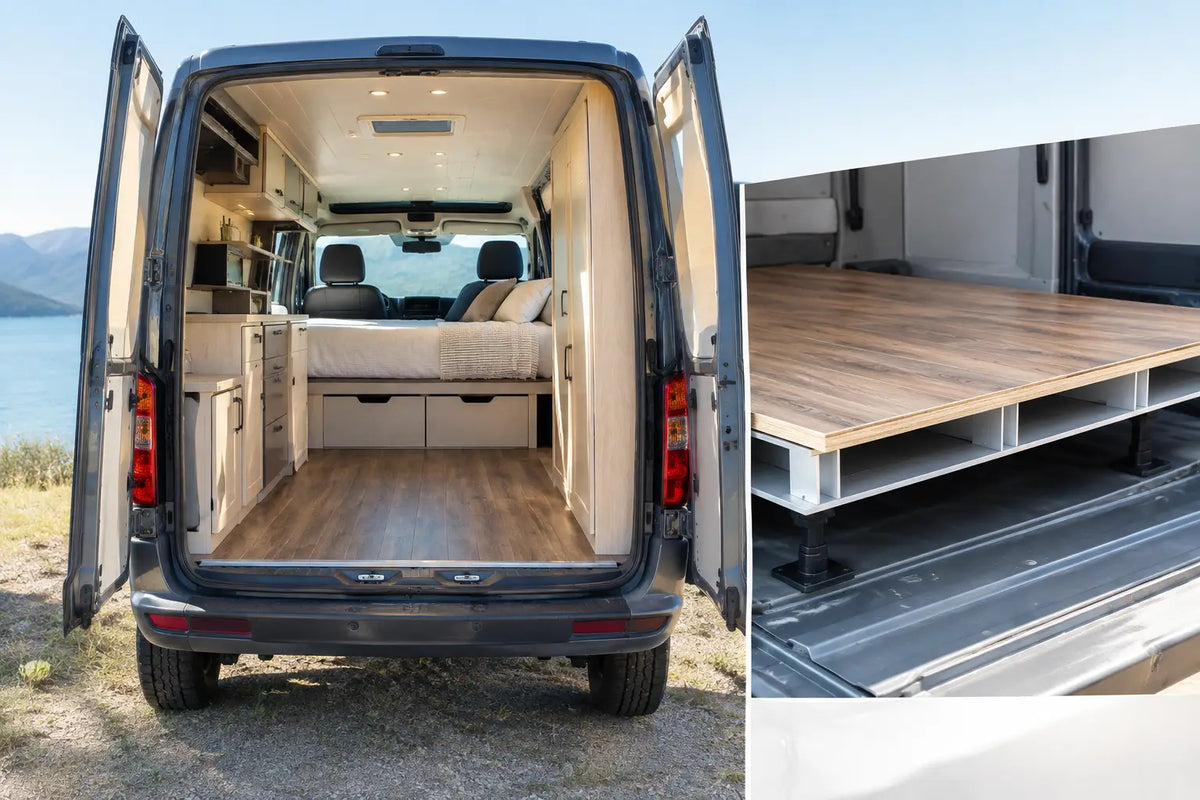
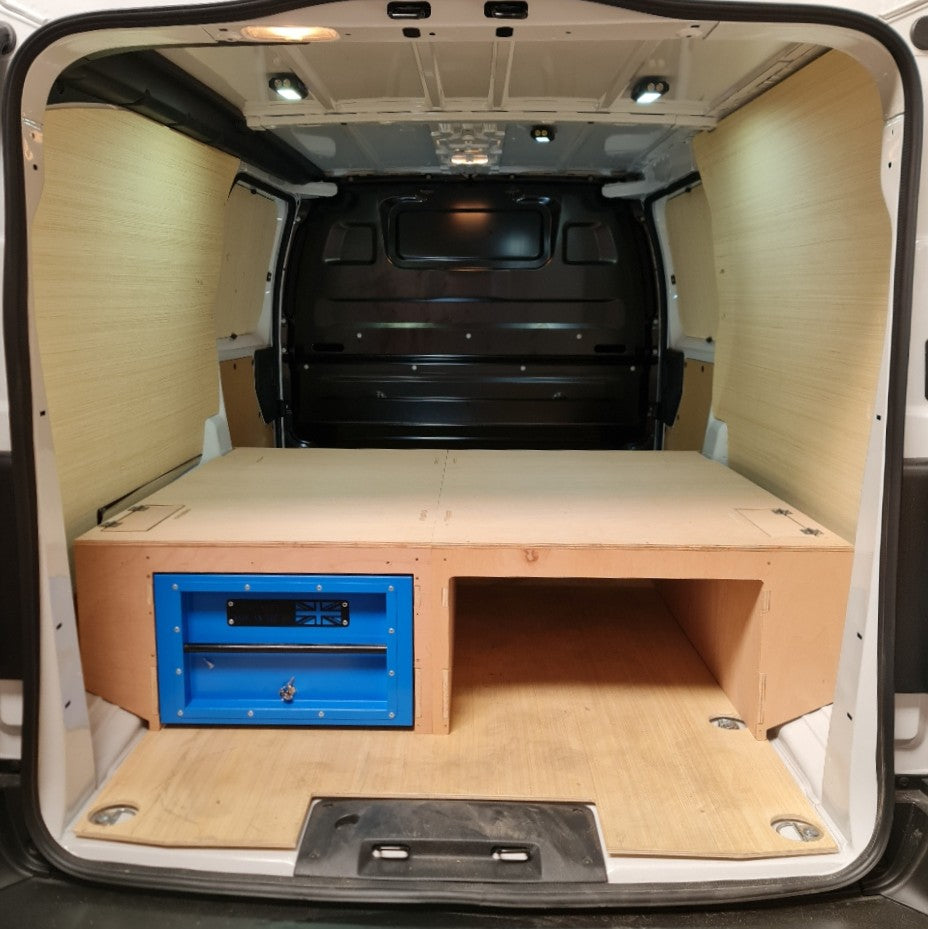
A false floor is often the right first job in a working van. It protects the factory floor from dragged tool cases, wet materials and repeated loading, while providing a clean, level base for your setup. It also makes it easier to keep the rear tidy when the job involves mud, dust or offcuts.
For many trades, a false floor becomes the foundation for the whole layout. Heavy toolboxes can be positioned consistently, shelving can be planned around a known floor level, and loose materials are less likely to slide into every corner. If you regularly carry bulky or dirty loads, choose a layout that keeps a clear section of floor available rather than turning the entire rear into fixed storage.
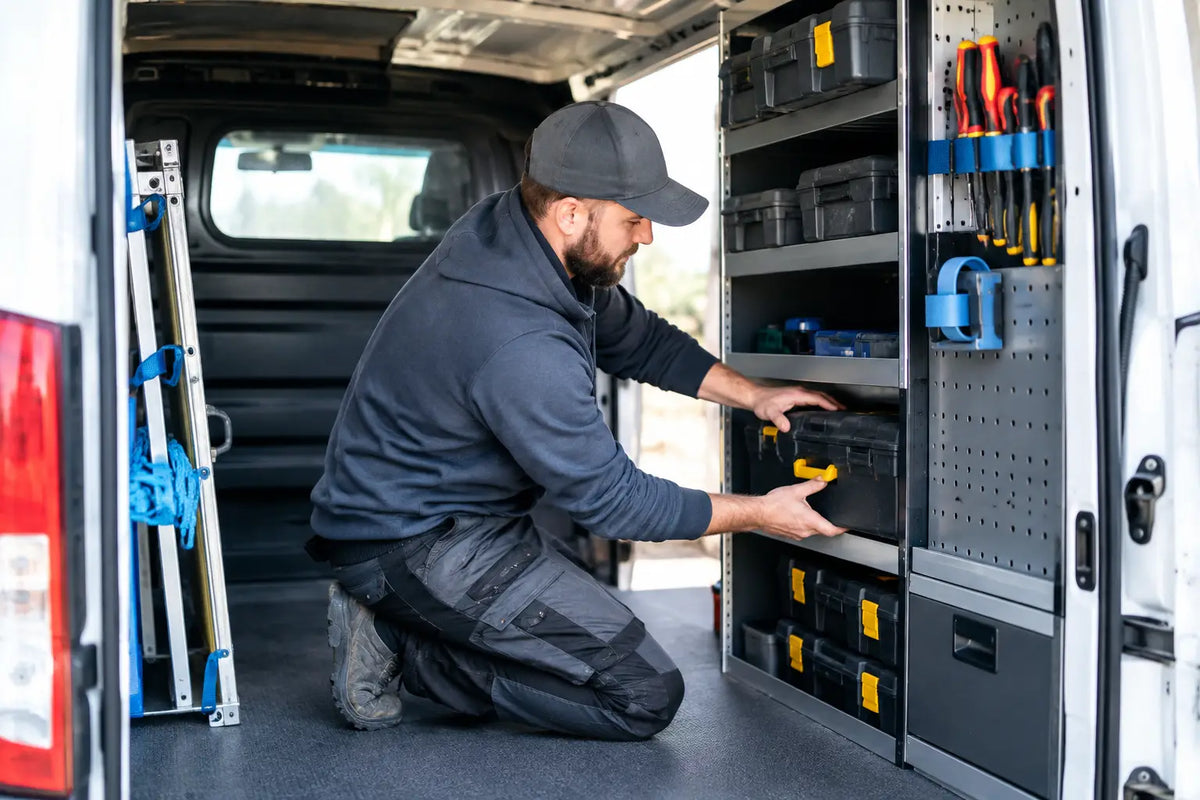
Think about loading direction as well. The rear doors are best for larger cases and materials, while the side door is often the quickest route to everyday tools. Put the items you use several times a day where you can reach them without climbing into the van.
Build the layout around your working day
The quickest way to waste Dispatch load space is to buy storage before deciding what needs to live in the van. Start by separating your equipment into three groups: items used on nearly every job, stock needed regularly but not constantly, and job-specific items that can move in and out as required.
Everyday tools should be easy to see and return. Shelves, drawers and holders work best when each item has a clear home. Consumables such as screws, clips, sealants, wipes and gloves need quick access too, especially when stopping to search for them interrupts a job.
Heavier equipment should sit low and be secured properly. This improves stability and stops larger cases becoming a hazard under braking. Keep the centre aisle as clear as possible, particularly if you need to step into the rear to select materials or work from the van during poor weather.
For fleet vans, consistency is worth considering. Giving similar Dispatch vans a matching storage layout helps operatives find stock quickly when vehicles are shared. It also makes replenishment simpler and presents a more professional standard when arriving on site.
Storage accessories that earn their space
Small accessories can make a bigger difference than another large shelf. A sealant holder stops tubes rolling around the floor. A wipe dispenser keeps cleaning materials where they are needed. Glove box organisers and small-parts storage reduce the usual build-up of loose fittings, paperwork and packaging in the cab and rear.
These additions should support the main layout rather than clutter it. Place them close to the point of use: cleaning wipes near the side door, sealants close to fitting tools, and small parts where you can see labels without emptying a box. The goal is not to store every possible item. It is to remove the repeated little delays that add up across a working week.
Check these points before choosing Dispatch racking
Before selecting a model-specific racking or shelving system, measure the inside of your own van and check a few practical details. Confirm whether it is M or XL, whether it has a solid bulkhead or load-through hatch, and whether existing ply lining changes the usable width. Also consider the rear and side-door access you rely on most.
Make a note of your longest tool case, widest regular load and tallest box. The published load height may look generous, but shelving, lining and the way you stack stock all reduce free space. If you carry sheet materials or occasional bulky items, plan a route through the van that remains clear after the shelving is in place.
A Dispatch that is organised around real jobs is easier to load, safer to work from and quicker to pack down at the end of the day. Start with the equipment you reach for first, protect the floor, and keep enough open space for the work that changes from one job to the next.