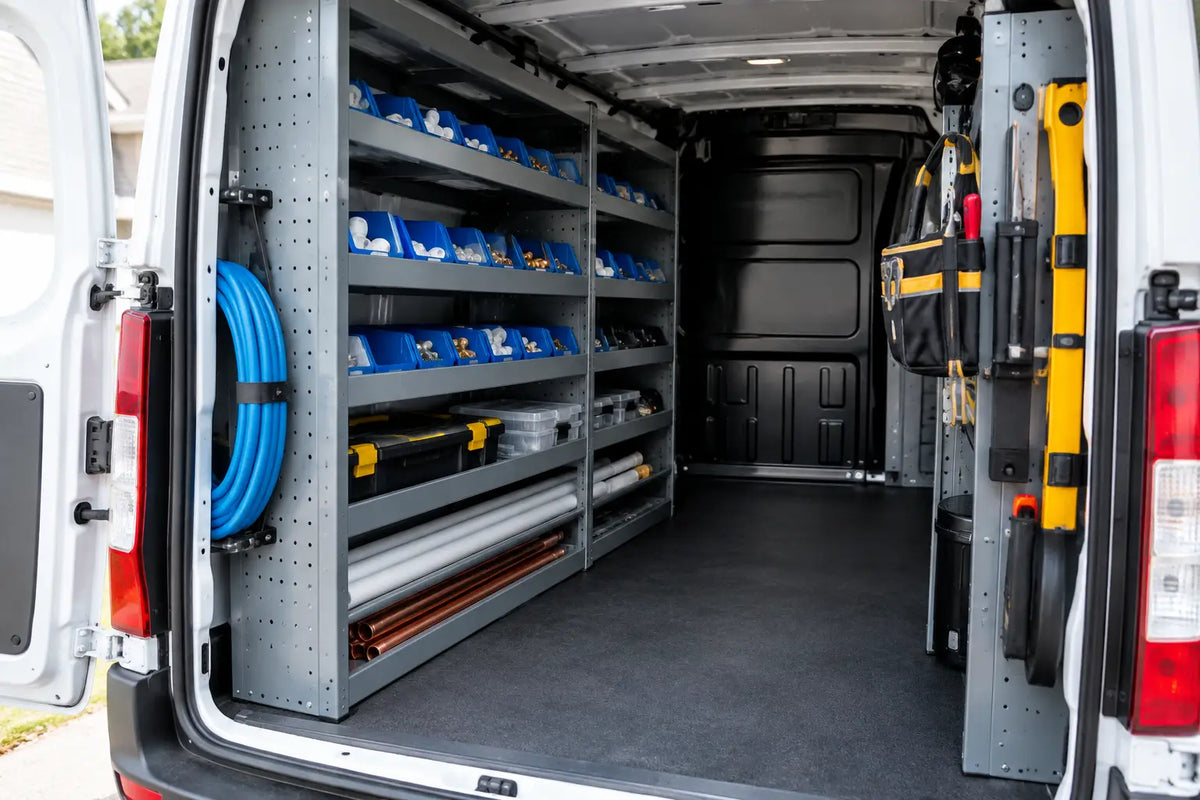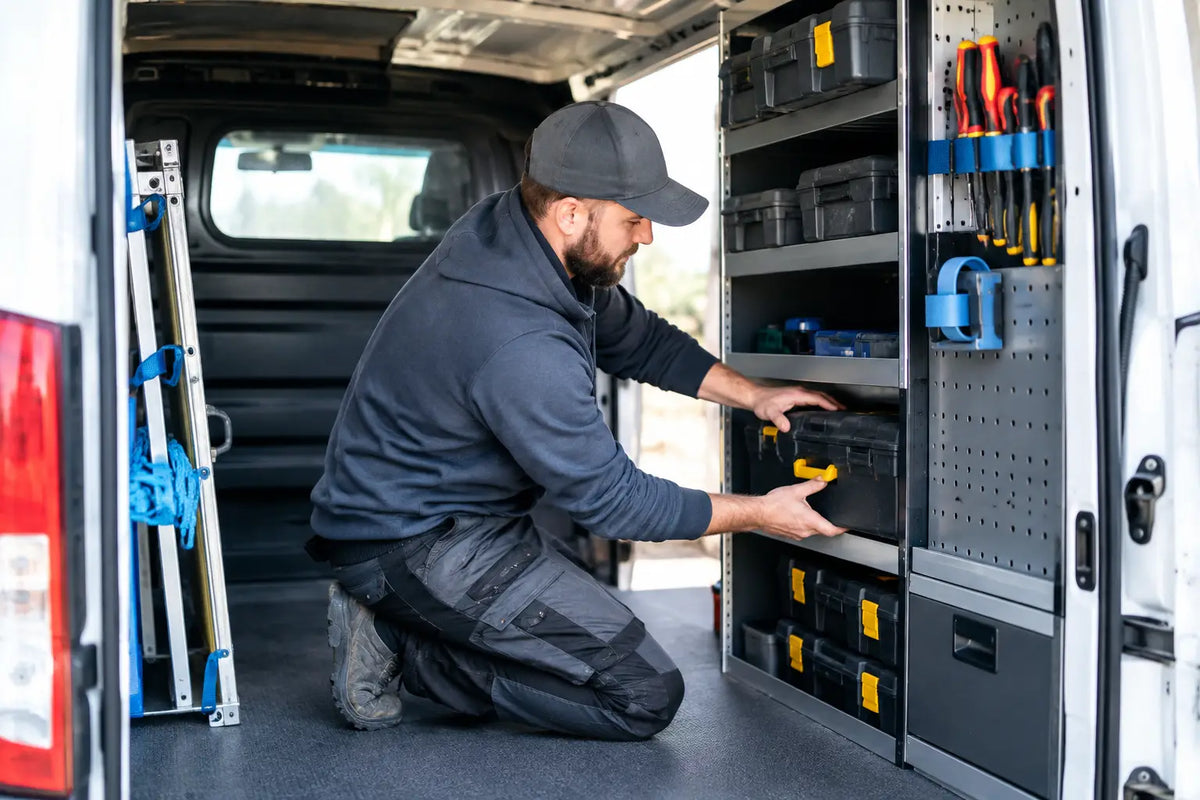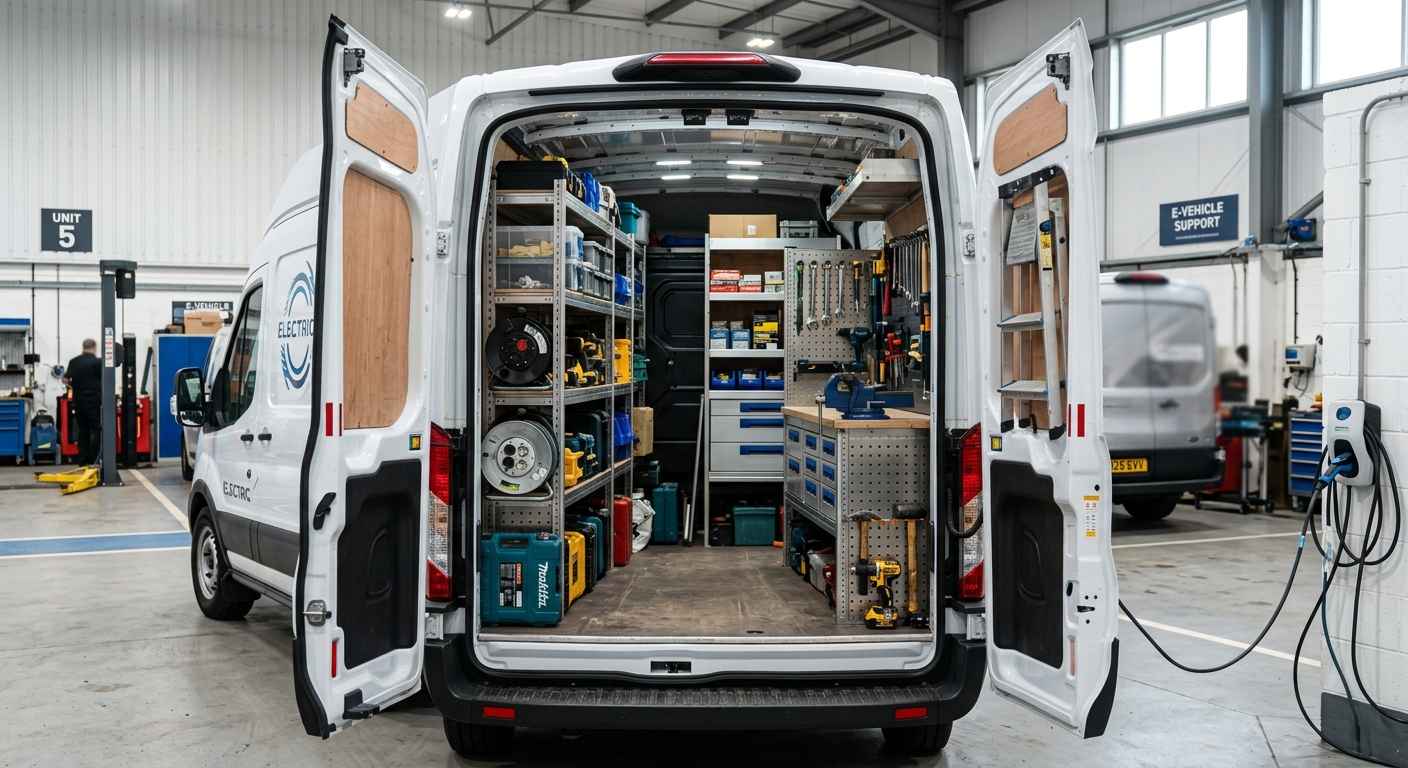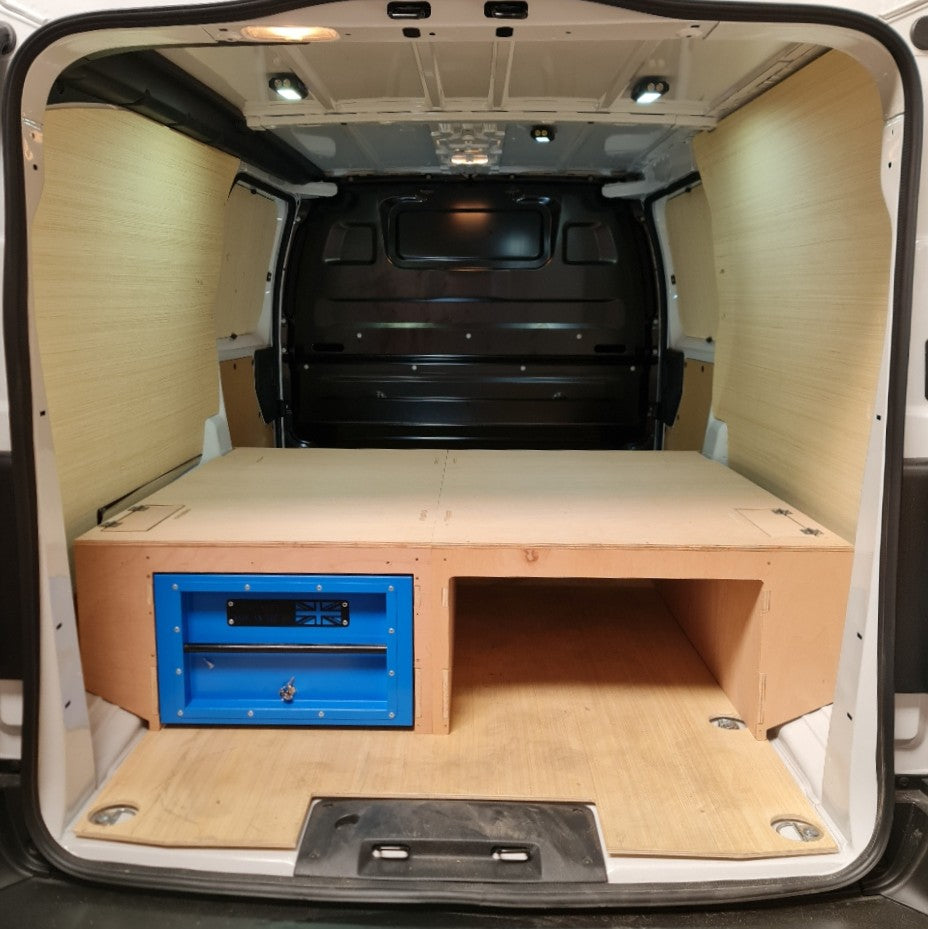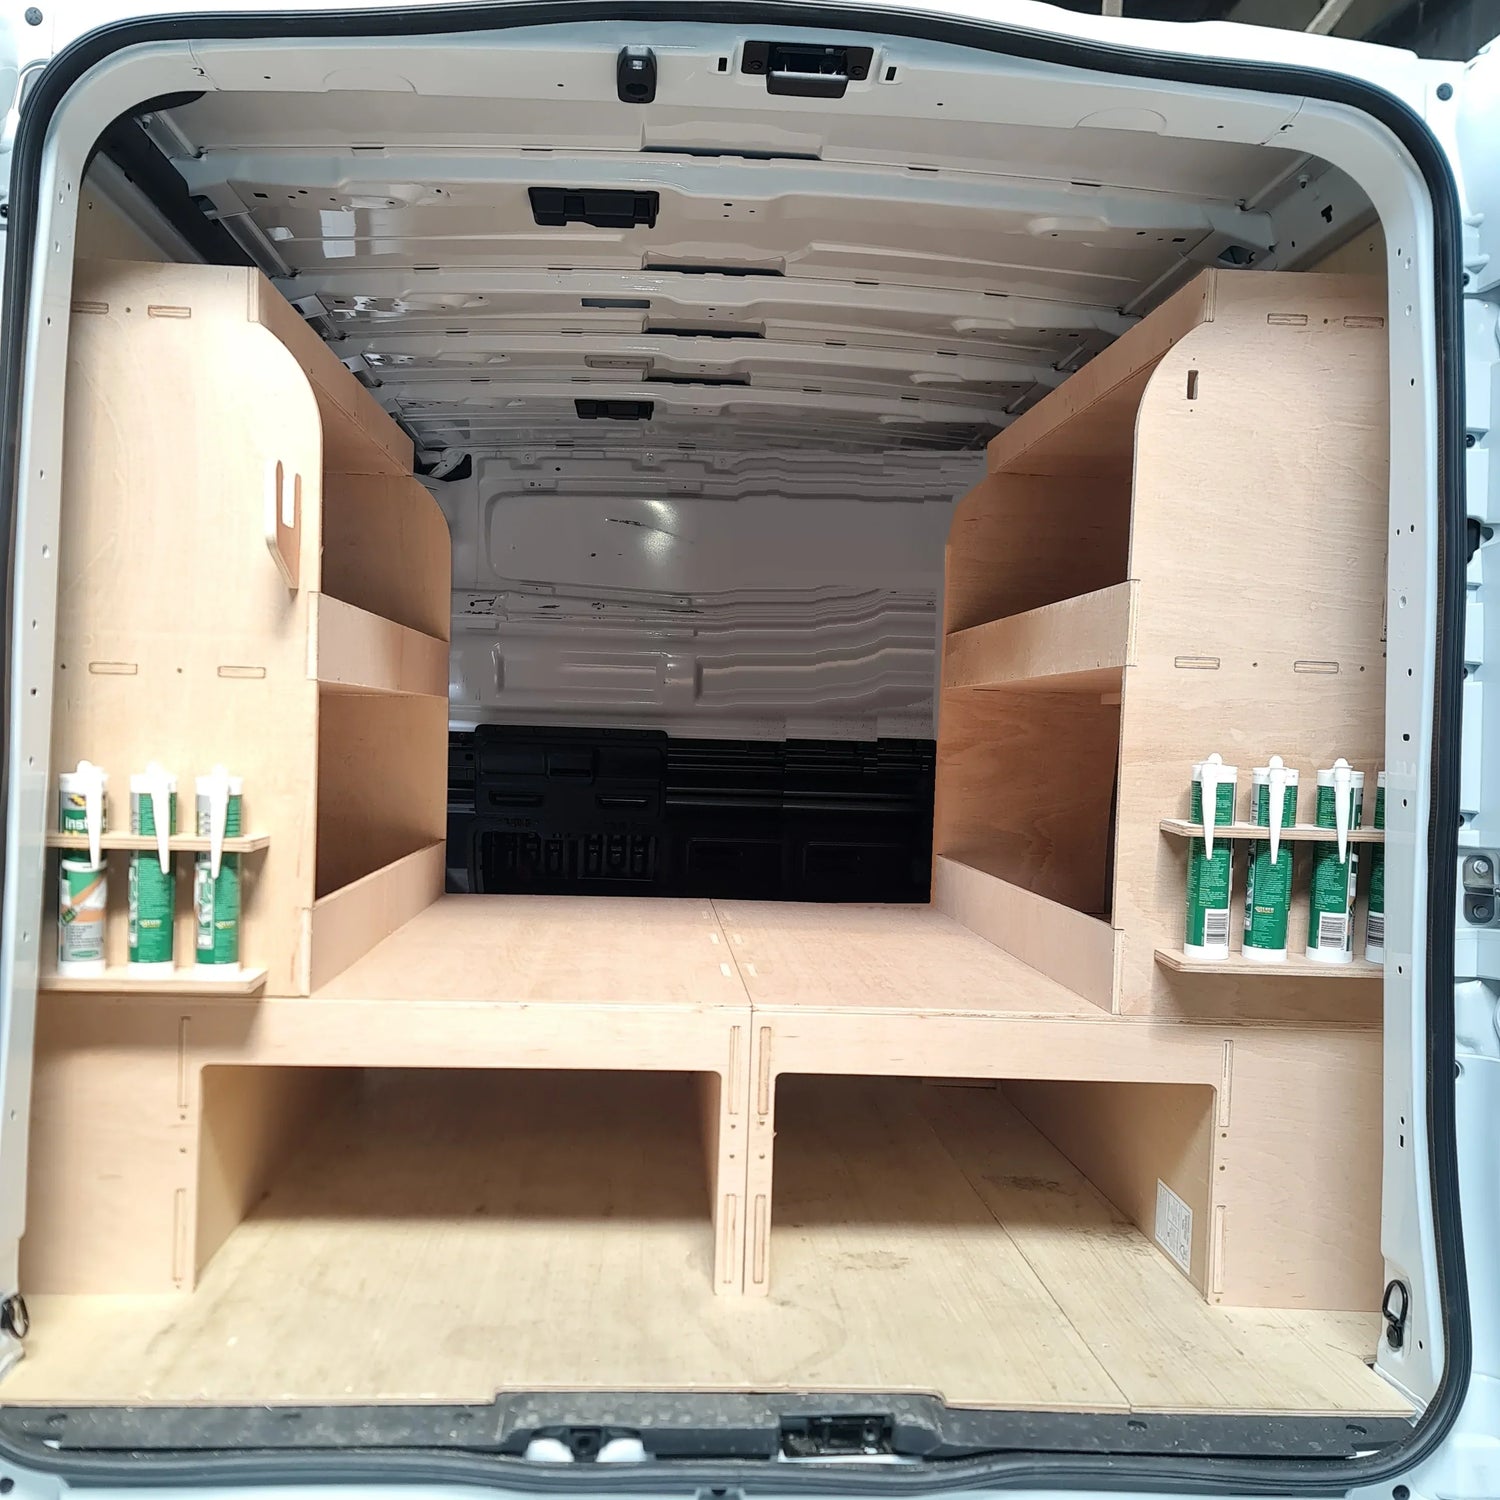











A loose toolbox sliding across the load area is more than an annoyance. It wastes time, damages equipment and makes it harder to keep the van ready for the next job. Learning how to install false floor panels properly gives you a flat, hard-wearing base for racking, storage and daily trade use - but the job starts with choosing a floor that suits the exact van.
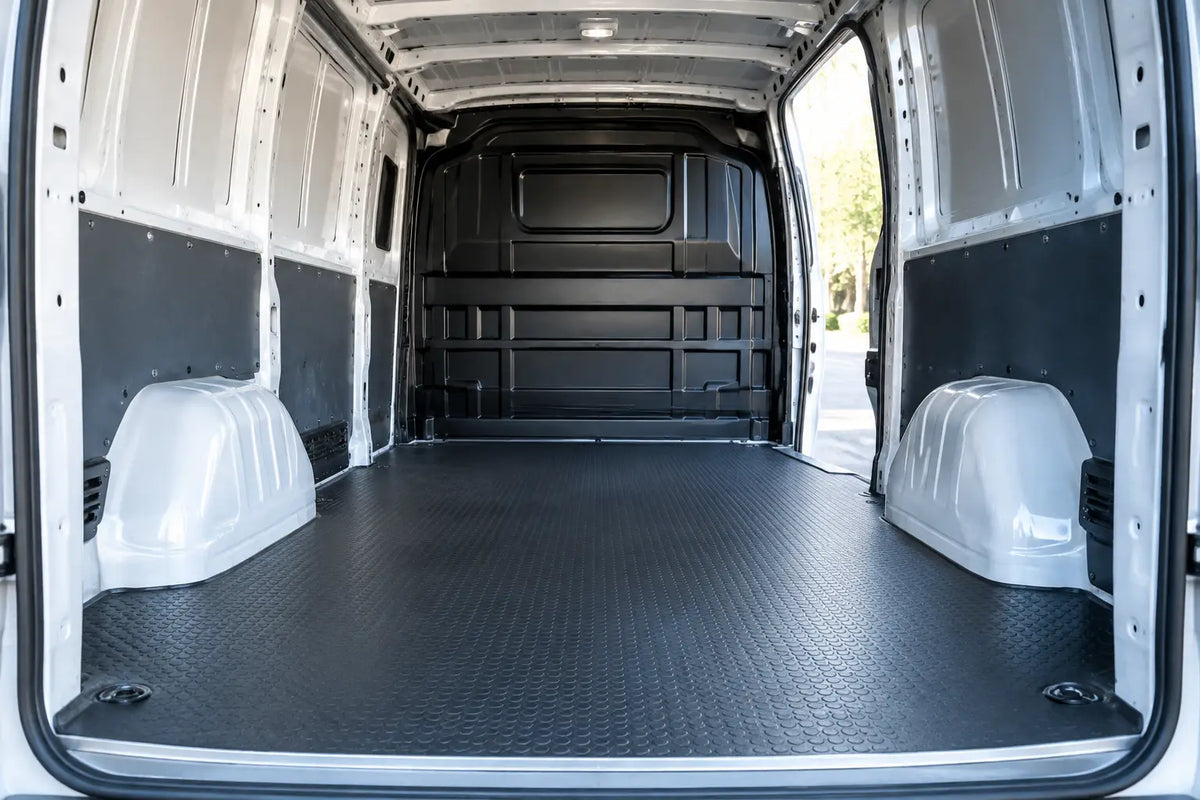
A false floor can mean either a shaped plywood load-liner that sits directly on the van floor, or a raised floor system that creates usable space underneath. The installation method, fixing points and available headroom differ between the two. Check what your kit is designed to do before opening the fixings pack.
Why a false floor earns its place in a working van
The standard metal floor in a commercial van is tough, but it is not designed to keep your work kit organised. A properly fitted false floor protects the load area from dents and scratches, provides a more stable surface under boxes and cases, and gives van shelving or racking a dependable base where the system requires one.
For electricians, plumbers, fitters and maintenance engineers, a raised floor can also create a separate space for longer items, cable, pipework or materials that otherwise end up mixed in with everyday tools. A flush load-liner does not create storage beneath it, but it still makes the floor easier to sweep out and helps spread the load from stored equipment.
There is a trade-off. A raised system reduces internal height and can add weight, so it needs to work with the way you load the van. If you regularly carry bulky equipment, check the remaining height at the rear doors and side loading door before committing. A model-specific floor is normally the sensible option because wheel arches, tie-down points and floor profiles vary between vans, even where models look similar.
Before you install a false floor, check the basics
Start by emptying the load area completely. Take out loose mats, old ply, packaging, screws and debris. Sweep the metal floor so the panel sits flat. A small stone or trapped fixing can leave a high spot, which may cause movement, noise or premature wear once weight is added.
Confirm the fitment and orientation
Lay every panel in the back of the van without securing anything. This dry fit tells you whether you have the correct floor for the wheelbase, body style and model year. Identify the front, rear and any cut-outs for tie-down rings, wheel arches or access points. Do not force a panel into place or trim it simply because it seems close. First check that it has not been turned around, fitted in the wrong order or supplied for a different vehicle specification.
If you have factory tie-down rings, decide whether they need to remain accessible. They are useful for securing heavier loads, and covering them without a proper plan can limit how safely you use the van afterwards.
Gather the right tools
Most false floor kits are straightforward, but having the tools ready keeps the job clean and prevents rushed decisions. You will normally need a tape measure, marker pen, drill and suitable bits if drilling is specified, screwdriver or socket set, trim tool, vacuum or brush, and personal protective equipment. Eye protection is essential when drilling or cleaning metal swarf, while gloves are useful when handling ply and sharp-edged fittings.
Use only the fixings supplied with the kit or replacements of the same type and size. Random screws from the workshop may be too long, too weak or unsuitable for the material beneath the floor.
How to install false floor panels step by step
1. Position the floor and check it sits level
Place the largest section into the load area first, following the supplied fitting order where one is provided. Bring it into position carefully rather than dragging it across painted thresholds. Fit any smaller sections around it and check that the joins sit together without gaps or overlap.
Stand on different parts of the floor to check for rocking. If it moves, lift the panel and look for trapped debris, an incorrectly positioned spacer or a section sitting over a raised factory fitting. The floor should be supported evenly before any fixings are tightened.
2. Mark the fixing points accurately
Many vehicle-specific false floors use existing mounting or tie-down locations. Where this is the design, line up the holes before fitting bolts or brackets. Starting every fixing loosely gives you room to adjust the panel until all positions align.
If your instructions require new holes, measure and mark them with care. Never drill through a van floor without first checking the supplied instructions and the area beneath the vehicle. Fuel lines, electrical wiring, brake components and heat shields may be close to the underside. A fixing point that looks clear from inside the van may not be clear below it.
3. Drill only where the kit specifies
For floors designed to be drilled into place, use the recommended drill size and keep the drill square to the panel and metalwork. Work slowly. Once the hole is made, remove all swarf from the floor and surrounding area. Metal filings left in a van can rust, mark equipment and work their way into tyres or hands later.
If bare metal has been exposed, protect it as directed by the kit manufacturer before fitting the final fixing. This helps reduce the risk of corrosion around the hole. Do not make extra holes to cure a poor fit. Recheck the floor orientation and vehicle fitment instead.
4. Secure the panels without overtightening
Fit bolts, screws, washers and brackets in the specified order. Tighten them gradually, moving between fixing points so the panel beds down evenly. Overtightening can crush plywood, strip a thread or pull a panel out of shape. The aim is a secure floor with no movement, not maximum force on every fixing.
Where a raised floor uses support battens, legs or frame sections, make sure each support is fully seated before loading the floor. A single unsupported area may not show a problem when the van is empty, but it can flex under stacked boxes or heavy tool cases.
5. Refit or test access to tie-down points
If your installation includes recessed tie-down rings, access covers or finishing plates, fit these once the main floor is secure. Test each accessible tie-down point before relying on it. A ring must be clear enough for a strap or ratchet hook to engage properly, without rubbing against the edge of the floor.
Do not assume a false floor itself is a load restraint system. Use suitable lashing points and load restraints for anything that could move under braking or cornering.
6. Check the doors, racking and load area
Close the rear and side doors and inspect the threshold areas. The floor should not foul the doors, catch on seals or sit proud where it could be damaged during loading. If you are installing van shelving afterwards, follow the racking instructions separately. A floor may provide a level base, but it does not replace the specified wall or vehicle mounting points for a shelving system.
Plan around payload and the way you work
A false floor improves organisation, but it is part of the van's overall load. Add together the weight of the floor, shelving, drawers, tools, materials and any regular stock, then compare this with the vehicle's available payload. It is easy to underestimate the weight of a fully equipped mobile workshop.
Think about access as well. Items used several times a day should stay near the doors or at waist height in racking. Long, occasional-use materials are better suited to the space beneath a raised floor, provided they can be removed without unloading half the van. This is where a planned layout saves time on every call-out.
For fleet vans, keep the layout consistent where practical. When the same consumables and tools live in the same place across vehicles, staff can find what they need faster and handovers become simpler.
Common false floor installation problems
A squeak or rattle usually comes from movement between the panel and van floor, loose fixings or debris trapped underneath. Remove the load first, identify the area by applying pressure, then check the relevant support and fixing rather than adding extra screws at random.
Gaps around the wheel arches or rear threshold may indicate that the floor is not matched to the van's wheelbase or body variant. Do not fill large gaps with loose packing material. Confirm the model details and product specification before altering the panel.
If water appears in the load area after fitting, inspect door seals, existing floor plugs and any drilling points immediately. A dry, protected load space matters as much as a tidy one, particularly where power tools, fixings and consumables are stored.
A well-fitted false floor should feel like part of the van, not an extra panel you have to work around. Choose the correct vehicle-specific design, take time over the dry fit and keep fixing points safe and accessible. That gives you a solid foundation for a more organised, more productive working van every day.