










A working van can lose you time before the first job even starts. If you are moving toolboxes to reach fittings, replacing damaged kit or hunting for a sealant gun at the bottom of a pile, the layout is costing you. This van racking buying guide focuses on the decisions that matter for UK tradespeople: choosing storage that suits your vehicle, workload and working routine rather than simply filling the load area with shelves.
Start with the work you do every day
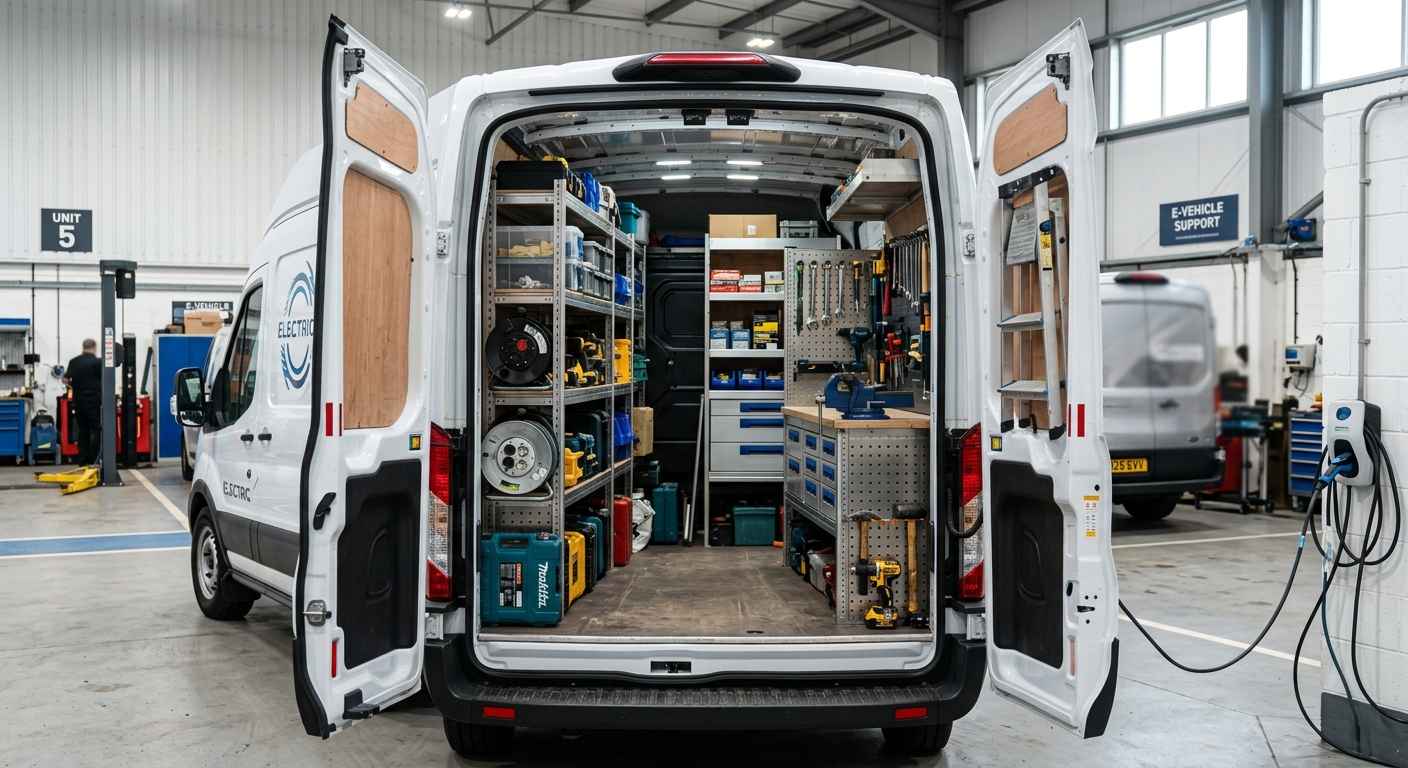
The best racking layout depends less on how much equipment you own and more on what you need to reach most often. An electrician carrying testers, cable, fixings and hand tools will use the van differently from a plumber transporting pipe fittings, power tools and consumables. A maintenance engineer may need quick access to a wide range of small parts, while a builder may need to preserve clear floor space for bulkier materials.
Before comparing products, stand at the rear and side doors of your van and think through a typical day. What comes out first? What gets used on every call-out? Which items are heavy, messy or awkward to carry? Put everyday tools and consumables at comfortable reach height. Store less frequently used stock higher up or further forward, provided it remains secure and accessible.
It also helps to separate equipment into three groups: daily-use tools, small consumables and large or heavy items. Racking works best when each group has a proper place. Trying to make one open shelf handle everything usually leads to loose boxes, wasted space and an untidy load area within a few weeks.
Van racking buying guide: check your exact vehicle
Vehicle-specific fitment is the first practical check. Vans that appear similar can have different wheel arch shapes, internal lengths, roof heights, fixing points and door openings depending on their model year, body length and roof specification. A unit designed for one version of a van may not be the right choice for another.
Confirm the make, model, year and body style before ordering. If your van is available in short and long wheelbase versions, do not assume the same shelving arrangement will work in both. The same applies where a model has different roof heights or a factory bulkhead that affects usable load-space length.
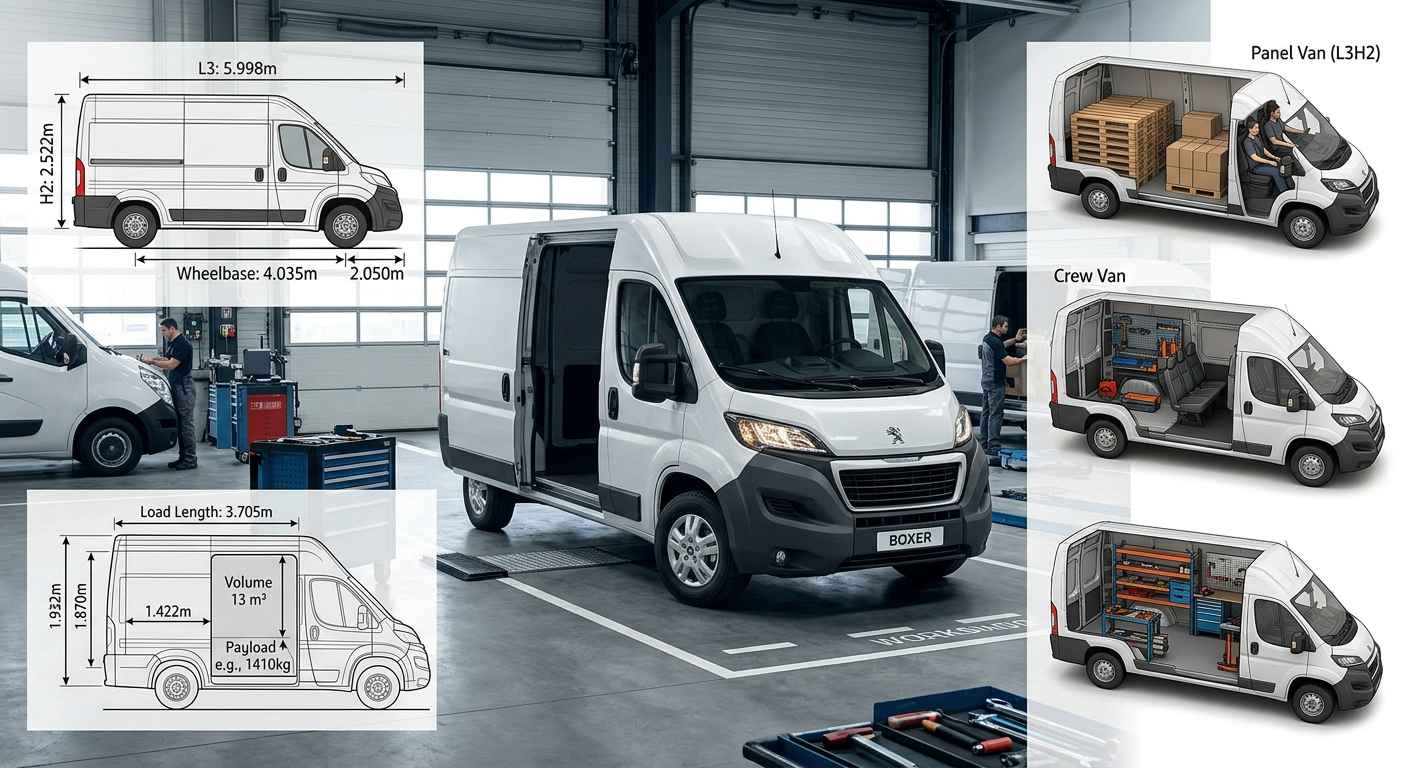
Take a few measurements yourself as a sensible cross-check. Measure the internal length from bulkhead to rear doors, the width between wheel arches, available side-wall height and the clearance around doors. You do not need to design the racking from scratch, but these figures help you picture how the finished workspace will function.
Pay particular attention to:
- Wheel arch position and how much floor width it removes
- The location of side-door openings and rear-door access
- Existing linings, bulkheads or flooring already fitted
- Space needed for cases, ladders, pipe, cable drums or larger equipment
Choose the right mix of shelving, floors and accessories
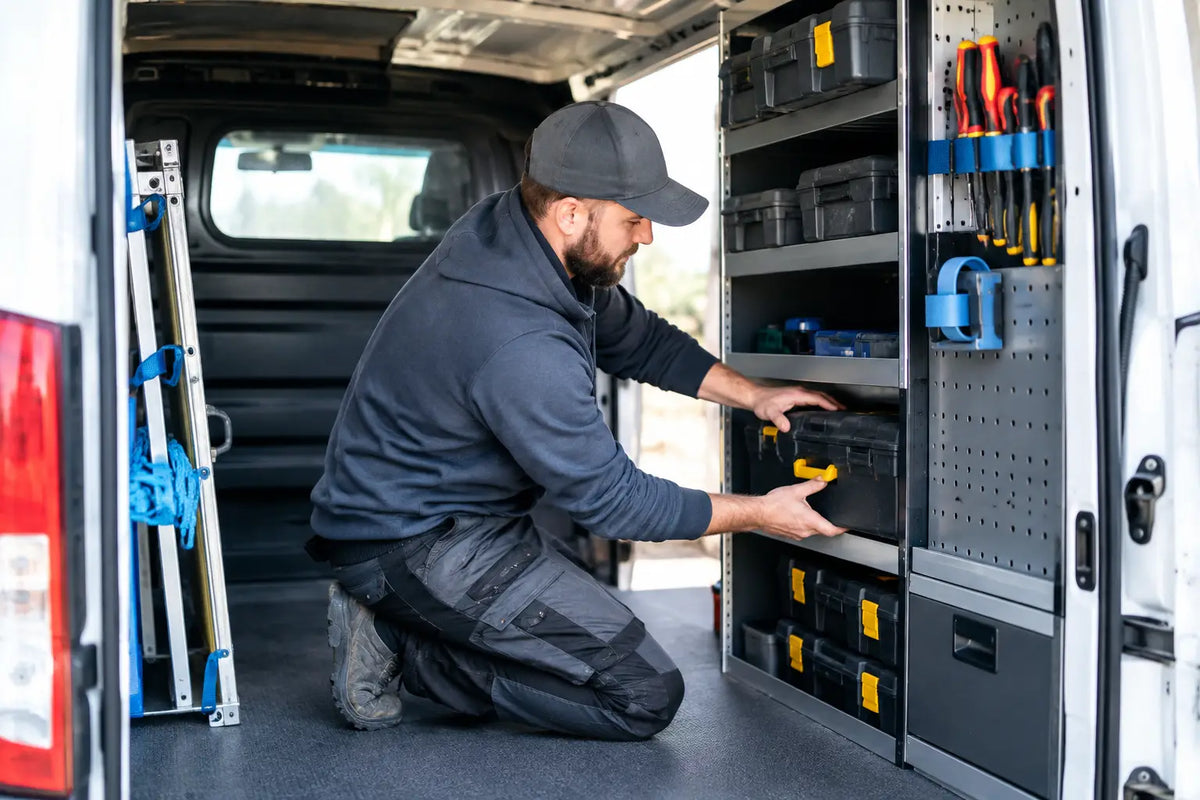
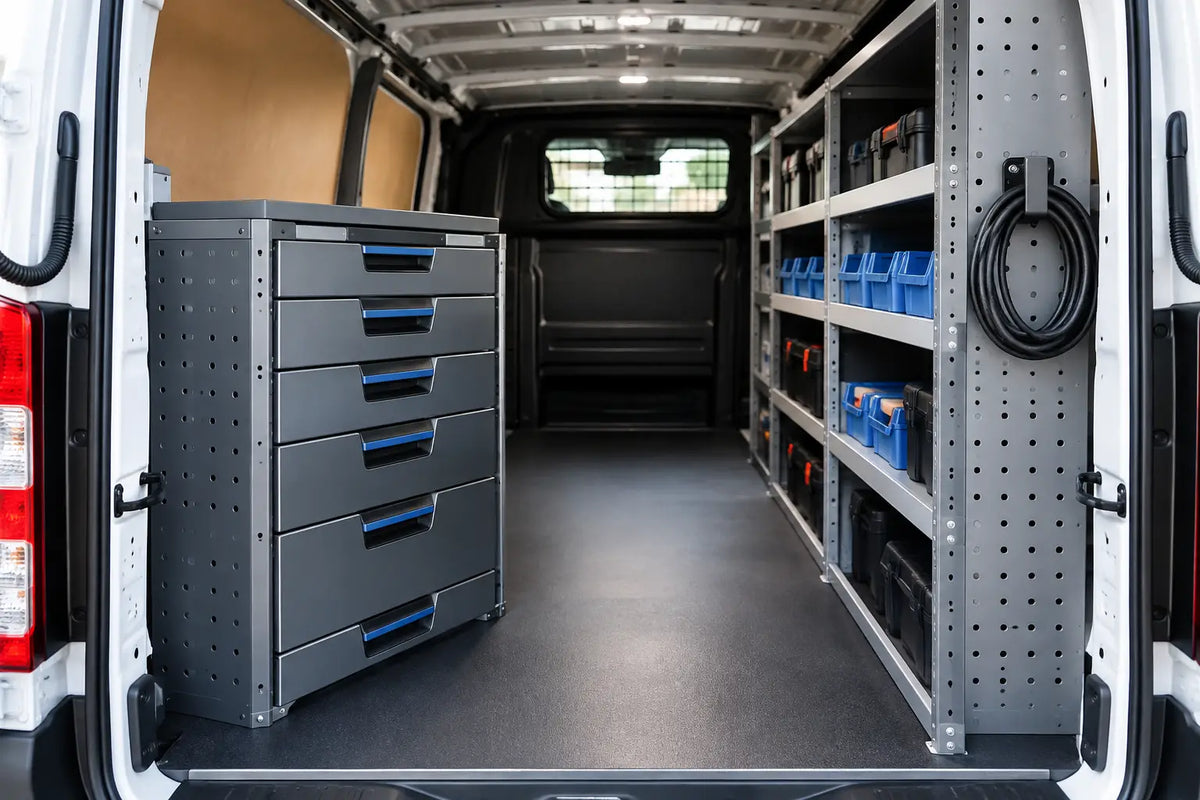
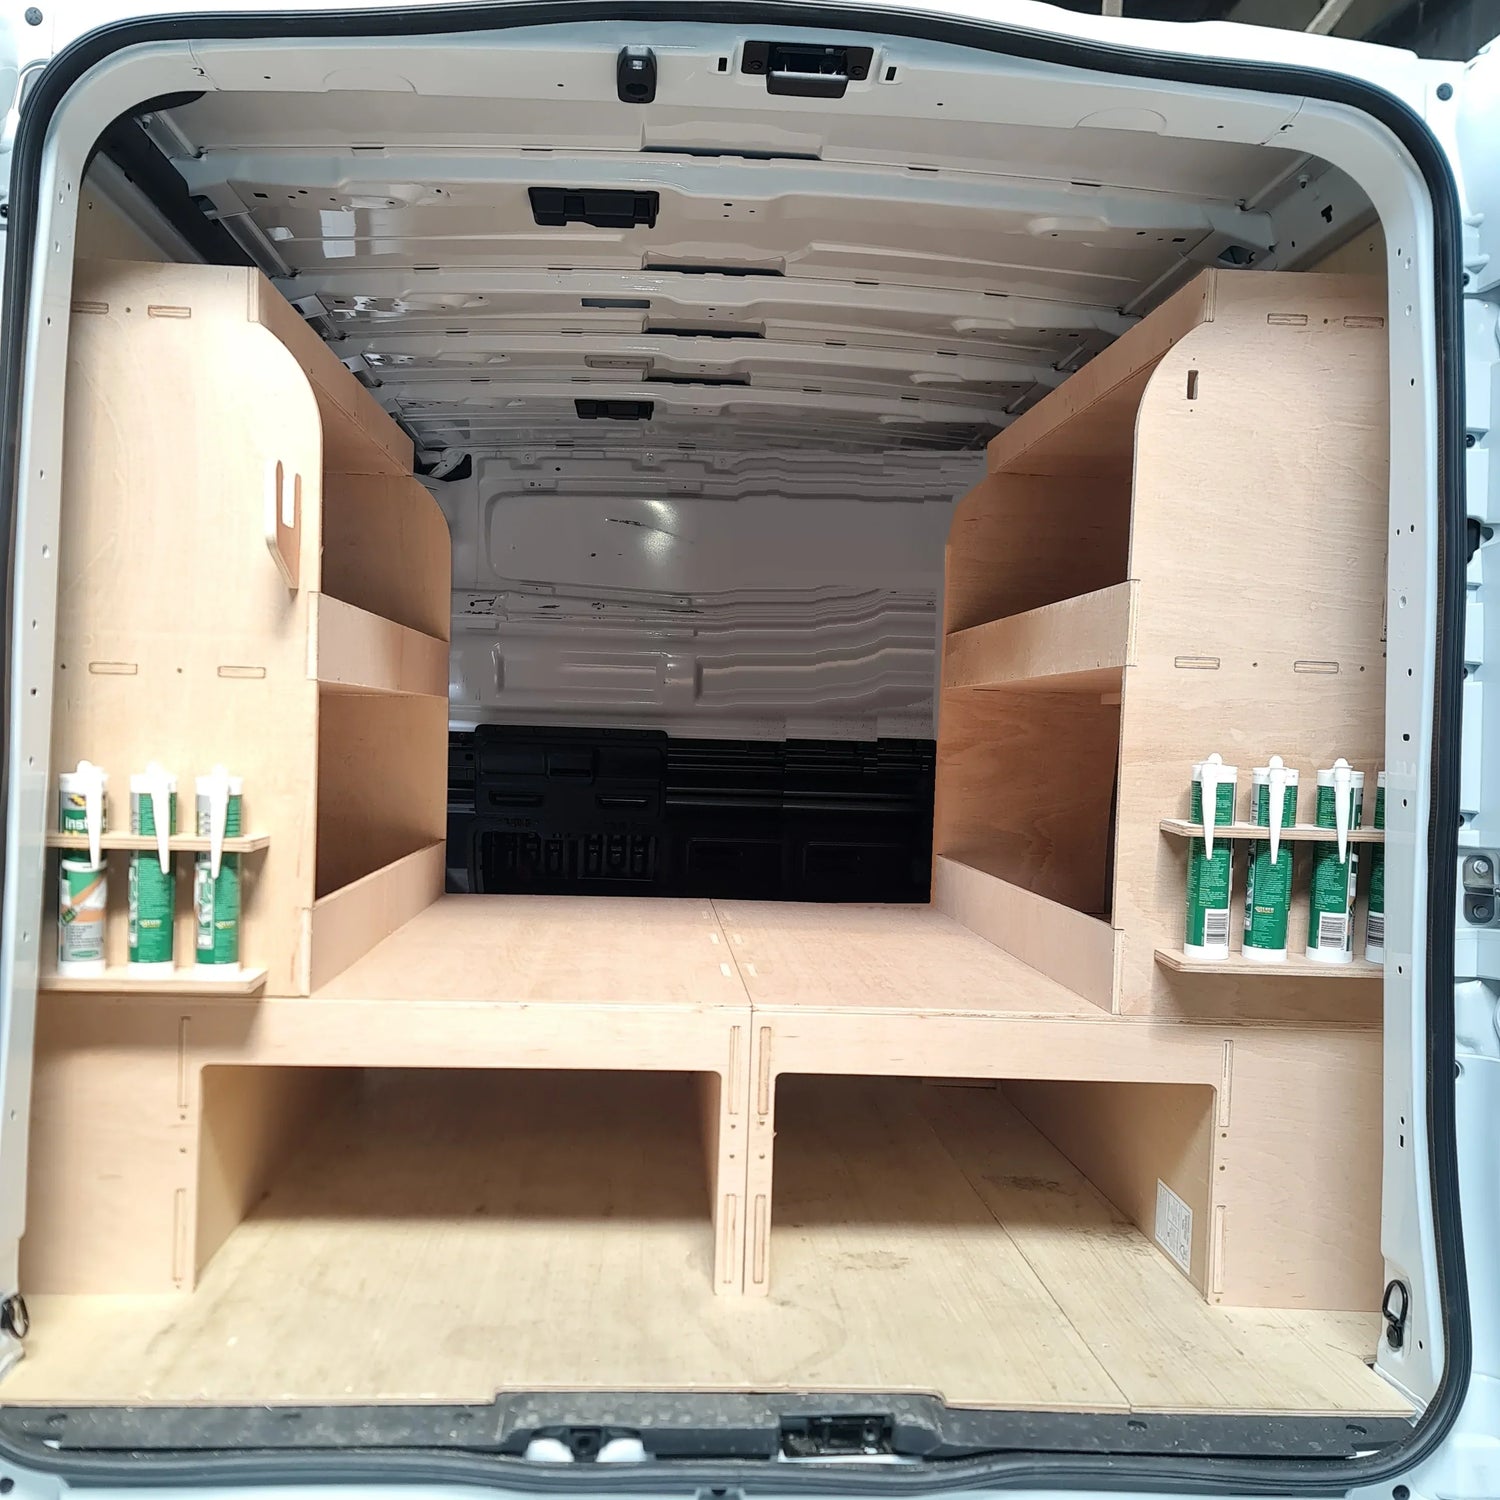
Side shelving is often the backbone of a trade van. It keeps cases, fittings boxes and everyday stock visible rather than buried behind loose equipment. Open shelves are quick to use, particularly for labelled organisers and larger tool cases. However, if you regularly travel with small items, you may need bins, dividers or other containment to stop stock migrating around the van.
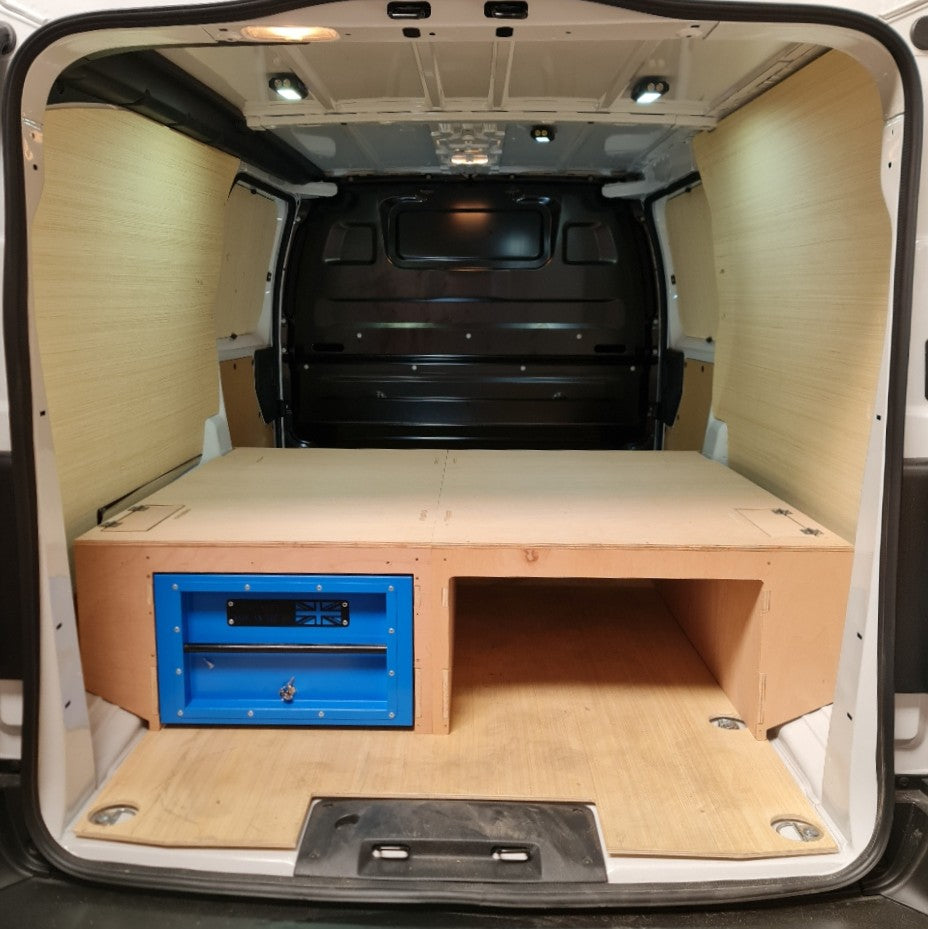
A false floor can be a strong addition where you need a clear top surface for bulky equipment but still want storage below. It can create space for longer items, straps or job-specific stock while keeping the main floor less cluttered. The trade-off is that a false floor raises the loading height slightly, so consider how often you lift heavy tools in and out.
Accessories are not an afterthought when they solve a repeat problem. A sealant holder prevents tubes rolling around. A wipe dispenser keeps cleaning materials where they are needed. Small organisers can stop gloves, fixings and paperwork disappearing into a door pocket or tool bag. Add them where they reduce wasted movement, not simply because there is an empty panel.
Avoid overfilling the van with fixed storage if your work changes from job to job. A flexible layout with clear floor space may be more useful than an extra shelf for a fitter who carries varying equipment. Conversely, a service van that carries the same parts every day benefits from a more structured, labelled arrangement.
Look beyond appearance at daily durability
Van racking has to cope with vibration, loading, wet boots, dust and the occasional rushed unload at the end of a long day. Look at the construction, shelf design and how the system is intended to be secured in the vehicle. The aim is practical storage that remains useful under regular commercial use, not a display unit that only looks tidy when empty.
Consider the size and weight of the items each shelf will carry. Heavy power tools, stacked fittings cases and metal components need suitable support and sensible positioning. Keep the heaviest loads low down where possible. It makes lifting easier and helps prevent the van feeling top-heavy when fully loaded.
Think about maintenance too. Open, accessible layouts are generally easier to sweep out and inspect. If you work with dust, mud, oils or wet equipment, choose a setup that you can clean without having to remove half the van contents.
Protect payload, access and safe loading
A well-organised van is not automatically a lightly loaded one. Racking, false floors, tool cases, stock and materials all contribute to payload. Check your van's permitted payload and account for the equipment you carry, including occasional heavier loads. This is especially relevant for fleet users and tradespeople who keep substantial stock on board.
Weight distribution matters as much as total weight. Keep heavier equipment low and secure it so it cannot shift in transit. Do not let shelving block the route to essential kit or create an awkward lift from the rear doors. If you routinely carry long materials, plan their position before fitting storage around them.
Door access is another common oversight. Rear access may suit tool cases and larger items, while the side door can be better for fast access to daily-use consumables. Set up your van around the way you actually park and unload on site. A layout that works brilliantly in a driveway may be frustrating on a tight street or busy industrial estate.
Plan installation before the order arrives
Easy installation begins with preparation. Empty the load area, inspect existing ply lining and flooring, and make sure you understand the fixing method supplied with the racking. Do not drill or alter the van without checking where existing vehicle components, wiring or structure may be affected.
Allow enough time to assemble the system properly and check that doors close freely once it is in place. Fit the main racking first, then live with the basic layout briefly before adding every accessory. That gives you a better idea of where a holder, organiser or dispenser will genuinely improve the workflow.
Once fitted, label boxes and shelves clearly. Labels sound simple, but they are what make a good setup work when you are tired, in a hurry or when another member of the team uses the van. Put like items together and replace stock in the same position after every job.
Buy for the next year, not just this week
The cheapest way to rack a van can be to reuse whatever shelves, crates and boxes are already available. Sometimes that is enough for a light-duty setup. But if the load area is a daily workspace, a vehicle-appropriate system can save time, protect equipment and present a more professional impression when you open the doors at a customer site.
Do not buy more storage than you need, and do not settle for a generic layout that ignores your work. Start with the van model, map out your routine, keep heavy items low and leave room for the jobs that pay the bills. A well-planned racking setup should make every tool easier to find and every working day easier to run.